Fuel in the gas tank is like food for the driver: without it, you’re not going anywhere. A full tank and a full belly will keep things moving for miles to come. Most of us cook in the kitchen or grab some snacks to take on the road, but did you know you can use your car to cook food? There are several methods, and even purpose-built appliances, to cook food using your car.
Method 1 of 3: Cook food using engine heat
As soon as you start your car, the engine starts to heat up. Cooking food using your engine, also known as road roasting or car-b-queing, is all about harnessing engine heat to prepare your meal. In this method, you will use the heat generated by the combustion cycle to cook food in the engine bay.
Legend has it that engine cooking was originated by long-haul truckers, who put cans of soup in the hot engine bay. When they arrived at their destination, the soup was ready to eat.
- Warning: It is not advised to cook canned food while it is still in the can, as most cans have a plastic liner that can melt and contaminate the food.
Materials Needed
- Aluminum foil
- Car with a working engine
- Flexible metal wire
- Food of choice
- Tongs
- Plates and utensils
Step 1: Prepare your food. Whatever your food of choice is, prepare it for cooking as you would with any other cooking method.
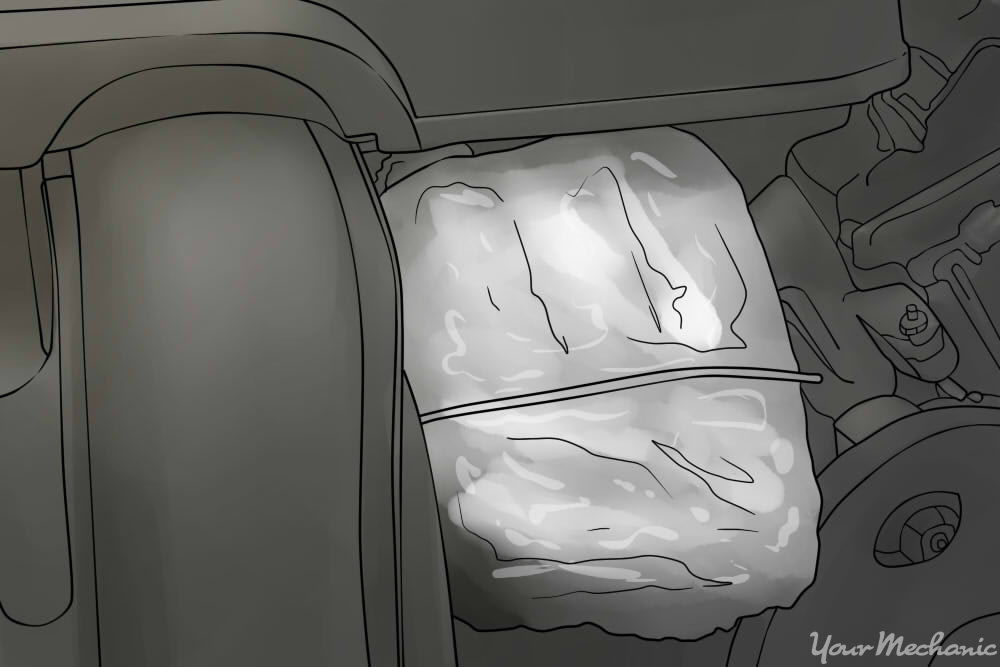
Step 2: Wrap the food in aluminum foil. Tightly wrap the prepared food in aluminum foil. Use several layers of foil so that it does not rip open and spill the food as you drive.
Using multiple layers will also prevent any lingering fumes from making the food taste bad.
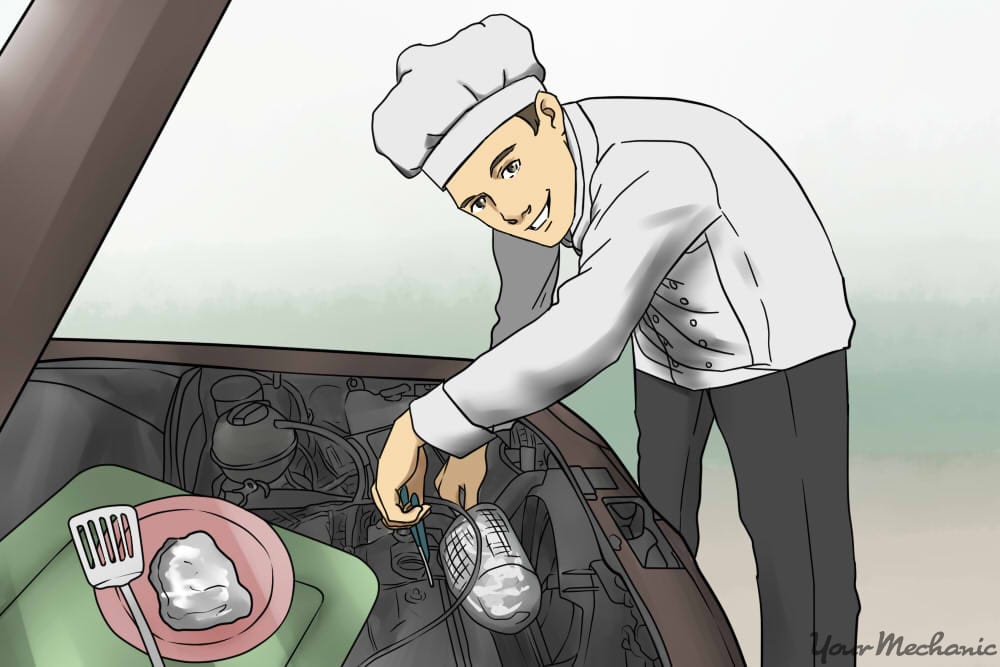
Step 3: Place the food in the engine bay. With the car turned off, open the hood and find a place to snugly fit the foil-wrapped food. Simply putting the food on top of the engine won’t do – you need to find a very hot place in order to cook the food thoroughly.
Usually, the hottest place in the engine bay is on or near the exhaust manifold.
- Tip: Your car will shake and vibrate as you drive, so you may need to use flexible metal wire to secure the food in place.
Step 4: Drive the car. Close the hood, turn the car on, and go for a drive. The engine will heat up and cook the food.
The longer you drive, the more thoroughly cooked the ingredients will become.
Step 5: Check the food for doneness. Engine cooking isn’t exactly a science, so there’s a bit of checking involved. Once you’ve driven for a while, stop, turn the car off, open the hood, and check the food.
The engine and foil will be hot, so use tongs to carefully remove and check the food. If it’s not done, secure it again and continue driving. Repeat this step as many times as needed.
- Warning: If you’re cooking meat or other raw foods, it’s important to drive until the ingredients are fully cooked. You may need to lengthen your drive to accommodate this. Always use a meat thermometer to determine whether the meat is cooked through.
Step 6: Eat the food. Once you’ve ensured that the food is done, use the tongs to remove it from the engine bay. Put it on a plate and enjoy your hot-cooked meal!
Method 2 of 3: Cook food using a car’s body panels
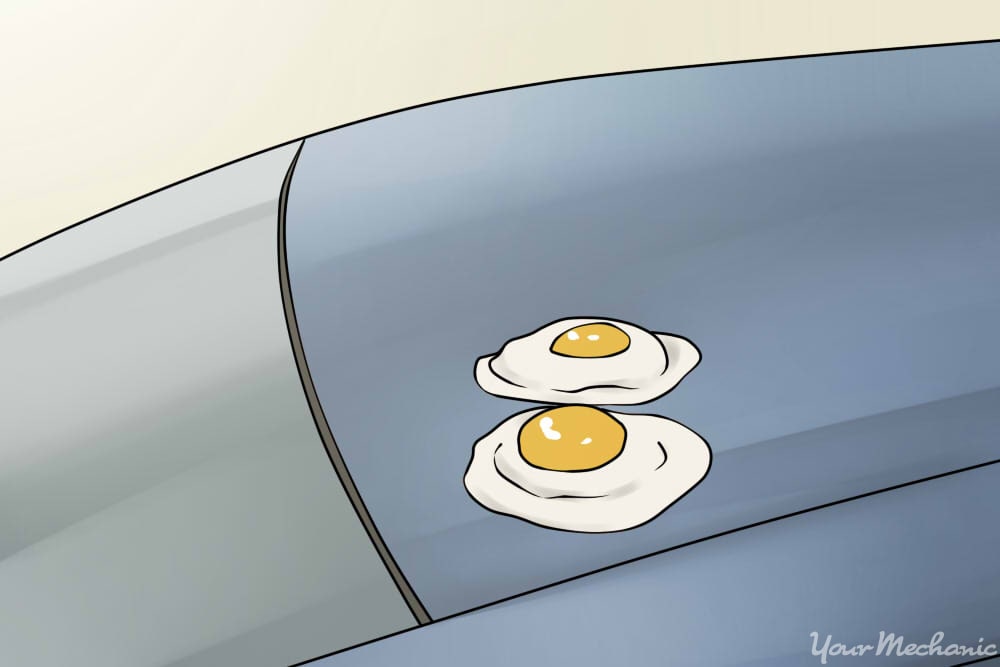
On extremely hot and sunny days, a car’s exterior body panels can heat up to well over 100 F. When this happens, you can use them to cook food, much like you would with a pan.
- Note: The body panel method only works for foods like eggs and very thinly sliced meats or vegetables. This method won’t heat larger foods to the point where they will cook thoroughly.
Materials Needed
- Cooking oil or spray
- Cooking tools or tongs
- Food of choice
- Plates and utensils
- Very clean car, parked in a sunny, open area
Step 1: Prepare the cooking surface. Find a flat, level surface on the car, like the hood, roof, or trunk lid. Wash and dry this surface thoroughly so that dirt and grime does not get in your food.
Step 2: Prepare the food. Slice your meat or vegetables as thinly as you can. The thinner you can slice the food, the quicker and more thoroughly it will cook.
Step 3: Place the food on the cooking surface. Spread or spray a thin layer of cooking oil on the cooking surface. Using your cooking tools or tongs, place the prepared food on the clean cooking surface. The food will start to cook immediately.
Step 4: Check the food for doneness. Carefully examine the food to see if it’s done.
If you’re cooking meat, it’s done when there’s no more pink color left. If you’re cooking eggs, they’re done when the whites and yolks are firm and not runny.
- Note: Your car’s body panels won’t get anywhere near as hot as a pan on a stove, so this method will take longer to cook the food than if you were cooking in the kitchen. If it’s not hot enough of a day, the food might not cook at all.
Step 5: Eat the food. Once the food is done, remove it from your car with your cooking tools, put it on your plate, and enjoy.
Step 6: Clean the cooking surface. It’s a good idea to clean the cooking surface immediately after you’re done.
If left for too long, the oils can damage your car’s paint. Try to do this before you eat, while you let the food cool down.
Method 3 of 3: Cook food using purpose-built appliances
Want to take the kitchen on the road with you? There’s a surprising variety of purpose-built appliances designed specifically for preparing food in a car. It’s easy to pack a cooler to keep things cold, but if you’re going for a really long drive, an in-car refrigerator will keep ingredients fresh. There are stoves, frying pans, hot water kettles, and popcorn makers that plug into your car’s 12 volt power adapter. There’s even a concept design for a hamburger cooker that fits into the exhaust pipe, and uses hot exhaust gases to grill a burger to perfection!
When it comes to eating in the car, there’s no need to rely on gas station junk food to stay satisfied. These methods will let you prepare a hot cooked meal using little more than your car’s normal features – so you can stay fueled up wherever you drive.
