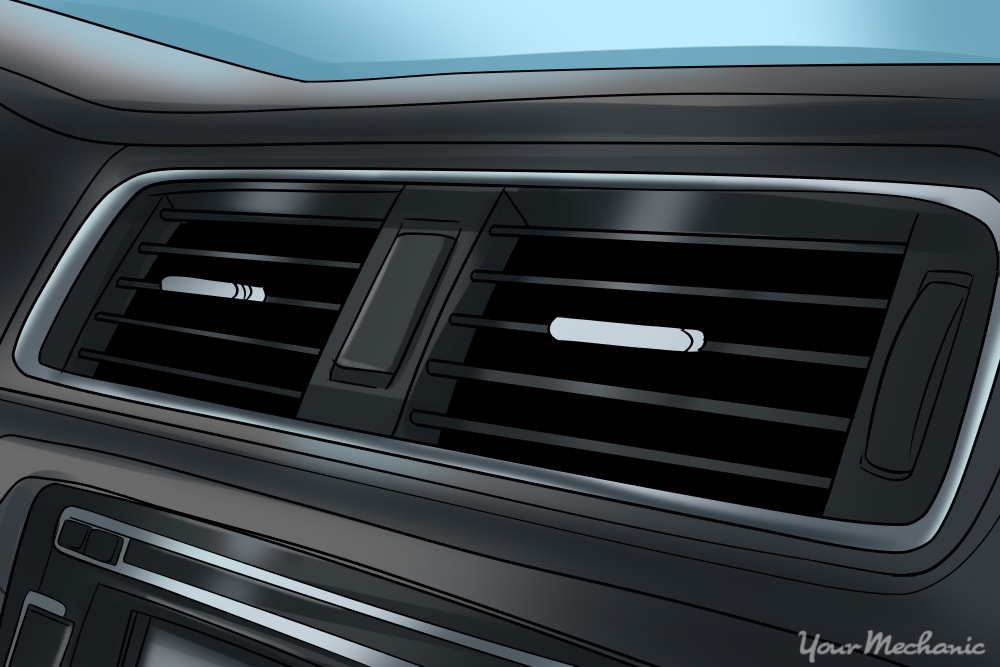
If your car’s heater doesn’t seem to be working too well, it might be time to flush it out. Flushing out the tubes in the heater core will allow the coolant to flow more easily so there will always be warm coolant to heat up the air going into the cabin. This is especially true if it has been a while since you last changed the coolant as all the buildup can eventually end up in the heater core.
The heater core is built similarly to a radiator and they do the same job: transfer the heat in the coolant to the air passing over the fins. Usually located inside the dashboard on the passenger side, there will be a valve controlled hose that regulates coolant going into the heater core. The other tube is the return line to get the coolant back to the cooling system.
For this job, you’ll need a garden hose and running water. Making an adapter that will allow you to pump water into heater core to dislodge and remove any sediment. If water isn’t enough to remove all the sediment, you’ll need to use some radiator cleaner and let it soak inside the heater core.
Part 1 of 3: Setup
Materials Needed
- ¾-inch barb fitting adapter
- Bucket
- Clear tubing
- Garden hose
- Gloves
- Pliers
- Rags
Safety glasses
Note: We’ll be making our own adapter so that we can feed fresh water into the heater core. Before you go and buy the materials, you need to figure out what size hoses are used to feed coolant into the heater core. You can find this information online or by referring to the vehicle’s repair guide.
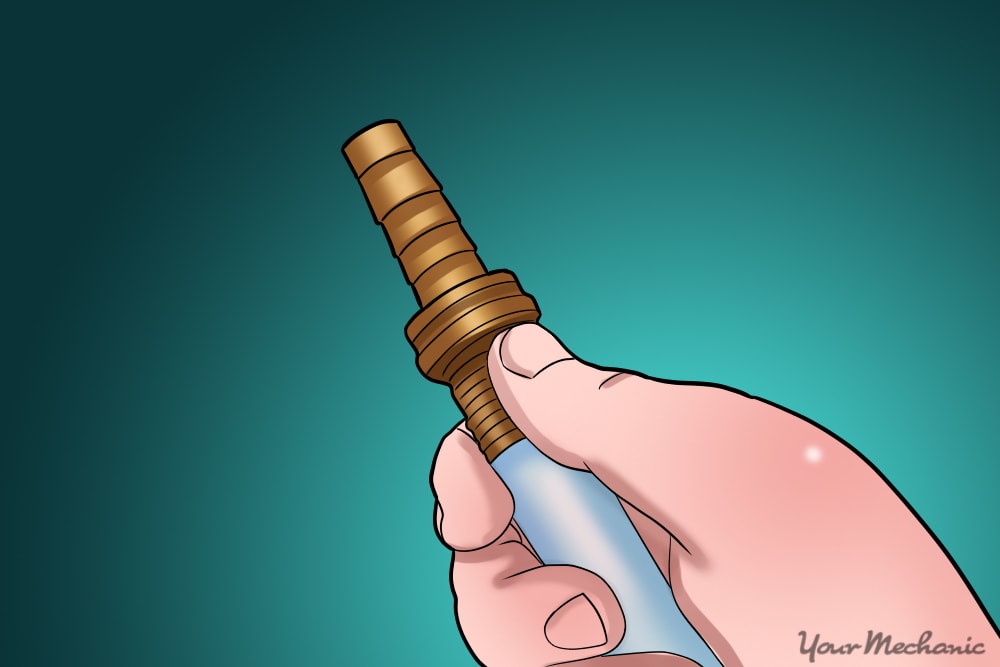
Step 1: Screw on the adapter and attach the short section of tubing. This is to be attached to the outlet of the heater core so you can reverse the direction of flow to loosen any sediment.
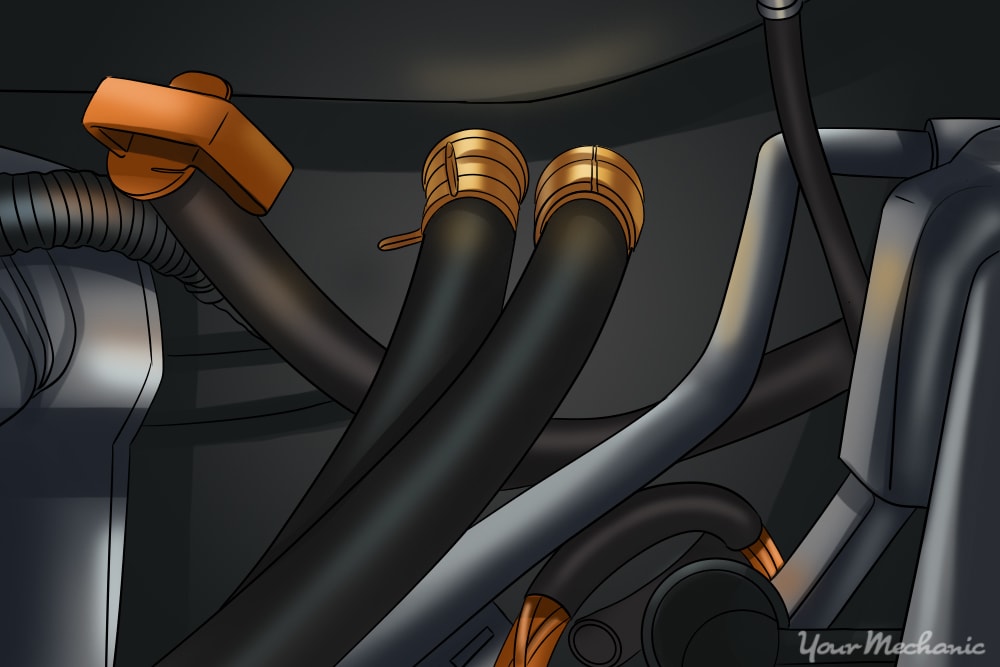
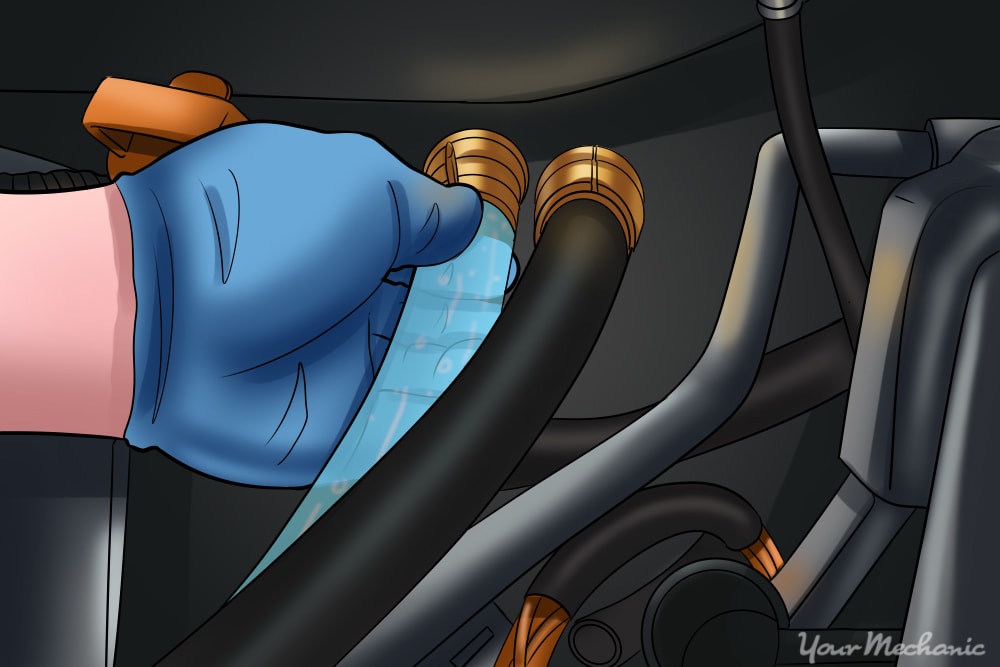
Step 2: Locate heater core hoses. Look for 2 fairly thick hoses that run straight into the firewall.
The firewall is the metal wall between the interior of the vehicle and the engine compartment. The tubes are typically on the passenger’s side as this is usually where the heater core is located inside the dash.
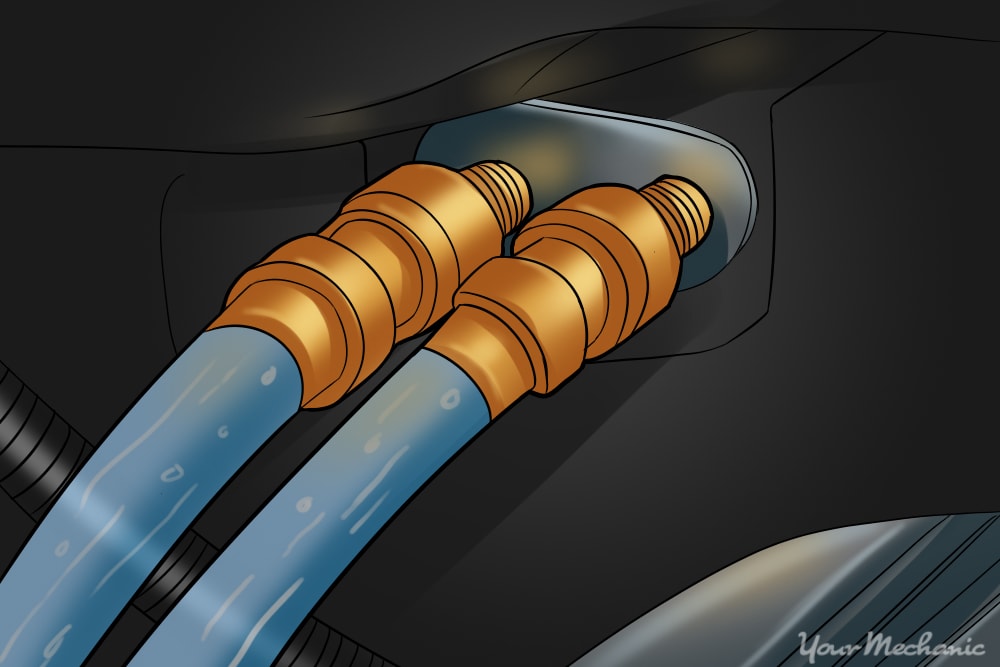
Step 3: Identify inlet and outlet hoses to heater core. The inlet hose may have a heater control valve which regulates the amount of coolant flowing into the heater core.
The outlet hose will typically run straight to the radiator or cooling system reservoir to return the coolant after flowing through the heater core.
- Tip: If you are having trouble figuring out which is which, when the engine is hot, turn the heat up all the way. The inlet hose will be warmer as it is feeding hot coolant into the heater core which then warms the air up going into the cabin.
Step 4: Make sure the engine is cold. Make sure the engine has sat for a few hours so the coolant isn’t too hot.
Opening up the cooling system while the coolant is still hot is very dangerous as it can start boiling and steaming.
Part 2 of 3: Removing the hoses
- ¾-inch barb fitting adapter
- Bucket
- Clear tubing
- Garden hose
- Gloves
- Pliers
- Rags
- Safety glasses
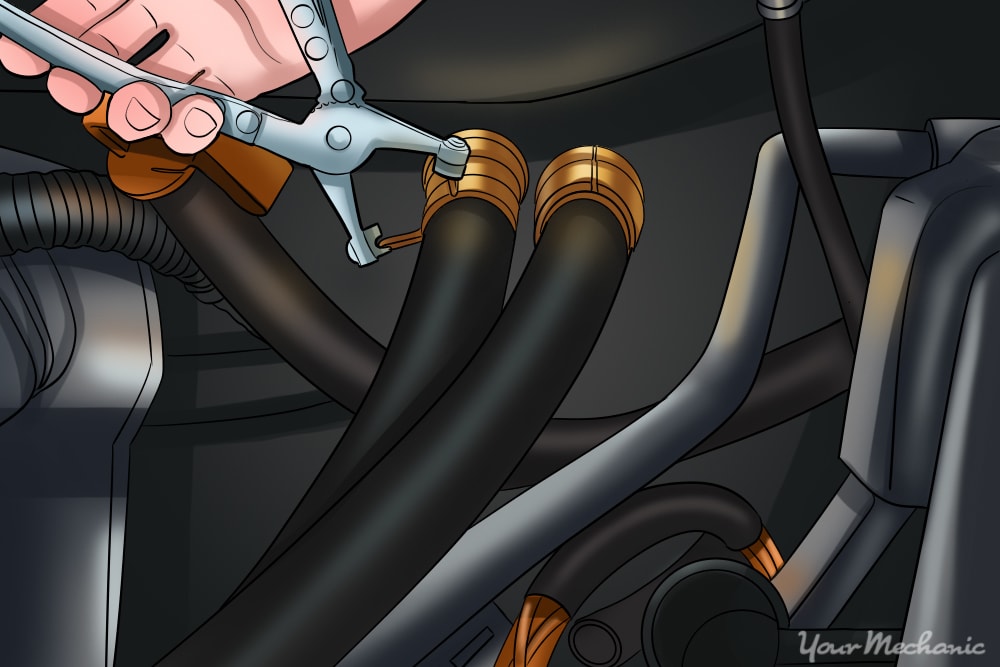
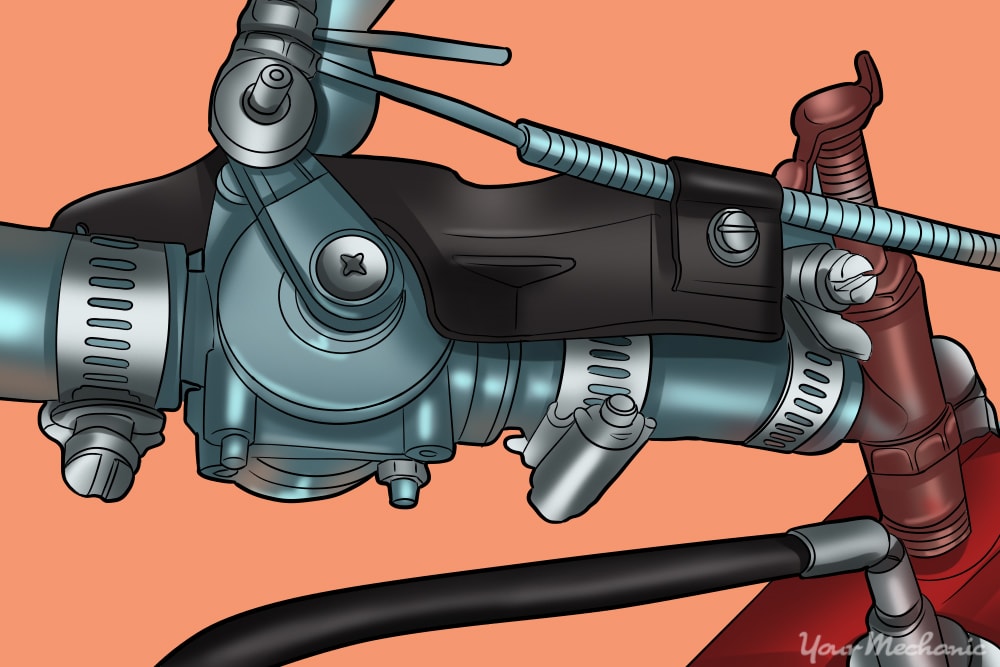
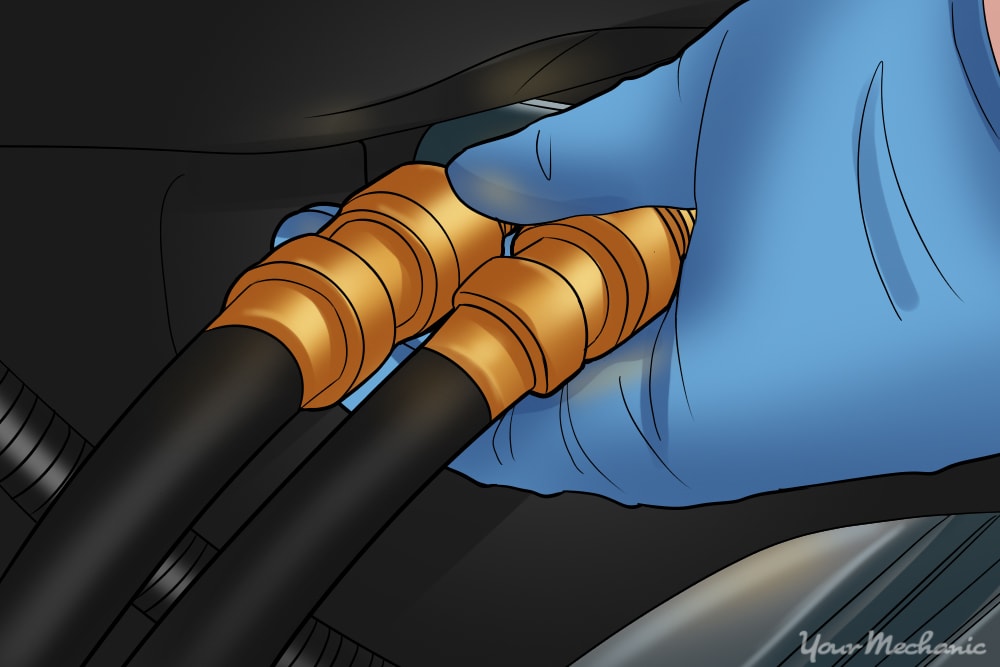
Step 1: Use pliers and pull the metal hose clamps back. Pull them back a few inches so that we can remove the hoses.
- Tip: If the clamps are hard to pull back you can spray a little silicone lubricant to help them move.
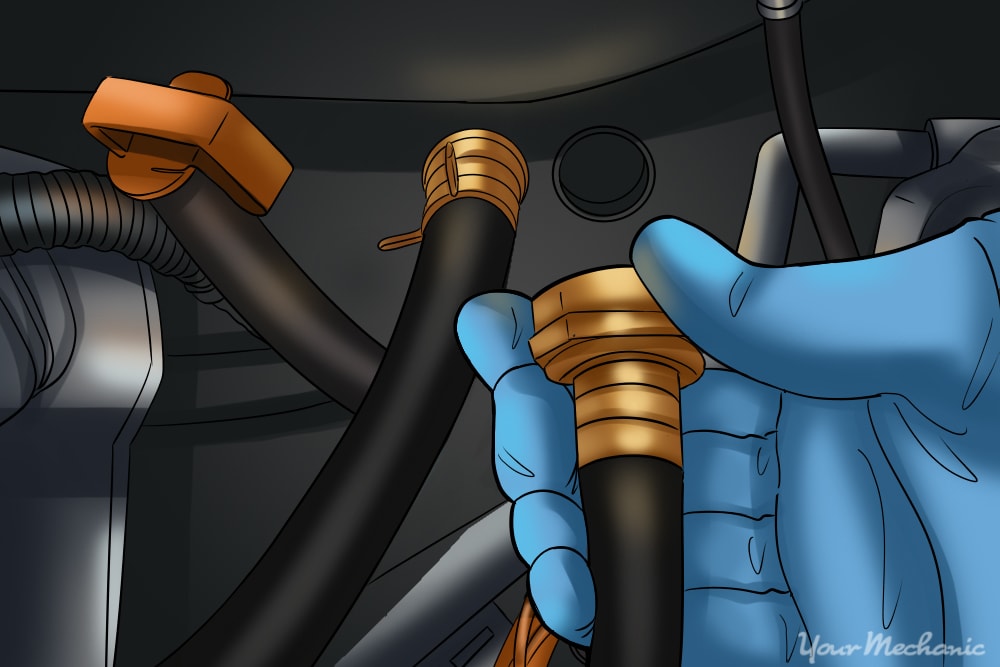
Step 2: Remove heater core outlet hose. Slowly twist the hose back and forth while pulling to slide it off the outlet.
Take care not to damage outlet port or you will have to replace the whole heater core. If the hose is old and caked onto the outlet port, you may have to replace the hose as removing it will likely damage the seal.
Liquid will most likely come out as well so have the rags ready to clean up any spilled coolant.
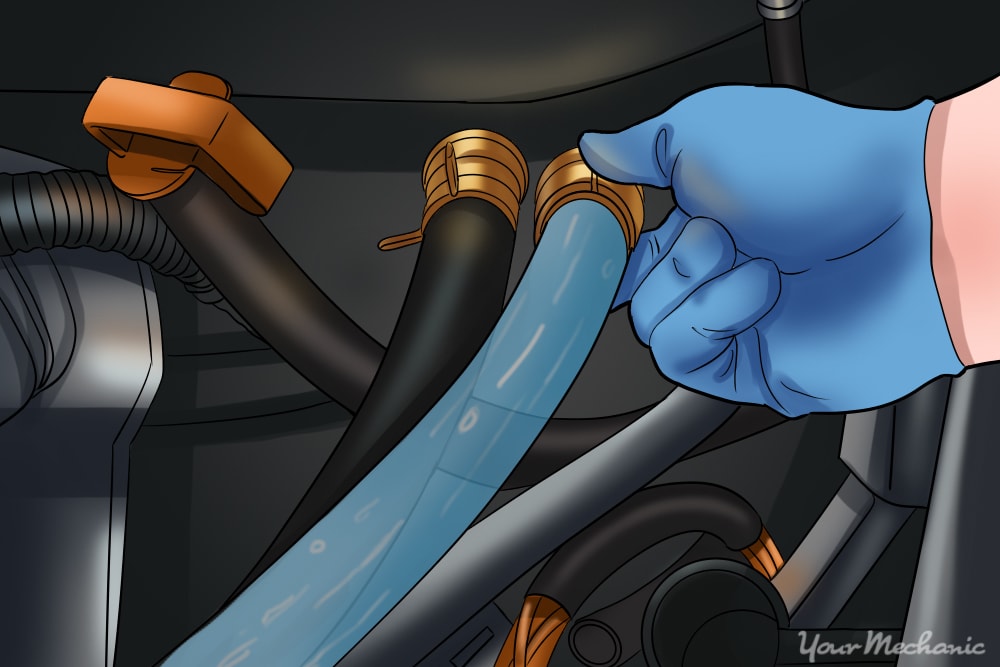
Step 3: Attach garden hose to outlet. With our adapter and tubing we’ll be able to pump fresh water directly into the heater core to wash it out.
Get the tubing about an inch or so on the outlet to make a nice watertight seal.
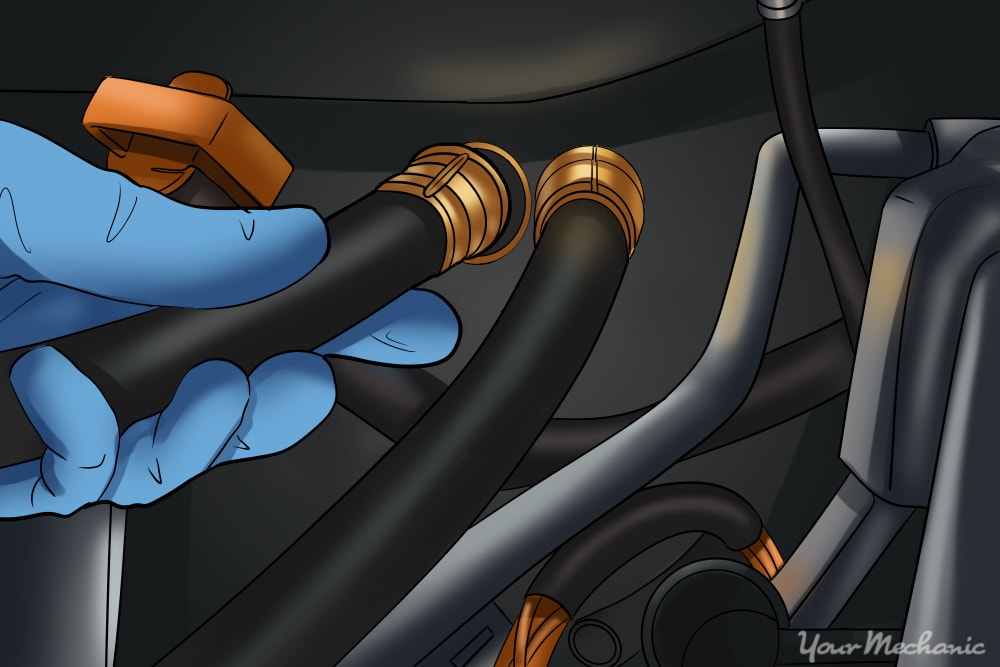
Step 4: Remove heater core inlet hose. Same as the outlet hose, gently twist and pull the hose off.
Be prepared for some more coolant coming out.
Step 5: Attach the longer section of tubing to heater core inlet. Have the other end in the bucket to collect the coolant and sediment that comes out of the heater core.
- Warning: Keep an eye on the bucket when there is coolant in it so it does not overflow. Never dump coolant or any type of automotive fluid down the drain. Always dispose of your old fluids the proper way. These chemicals are not friendly to the environment.
Part 3 of 4: Flushing out the heater core
Step 1: Turn on the water. Don’t turn the water on all the way; usually a quarter to half of a turn from fully closed is enough.
Most heater cores can only handle about 10 psi of pressure whereas the typical garden hose can supply around 40 psi. Turning the flow up too high can rupture the heater core and then you’ll need to replace the whole unit.
Step 2: Keep flushing until the water coming out is clear. When the water coming out of the heater core is clear like the water going in, the heater core has been flushed.
It shouldn’t take too long as there isn’t much volume inside the heater core. If the flow coming out is restricted, there is likely a clog somewhere in the line and you’ll need to take a few extra steps to get it out.
Step 3: Switch the hoses and flush. Set up the garden hose to pump into the inlet of the heater core and have the drain pipe on the outlet.
Since you just reversed the flow with the first flush, you’ll go to regular flow direction to try and loosen up the sediment. Turn on the water and flush the system like before. If the flow is good after this move onto the next part, otherwise try the next step.
Step 4: Switch the hoses and flush again. We’ll do one more reverse direction flush to try and remove the sediment.
If 3 flushes with water doesn’t fix the clog, then you’ll need to use some radiator cleaner.
Step 5: Unplug the garden hose and adapter from the short piece of tubing. Leave the clear tube attached to the heater core and pour in some radiator cleaner.
Let it sit for 30 minutes.
- Note: Make sure the cleaner you are using is good for aluminum and automotive use. Household chemicals can damage the heater core and eat away at the aluminum.
Step 6: Rinse the radiator cleaner out with water. Run the water through the heater core to thoroughly rinse out the radiator cleaner.
Part 4 of 4: Putting everything back together
Materials Needed
- Gloves
- Pliers
- Rags
- Safety glasses
Step 1: Disconnect clear tubes from heater core. You can leave the water inside the heater core.
It’s not enough to significantly affect the 50/50 mix of anti-freeze and water inside the cooling system.
- Note: If you have some 50/50 mix lying around, you can add it with the clear tubes still attached to fill the heater core with fresh coolant. It isn’t really necessary to buy a whole new jug just to do this though.
Step 2: Reconnect the heater core hoses. Make sure to install them the correct way, since having them reversed can cause the heater to not function properly .

Step 3: Move the hose clamps back into place. Use the pliers again and resecure the clamps over the inlet and outlet to seal them.
Step 4: Make sure any spilled anti-freeze has been cleaned up. Check the drive belts to make sure they don’t have any water or anti-freeze as this can cause the belt to slip.
Step 5: Start the engine and go for a short test drive. Turn the heat onto full blast so that coolant starts flowing into the heater core.
After the engine has been run for a little bit and there is warm air coming out of the vents, check the hoses for any leaks since we just removed and replaced them.
With the heater core cleaned out, the car should warm up nice and quickly now. A good way to reduce the amount of sediment build up is to regularly flush out the cooling system. If the flush doesn’t help with the heater, one of YourMechanic’s certified technicians would be glad to help you identify the issue.