Your shocks, or shock absorbers, are a pivotal part of your vehicle's suspension. As suggested by their name, their purpose is not to absorb shock. They do so much more, and are invaluable to your vehicle, as they assist in ride quality, suspension wear, and tire life.
Not knowing when to replace your shocks or what to look for when they fail can keep you from changing them when needed. Knowing the typical signs of failure and a little about how the shocks are mounted on your vehicle can help you to diagnose and repair your shocks - or, at the very least, can make you an informed consumer so that you are not taken advantage of when you need to get your shocks replaced.
Part 1 of 3: The purpose of your shock absorbers
Shock absorbers, much like struts, are designed to control the oscillations or the bounciness of the springs. When you are driving over bumps and dips in the road, the suspension moves up and down. The springs on your vehicle absorb the movement of the suspension. If your vehicle did not have shocks, the springs would start to bounce - and continue to bounce uncontrollably. The design of the shock is to produce a certain amount of resistance to this movement, to control it and to keep it from bouncing more than about two times.
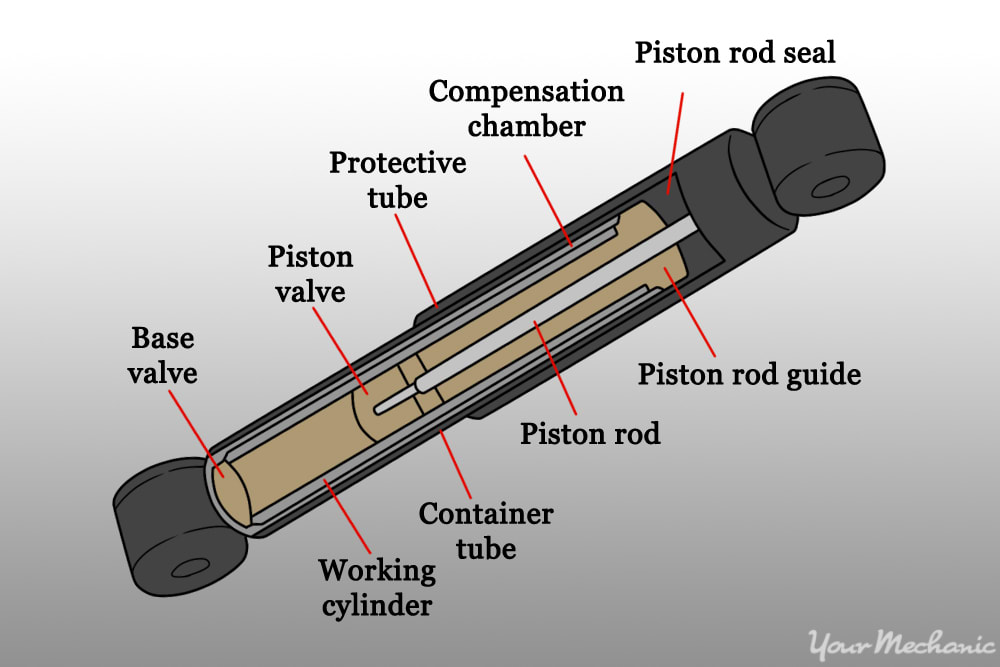
The design of the shock is what allows it to control the spring movement. Shocks are designed with a piston that moves through a cylinder. The cylinder is filled with fluid and pressurized gas. The piston has a small metering hole in it which makes it hard to move the piston in and out of the pressurized fluid. That resistance is what slows down the movement of the springs.
All shocks are designed a little different from one another, depending on the needs and size of the vehicle. The differences typically have to do with the amount of pressure in the cylinder and the type and size of holes in the piston. This affects how fast the shock can be extended and contracted. When a shock fails, or begins to fail, it can become too soft (which will keep it from controlling the movement of the springs), or it can begin to bind internally (keeping the suspension from moving as it should).
Part 2 of 3: Typical signs of failure and how to recognize them
Shocks can fail for any number of reasons: they can fail from the way that you drive, they can fail from age. They can also fail for no reason at all. There are some easy steps you can follow to identify a bad shock absorber.
- Bounce test. With the vehicle on a flat surface, press up and down on the front or the rear of the vehicle until you get it to start bouncing. Stop bouncing the vehicle and count how many times it continues to bounce until it stops.
A good shock should stop the bouncing after two up-and-down movements. If the car bounces too much, or if it cannot be moved at all, then the shocks may be bad.
- Test drive. If the shocks are worn out, the suspension can feel very soft and unstable. Your vehicle may sway back and forth while driving. If there is a shock that is binding, then your vehicle will ride extremely rough.
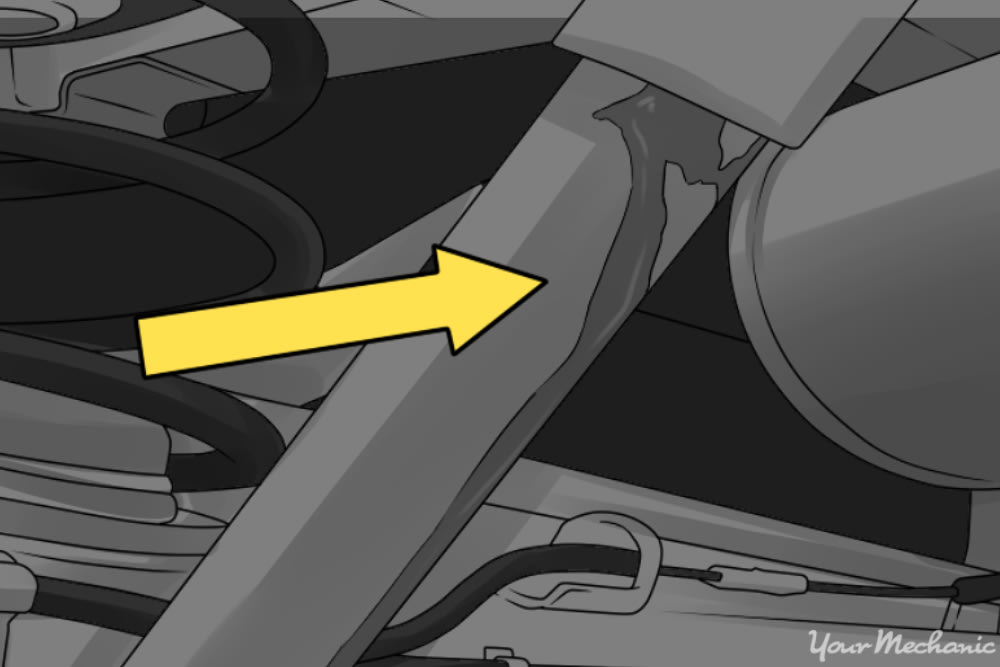
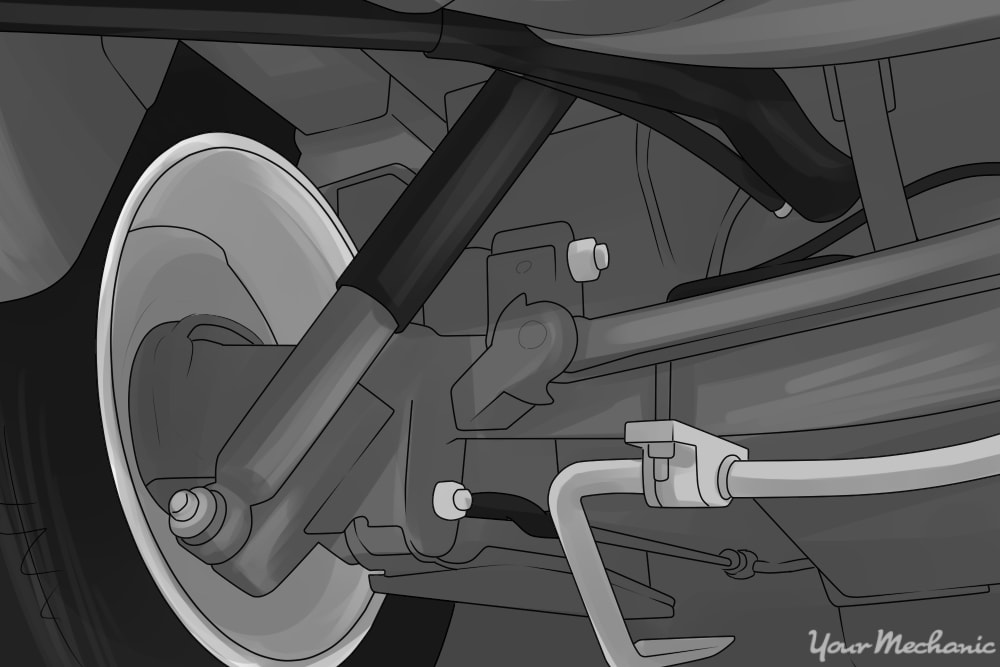
Visual inspection. With the vehicle in the air, you need to inspect the shocks. If there is fluid leaking from the shocks, or if they are dented, then they need to be replaced. Also inspect the tires. Worn-out shocks will cause the tires to have cupped wear, which appears as high and low spots.
Manual test. Remove the shock from the vehicle and try compressing it by hand. If it moves easily, then the shock may be bad. A good shock should have some good resistance when compressing it, and most shocks will extend on their own when you release them.
There is no established maintenance schedule for shocks to be replaced, but most shock absorber manufacturers recommend that they be replaced about every 60,000 miles.
Part 3 of 3: Shock absorber replacement
Materials needed
- Hydraulic floor jack
- Jack stands
- Ratchet w/assorted sockets
- Shock absorbers (must be replaced in pairs)
- Torque wrench
- Wheel chocks
- Wrenches (assorted sizes)
Step 1: Park your vehicle on a flat, hard and level surface with the parking brake applied.
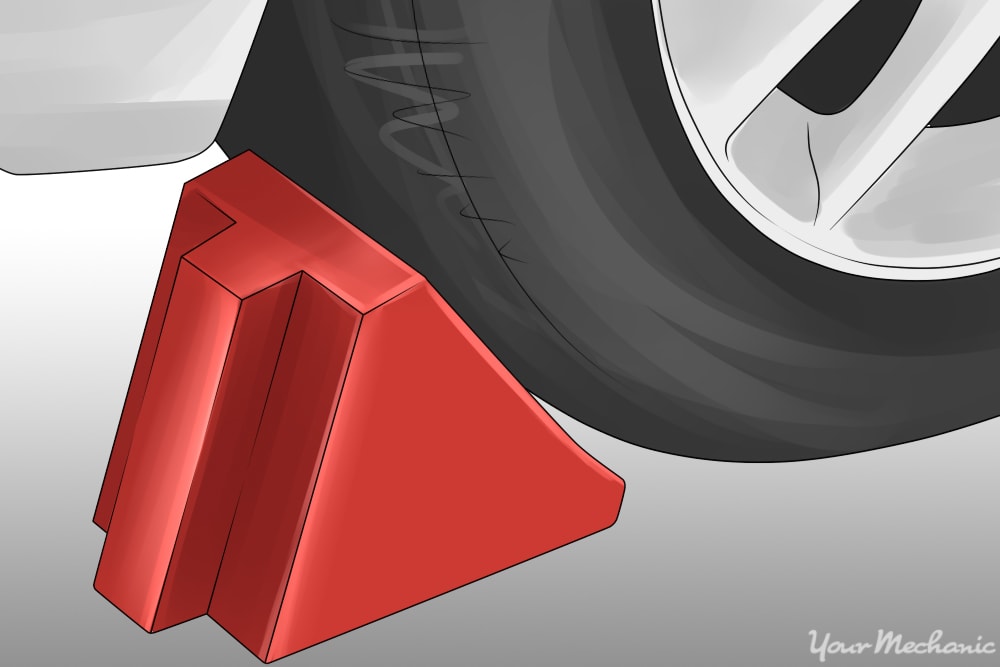
Step 2: Place the wheel chocks around the wheels that will remain on the ground. You will be lifting the end of the vehicle that the shocks are to be replaced on, leaving the other end on the ground.
Step 3: Lift the vehicle. Working one side at a time, lift the vehicle with the floor jack placed on the factory lift point.
You want to lift the vehicle high enough so that you can comfortably get underneath it.
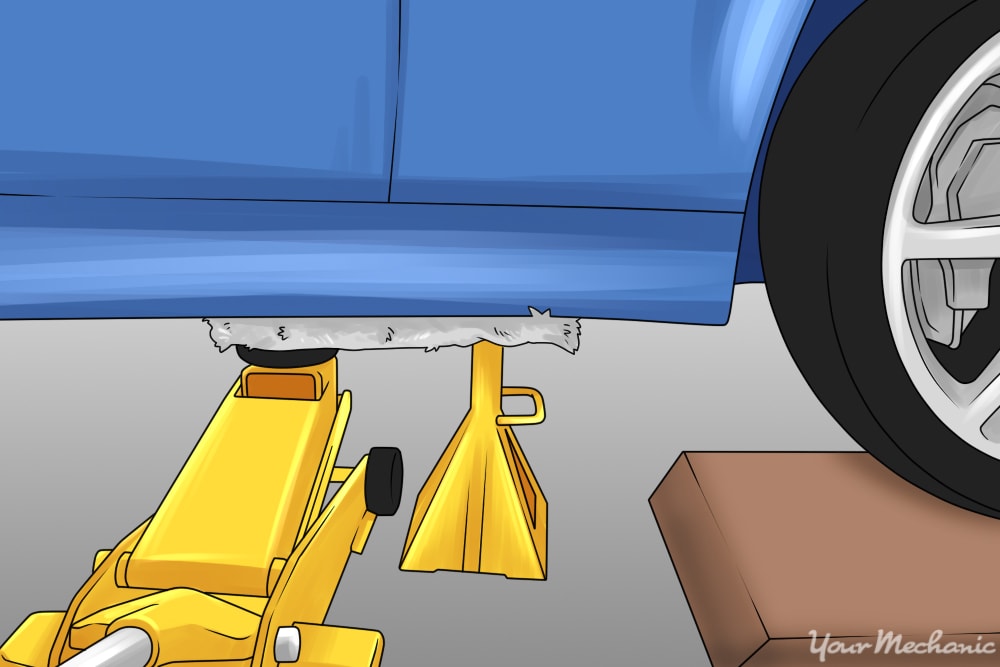
Step 4: Place the jack stand under the factory lift point. Lower the vehicle onto the stand.
You should now have room to work under your vehicle.
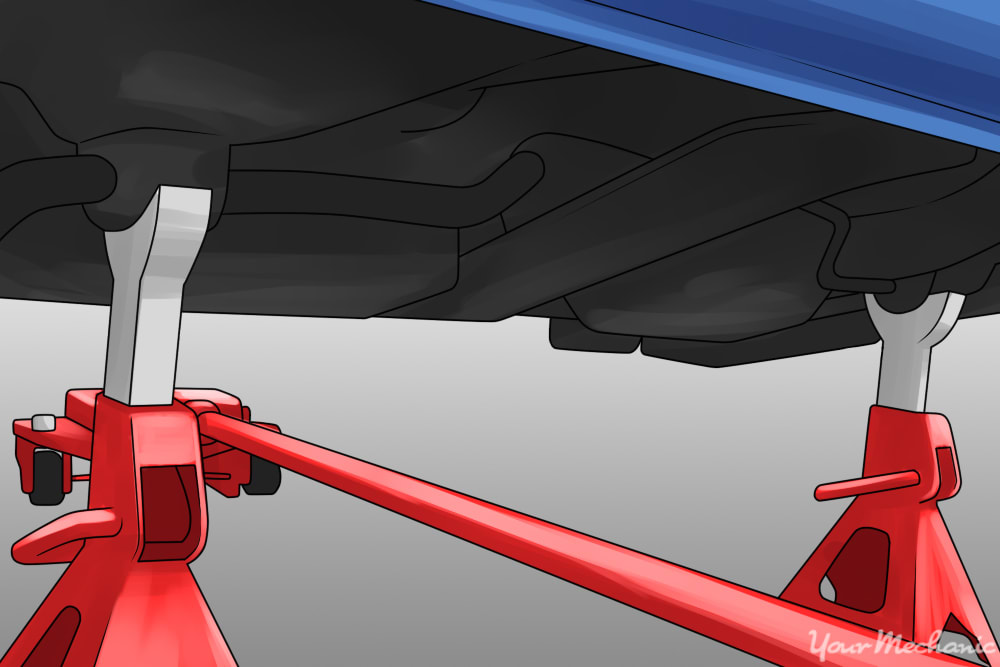
Step 5: Take some pressure off the suspension. Place the jack under the area of the suspension that you are working on first and jack it up just enough to take some of the pressure off of the suspension.
- Warning: It is important that when you jack up the suspension, the vehicle does not come off of the jack stand. You only do this on the side you are working on - if you are changing the right front shock first, you will place the jack under the right front control arm only.
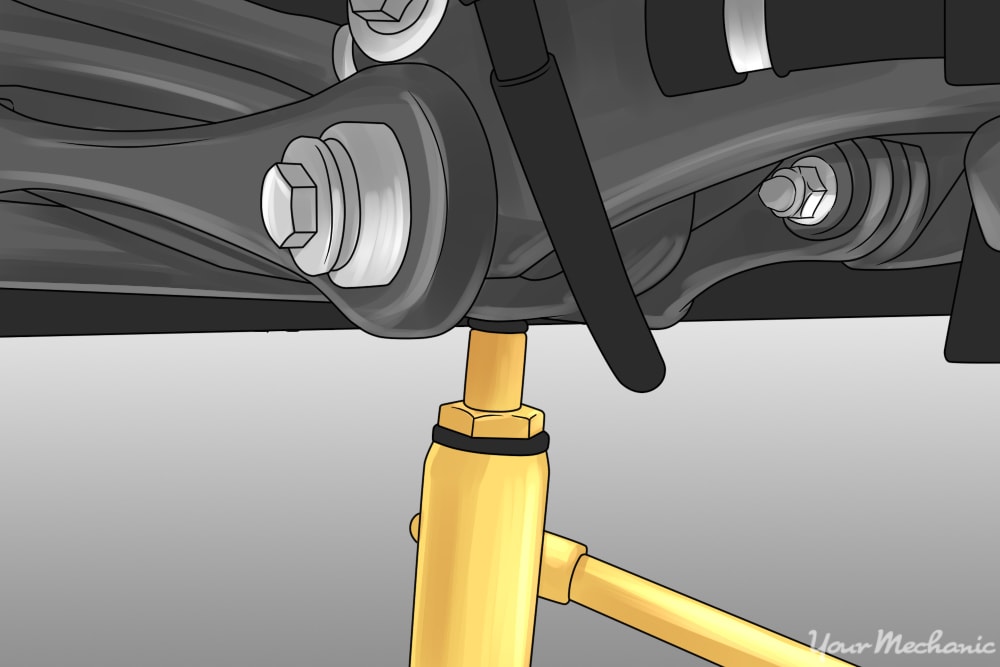
Step 6: Remove the shock mounting bolts using the appropriate socket or wrench.
Step 7: Remove the shock from the vehicle and discard.
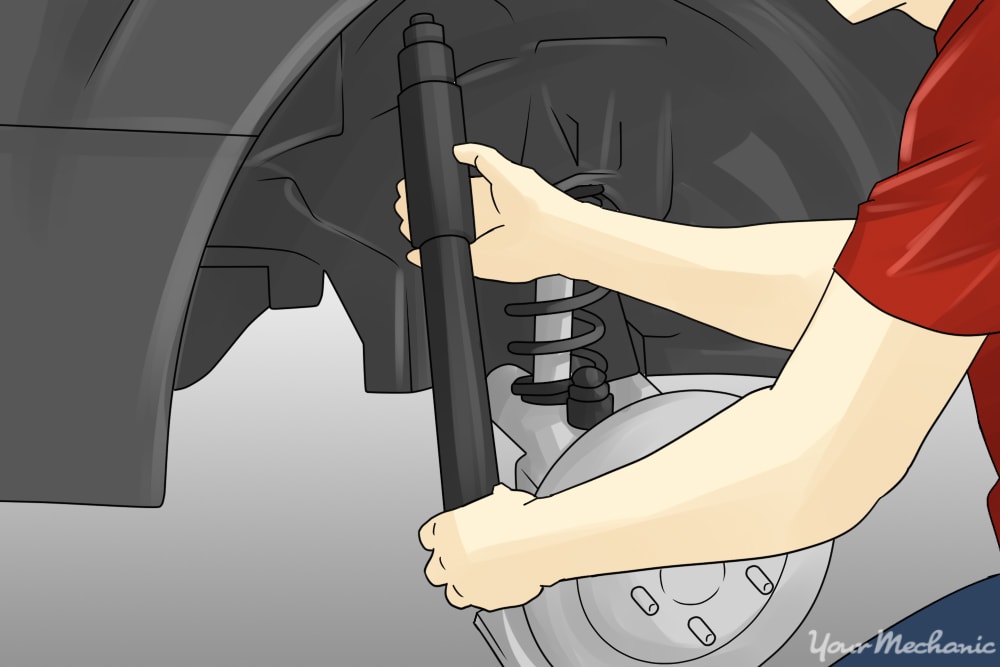
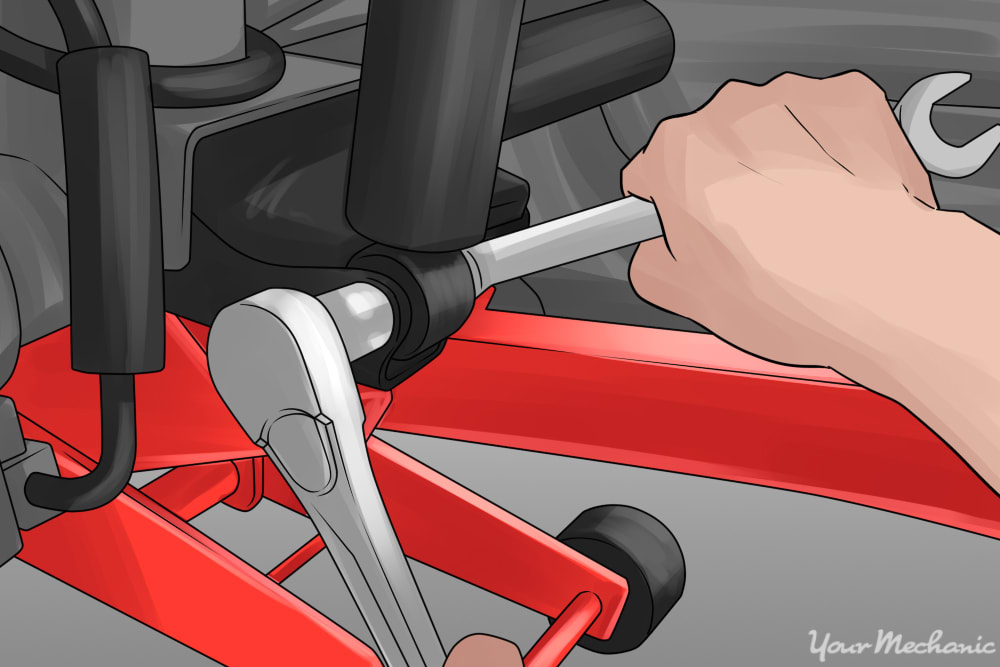
Step 8: Install the new shock and mounting bolts.
- Tip: Some new shocks will not fit easily into the mounting bracket. If it will not fit, then you may need to slightly bend the bracket.
Step 9: Torque the mounting bolts to manufacturer’s specifications. You should be able to find the specifications in the owner’s manual.
If you do not have the torque specifications, then tighten the bolts down until they are snug.
Step 10: Remove the floor jack from under the suspension.
Step 11: Lower the vehicle back to the ground. Place the floor jack under the factory lift points and lift the vehicle off of the floor jack.
Remove the floor jack and lower the vehicle to the ground.
Step 12: Remove the wheel chocks.
Step 13: Test drive the vehicle. Listen for any noises such as squeaks or pops which may indicate that something was not tightened down correctly.
If there are no noises, then you should notice that the vehicle rides much better than it previously did.
If you are not comfortable replacing your shock absorbers yourself, then you should seek the assistance of a certified mechanic. A certified mobile mechanic from YourMechanic will be happy to come to your home or office to replace your shocks.