A fuel rail pressure sensor is a component which has the ability to reduce evaporative emissions by allowing the engine just enough fuel so that it can run in the correct way. The fuel rail pressure sensor limits the ability for fuel to get left inside of the fuel line.
The fuel rail pressure sensor operates by reading the internal pressure of the rail itself, and this is how it is able to sense the precise amount of fuel still present inside of the fuel rail. When the sensor detects fuel in the rail, there is an electrical signal sent to the fuel pump to continue to pumping the fuel. Once the fuel reaches a certain pressure, there is an electrical signal sent to the fuel pump to shut it off. As the fuel pressure decreases, there is an electrical signal sent to the fuel pump to demand more fuel pressure.
When a fuel rail pressure sensor begins to malfunction, there are some primary symptoms which alert you that there is something wrong. There will be difficulty starting up, making the starter engaged for a longer time than normal. Plus, the engine may begin to operate erratically. There may even be instances where problems with a fuel rail pressure sensor leads to an engine simply cutting out during normal operation.
Engine light codes related to the fuel rail sensor on vehicles with computers:
P0087, P0088, P0170, P0171, P0172, P0173, P0174, P0175, P0213, P0214, P0190, P0191,P0192, P0193, P0194
Part 1 of 4: Verifying the condition of the fuel rail sensor
Step 1: Start the engine. Check the dash for any engine light.
Listen to the engine operation for any cylinders not firing correctly and feel for any vibrations during engine operation.
- Note: If the fuel rail sensor has completely failed, the engine may not start. Do not attempt to crank the starter more than five times or the battery will lower in performance.
Step 2: Shut the engine off and open the hood. Check for any wiring that may be broken or damaged around the fuel rail sensor.
Broken wires can cause the sensor not to function.
Part 2 of 4: Replacing the fuel rail sensor
Materials Needed
- Allen wrench set
- Boxed end wrenches
- Electrical cleaner
- Fuel hose quick disconnect kit
- Fuel resistant gloves
- Inch pound torque wrench
- Lint free cloth
- Protective clothing
- Ratchet with metric and standard sockets
- Small flat tip screwdriver
- Torque bit set
- Torque wrench
- Safety glasses
- Wheel chocks
Step 1: Park your vehicle on a flat, hard surface. Make sure that the transmission is in park (for automatics) or in 1st gear (for manuals).
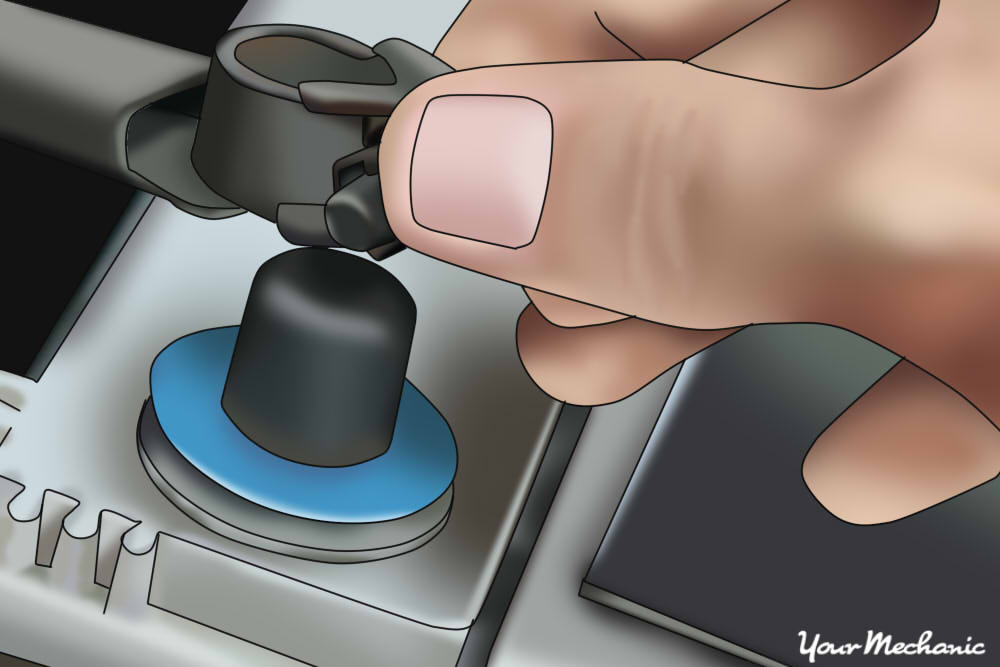
Step 2: Install a nine volt battery saver into your cigarette lighter. This will keep your computer live and keep your settings currently in the vehicle.
If you do not have a nine volt battery saver, that is okay.
Step 3: Open the vehicle’s hood to disconnect your battery. Take the ground cable off of the battery’s negative post disabling the power to the ignition system and fuel system.
Step 4: Remove the engine cover it there is on on top of the engine. Remove any brackets that may be in the way of the fuel rail sensor.
- Note: If your engine has an intake on the engine that is transverse mounted or overlaps the fuel rail sensor, you must remove the intake before removing the fuel rail sensor.
Step 5: Find the schrader valve or test port on the fuel rail. Put on safety glasses and protective clothing.
Place a small drip pan under the rail and place a towel over the port. Using a small flat screwdriver, open the valve by pushing on the schrader valve. This will bleed off the pressure in the fuel rail.

- Note: If you do have a test port or a schrader valve, then you will need to remove the supply fuel hose to the fuel rail. When doing so, you will need a drip pan under the fuel rail supply hose and a fuel hose quick disconnect tool kit. Use the proper fuel hose quick disconnect tool to remove the fuel hose from the fuel rail. This will release the pressure on the fuel rail.
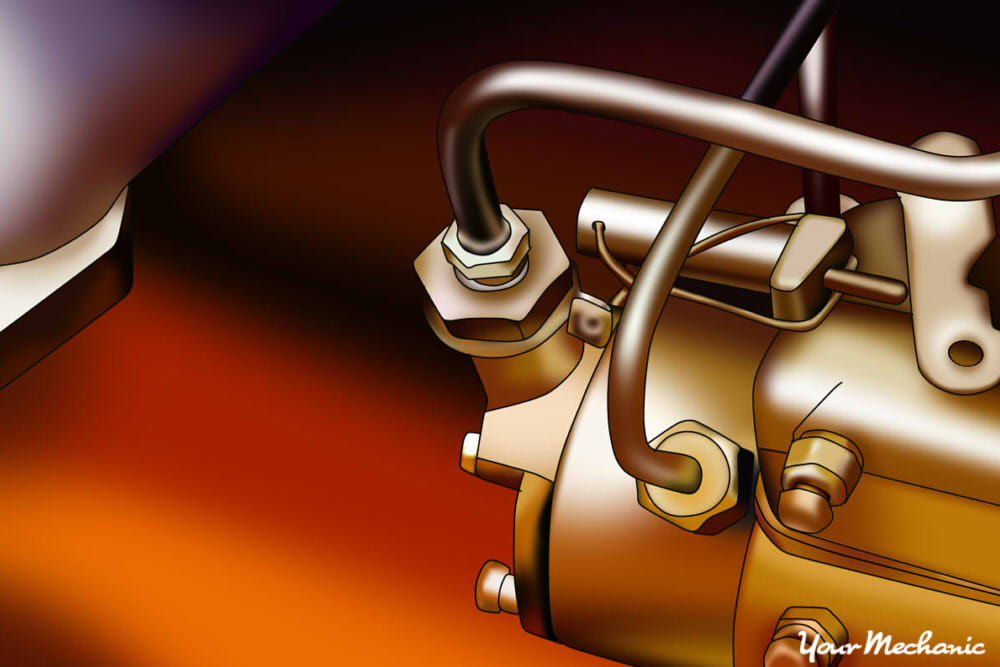
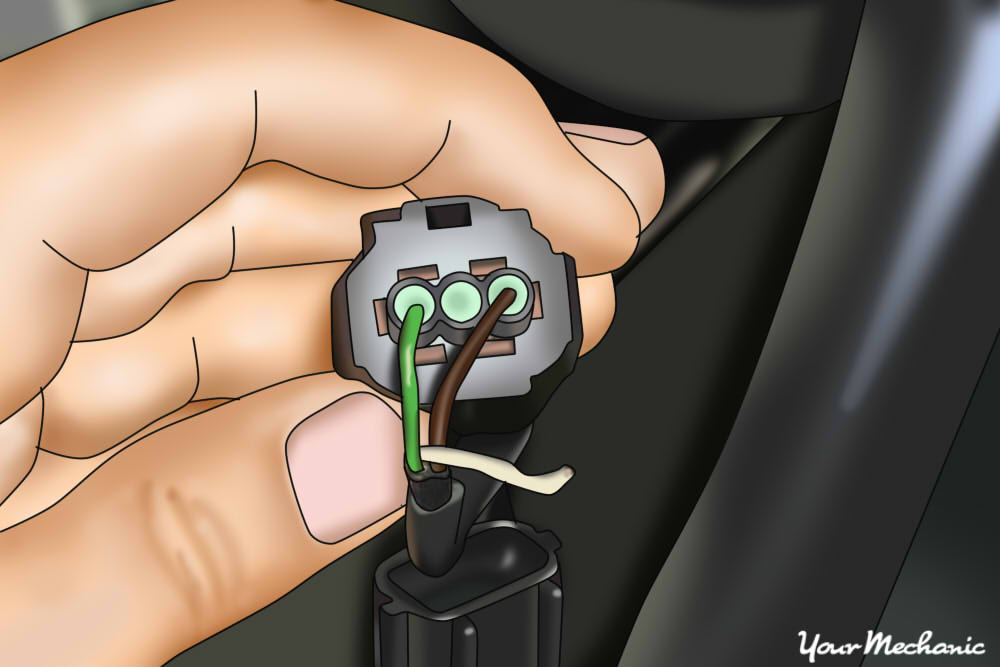
Step 6: Remove the harness from the fuel rail sensor. Remove the mounting hardware from the fuel rail sensor.
Take the fuel rail sensor off the fuel rail.
Step 7: Clean the fuel rail with a lint free cloth. Clean the fuel rail sensor harness with electrical cleaner to remove any debris.
Step 8: Install the new fuel rail sensor onto the fuel rail. Screw in the mounting hardware finger tight.
Tighten up the mounting hardware to 12 inch pounds then a 1/8 turn. This will secure the fuel rail sensor to the fuel rail.
Step 9: Plug in the fuel rail sensor harness to the sensor. Install any brackets that you had to remove to get the old sensor off.
Also, install the intake if you had to remove it. Be sure to use new gaskets or o-rings to seal the intake to the engine.
- Note: If you had to remove the pressure fuel line to the fuel rail, be sure to connect the hose back onto the fuel rail.
Step 10: Install the engine cover by snapping it back into place.
Part 3 of 4: Checking for leaks
Material Needed
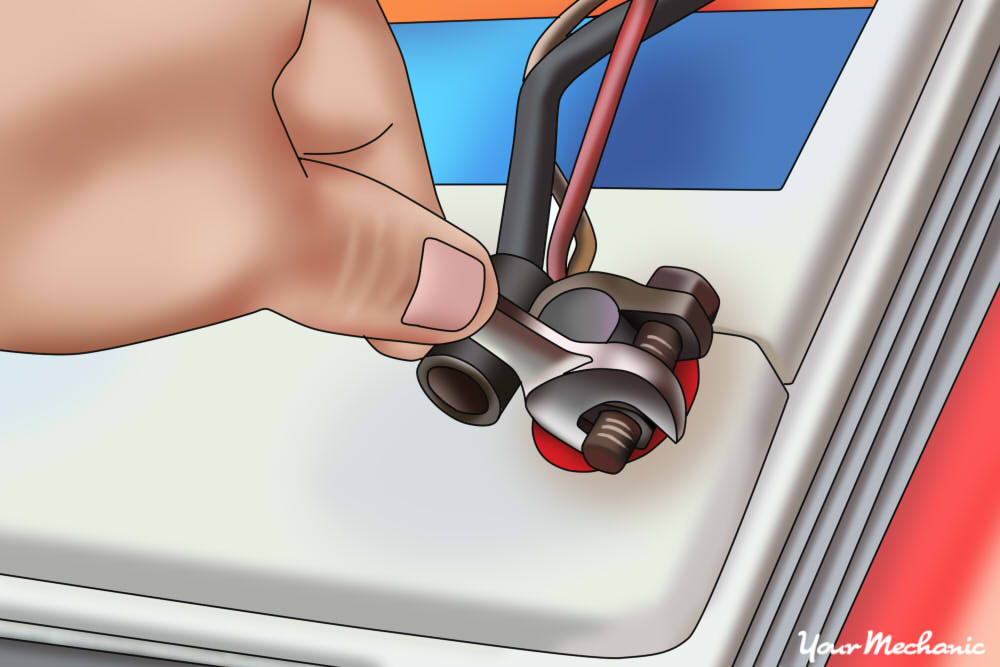
Step 1: Reconnect the ground cable back onto the battery’s negative post. Remove the nine volt battery saver from the cigarette lighter.
Step 2: Tighten the battery clamp up tight. Ensure that the connection is good.
- Note: If you did not have a nine volt battery saver, you will have to reset all of the settings in your vehicle, like your radio, electric seats, and electric mirrors.
Step 3: Turn the ignition key on. Listen for the fuel pump to activate and turn off the ignition after the fuel pump stops making noise.
- Note: You will need to cycle the ignition key on and off 3 to 4 times to ensure the entire fuel rail is full of fuel and pressurized.
Step 4: Use a combustible gas detector. Check all of the connections for any leaks and sniff the air for any fuel odors.
Step 5: Remove the wheel chocks. Put these aside.
Part 4 of 4: Test drive the vehicle
Step 1: Drive the vehicle around the block. During the test, listen for any engine cylinders not firing correctly and feel for any vibrations.
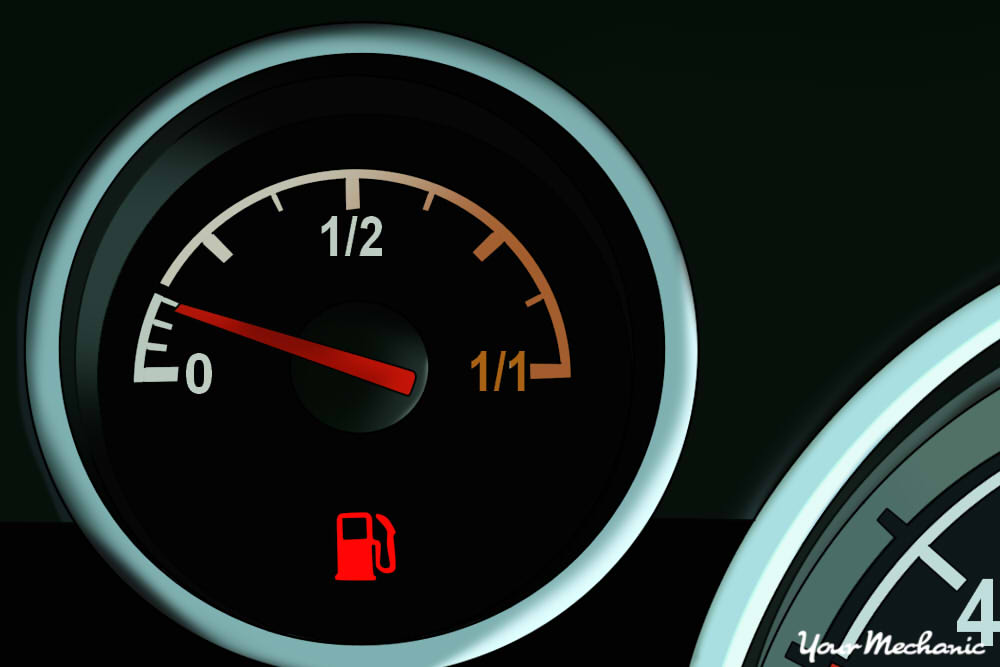
Step 2: Monitor the dash for the fuel level and for any engine light to appear.
If your engine light comes on after replacing the fuel rail sensor, then there may be further diagnosis of the fuel system needed or a possible electrical issue within the fuel system. If you have any questions about the process, be sure to Ask a Mechanic for some quick, helpful advice.
