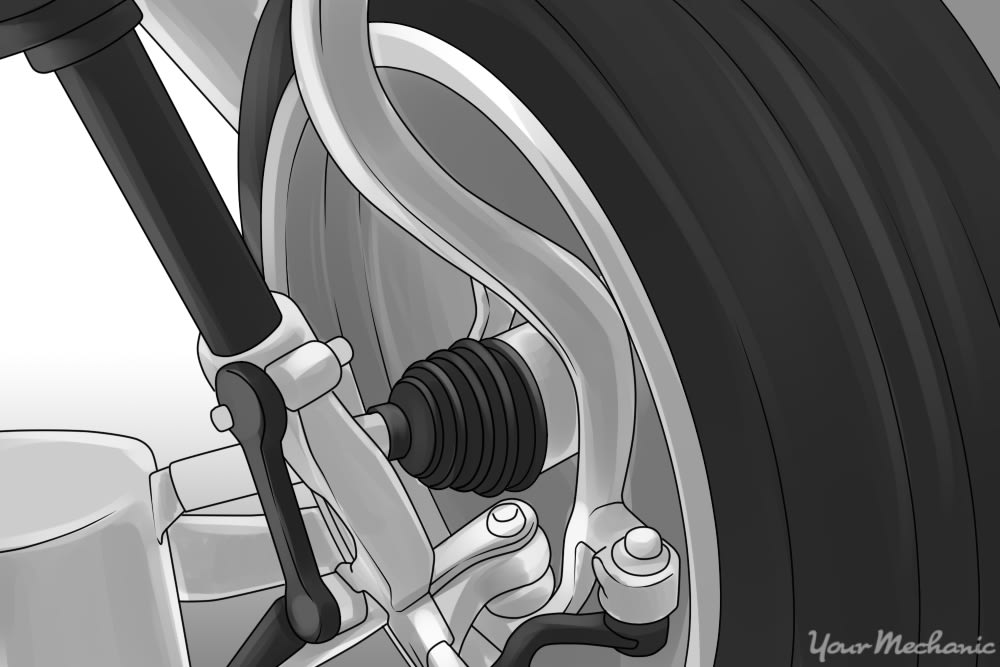

Most manufacturers mount a switch on the dash to activate the front axle in a selectable four wheel drive system. This switch sends a low voltage signal to a relay. The relay is designed to use the low voltage signal to trip a switch internally and allow a high voltage signal to be sent from the battery to the actuator on the transfer case to engage the front wheels.
By using a relay like this, there is much less draw on the charging and electrical systems throughout the vehicle. This is not only less stress on all of the components involved, but also allows carmakers to save a considerable amount of weight. With the sophistication of the modern vehicle and the needs for more and more wiring, weight has become a major factor in the engineering of the car of today.
Symptoms of a failing front axle engagement switch include a switch that does not engage, gets stuck, and even does not activate on a four-wheel drive vehicle.
The focus of this article is changing a front axle engagement switch. The common location that most manufacturers use is on the dashboard. There are several minor variations, as far as the actual location of the front axle engagement switch on the dash, but this article is written in a way that you will be able to apply the basic principles to get the job done.
Part 1 of 1: Replacing a front axle engagement switch
Materials Needed
- Screwdriver assortment
- Shop light or flashlight
- Small pry bar
- Socket set
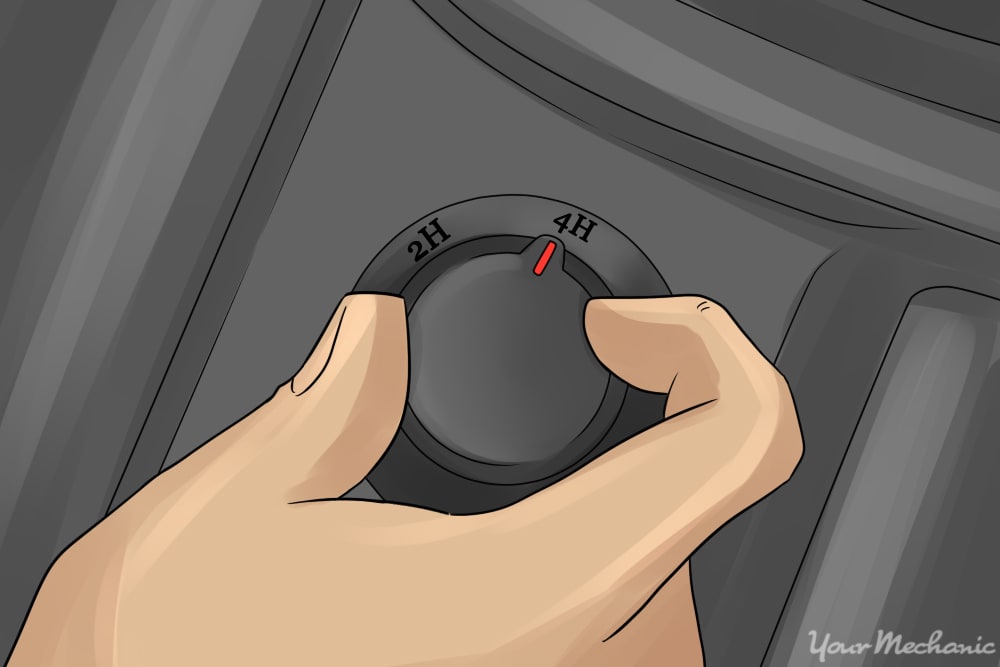
Step 1: Locate the front axle engagement switch on dash. Identify the front axle engagement switch mounted on the dash.
A few manufacturers use push button type switches, but the overwhelming majority use a rotary type switch like the one pictured above.
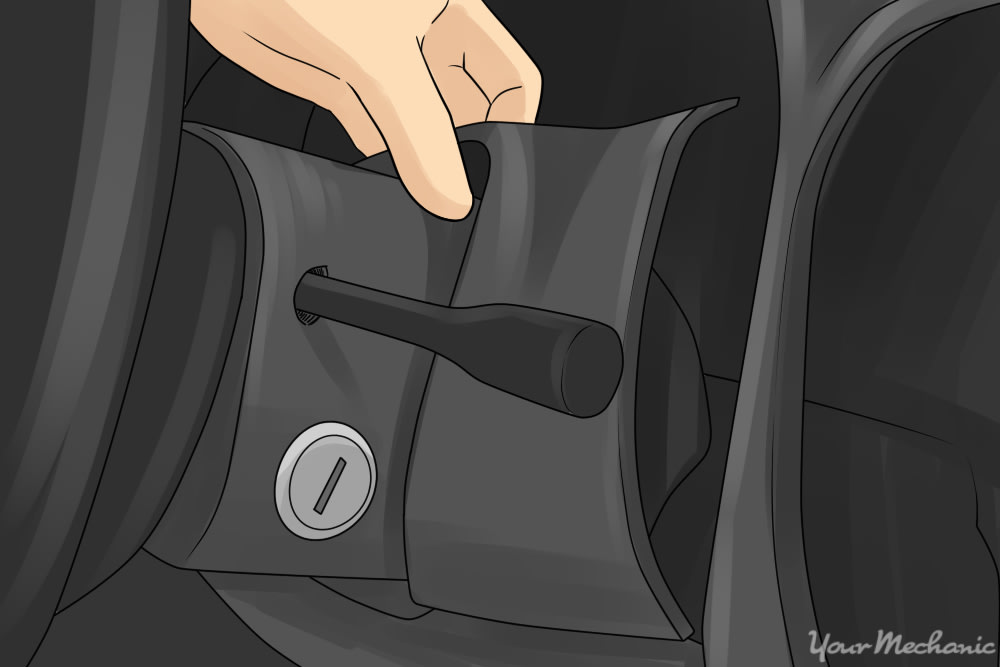
Step 2: Remove trim panel that the switch is mounted into. The trim panel can be removed by either carefully prying it out with a small screwdriver or with a small pry bar.
Some models will require the removal of any combination of screws and/or bolts to get the trim panel removed. Take care not to scratch the dash when removing the trim panel.
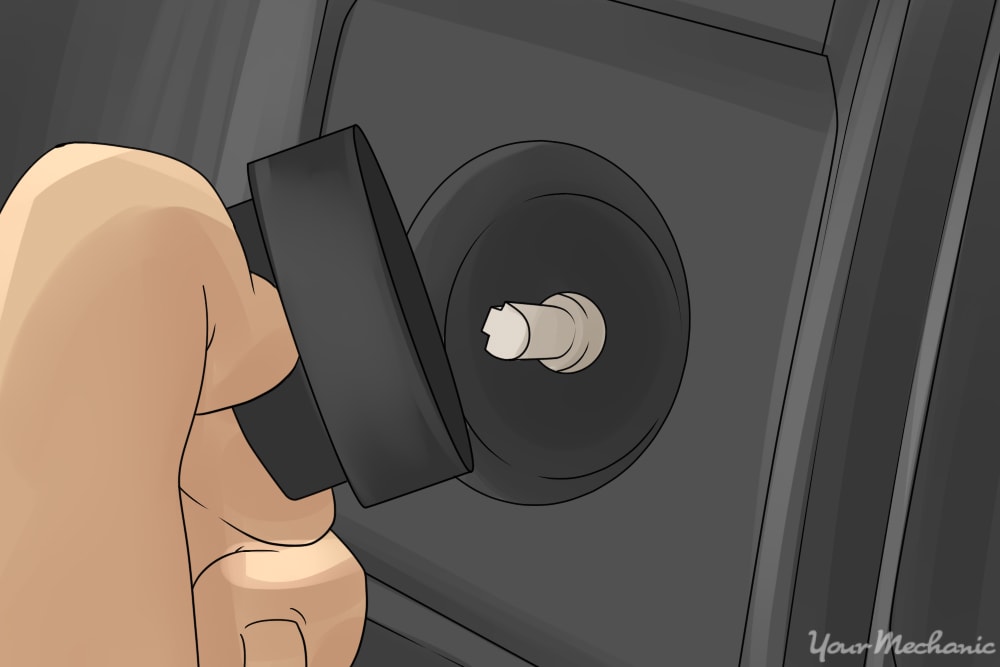
Step 3: Remove the switch from the trim panel. Remove the switch from the trim panel by pushing on the back side of the switch and pushing it through the front of the trim panel.
Some switches require you release locking tabs on the back before this is done. The locking tabs can either be squeezed together by hand or pried out lightly with a screwdriver before pushing the switch out. Again, a few manufacturers require the removal of screws or other hardware in order to get the switch out.
- Note: There are some models that require the removal of the switch face by pulling it off. The switch is removed from the back, using these same basic steps.
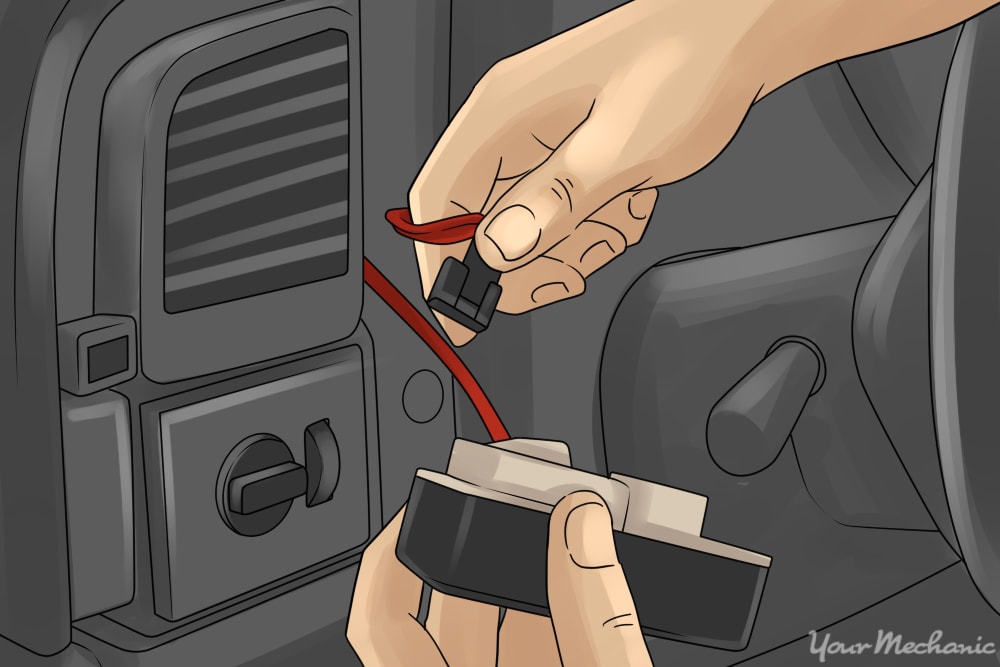
Step 4: Disconnect the electrical connector. The electrical connector can be removed by releasing the locking tab(s) and separating the connector from the switch or pigtail.
- Note: The electrical connector may plug directly into the back of the front axle engagement switch or it may have an electrical pigtail that will need to be unplugged. If there is a question, you can always look at the replacement to see how it is installed or Ask a Mechanic for some advice.
Step 5: Compare replacement front axle engagement switch to the old one. Take note that the appearance and dimensions are the same.
Also be sure that the electrical connector has the same number and orientation of its pins.
Step 6: Plug the electrical connector into the replacement front axle engagement switch. You should either feel or hear when the connector is seated far enough into the switch or pigtail to engage the retaining clip(s).
Step 7: Put switch back into bezel. Install the switch back into the bezel reversing the way it was removed.
Install it from the front and push it in until it snaps into place or from the back on a rotary switch. Also, reinstall any retaining hardware holding the switch into place.
Step 8: Reinstall bezel. Line up the bezel with the recess in the dash that it came from with the replacement switch installed and push it back into place.
Again, you should feel, or hear, the retaining tabs snap into place. Also, reinstall any retaining hardware removed during disassembly.
- Warning: A selectable four-wheel drive system is not designed to be operated on hard driving surfaces, such as blacktop or concrete. Operating these systems on this type of surface may cause expensive damage to the drivetrain.
Step 9: Verify function of replacement front axle engagement switch. Start the vehicle and drive it to an area where there is a loose driving surface.
Find a surface that consists of grass, gravel, dirt, or any material that moves as you drive over it. Put the front axle engagement switch into the “4H” or “4Hi” position. Almost all manufacturers either illuminate the switch when four wheel drive is engaged or provide a notification on the instrument cluster. Put vehicle into “Drive” and test the function of the four wheel drive system.
Warning: Most selectable four wheel drive systems are only meant to be used on loose driving surfaces. Also, most are not meant to be used at highway speeds. Consult the owner’s manual for operating ranges, but most are limited to a maximum speed of 45 miles per hour in high range.
Note: Although four wheel drive can help gain traction in adverse conditions, it will not help with stopping the vehicle in an emergency. Therefore, it is absolutely imperative that you use good judgement when driving in adverse conditions. Always remember that adverse conditions will require extended braking distances.
A selectable four wheel drive system is very useful. It gives you a little bit of extra traction when the weather turns nasty. Ice storms, snow accumulation, or just simple rain are much less frustrating when four wheel drive is available. If, at any point, you feel you could use a hand with replacing a front axle engagement switch, have one of YourMechanic’s professional technicians perform the repair for you.


