Cars are a great means of transportation and they have to have and are very handy when it comes to transporting goods. Like vans and sport utility vehicles, cars have trunks that latch firmly with today’s finest electronics.
The first trunk latch was on a Buick in 1952. From 1964 through 1966, the Ford Mustang was the first vehicle to have an electronic trunk latch. The latch worked by button in the cab, which was great to have; however, if the electronics went out or if the battery died, then the latch had to be opened by a key only.
Today, almost every car sold that has a trunk is electronic with a mechanical lever override. Usually the electronic trunk latch is operated by a Bluetooth remote. This makes the latch virtually wireless, even though it is tied into the computer’s harness. The benefits of the new electronic latch is that it can operate the latch and unlock the trunk with being a lengthy distance away from the vehicle. Plus, in the vehicle, there is a lever to operate the latch by using a cable. If the car was locked but you need to open the latch without getting in the car, you could also use a key to open the latch.
Trunk latch signs of failure
Trunk latches fail over time due to opening and closing the trunk. When a trunk latch fails, either the trunk will stay locked or it will not lock at all. Most of the time, either the cable to the latch or the key itself breaks internally. For electronic trunk latches, sometimes, the electronic switch inside the latch fails to function.
Only some cars display a separate dashboard light when the trunk is open. However, the "door open" dashboard light will come on if any trunk latch malfunctions are detected. It lets the driver know that even if the vehicle is secured with locks, the trunk may not be locked.
Part 1 of 8: Check the condition of the trunk latch
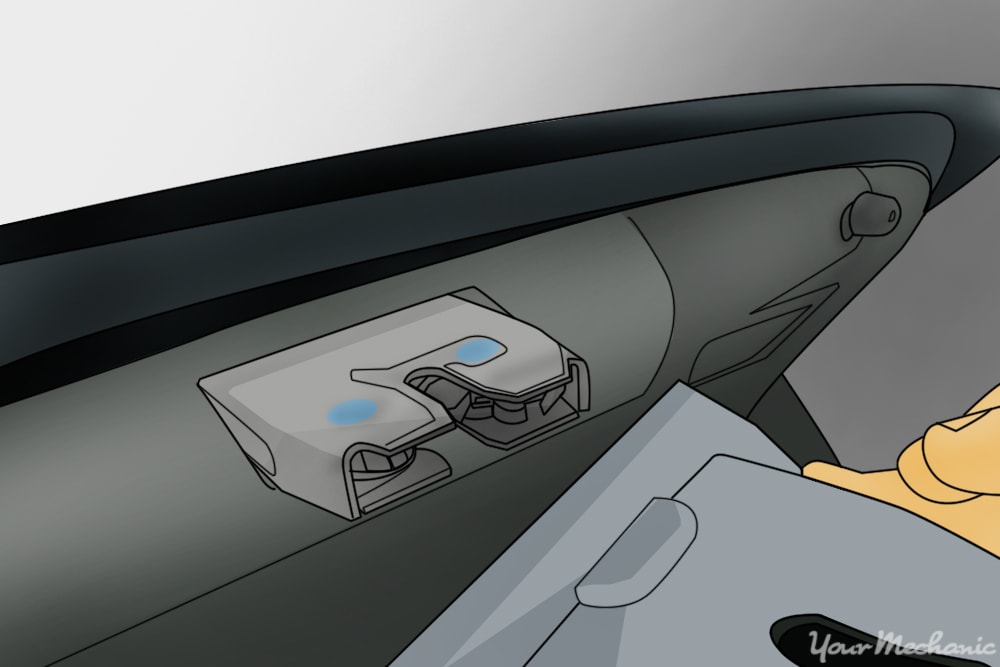
Step 1: Grab a key to the car. Put the key into the trunk latch key slot and attempt to open the trunk manually. If the trunk opens and you have a cable or a cable and electronic switch, the cable or switch may have failed.
Step 2: Open your driver door to the car. Locate the trunk latch lever and operate the lever. If the cable is not secure correctly, the cable may have slack and may not operate the trunk latch when pulled.
- Note: If you have a trunk latch that uses a key, lever, and wireless remote and you tried the key and lever and were able to open the trunk, then the problem may rely on the electronic switch making the trunk not open.
Step 3: Use your keyless remote and operate the trunk latch. The trunk should open with a type of beep sound. If the trunk does not open, try to operate the door locks. If the door locks work but not the trunk latch, then the electronic switch in the trunk latch has failed. If you try to operate the door locks and nothing happens, then the battery to the car or the battery to the wireless remote has failed.
Part 2 of 8: Prepare to replace the trunk latch
Having all of the necessary tools and materials prior to starting the work will allow you to get the job done more efficiently.
Materials Needed
- Allen wrench set SAE/Metric
- Boxed end wrenches
- Cross tip screwdriver
- Electrical cleaner
- Flat tip screwdriver
- Lisle door tool kit
- Nine volt battery saver
- Protective gloves
- Ratchet w/metric and standard sockets
- Safety glasses
- Torques bit set
- Wheel chocks
Step 1: Park your vehicle on a flat, hard surface.
Step 2: Place wheel chocks around the rear tires that will be remaining on the ground. Engage the parking brake to the lock the rear tires from moving.
Step 3 and 4 apply only to vehicles with electronic trunk latch
Step 3: Install a nine volt battery saver into your cigarette lighter. This will keep your computer live and keep your setting current in the vehicle. If you do not have a nine volt battery saver, that ok.
Step 4: Open the vehicle’s hood to disconnect your battery. Take the ground cable off of the battery’s negative post disabling the power to the electronic trunk latch.
Part 4 of 8: Remove the trunk latch
Mechanical trunk latch
Step 1: Try to open the trunk. If you are unable to open the trunk, you can use a flat tip screwdriver to move the trunk latch arm off the trunk striker.
Step 2: Remove any vinyl covering from the trunk. On older vehicles, you just have to pop out the tabs to remove the vinyl covering.
Step 3: Remove the mounting bolts that secure the trunk latch to the trunk or trunk hood. Use a flat tip screwdriver and carefully remove the latch.
Step 4: Use needle nose pliers to remove the cotter pin securing the cable to the trunk latch. Pull off the cable from the trunk latch.
Mechanical/Electronic trunk latch
Step 1: Try to open the trunk. If you are unable to open the trunk, you can use a flat tip screwdriver to move the trunk latch arm off the trunk striker.
- Note: On newer cars, you can get into the trunk through the back seats in the car if you need to get to the latch from inside the trunk.
Step 2: Remove any vinyl covering from the trunk. On older vehicles, you just have to pop out the tabs to remove the vinyl covering.
- Note: Most newer vehicles use vinyl that is secured with plastic push in locks. You can remove them with a lisle door tool. Be careful not to break the plastic push locks.
Step 3: Remove the mounting bolts that secure the trunk latch to the trunk or trunk hood. Use a flat tip screwdriver and carefully remove the latch.
Step 4: Use needle nose pliers to remove the cotter pin securing the cable to the trunk latch. Pull off the cable from the trunk latch.
Step 5: Remove the harness from the trunk latch. Use electrical cleaner to clean out the harness. This removes any debris and moisture from the harness for a good connection.
Part 5 of 8: Install the new trunk latch
Mechanical trunk latch
Step 1: Install the cable onto the trunk latch. Be sure to use a new cotter pin to secure the cable.
- Note: Cotter pins will break due to work harden. Old cotter pins are not to be trusted and fail almost all the time after additional spreading and closing.
Step 2: Install the new trunk latch into the trunk. Screw in the mounting bolts finger tight and then tighten them additional 1/8 turn.
Step 3: Put back in the vinyl into the trunk. Snap in all of the tabs to secure the vinyl.
Mechanical / Electronic trunk latch
Step 1: Install the cable onto the trunk latch. Be sure to use a new cotter pin to secure the cable.
- Note: Cotter pins will break due to work harden. Old cotter pins are not to be trusted and fail almost all the time after additional spreading and closing.
Step 2: Hook up the harness to the trunk latch.
Step 3: Install the new trunk latch into the trunk. Screw in the mounting bolts finger tight and then tighten them additional 1/8 turn.
Step 4: Put back in the vinyl into the trunk. Snap in all of the tabs to secure the vinyl.
Part 6 of 8: Connect the battery
Step 1: Open the vehicle’s hood if it is not already open. Reconnect the ground cable back onto the battery’s negative post. ** Remove the nine volt battery saver from the cigarette lighter**.
Step 2: Tighten the battery clamp up tight to ensure that the connection is good.
- Note: If you did not have a nine volt battery saver, you will have to reset all of the settings in your vehicle, like your radio, electric seats, and electric mirrors.
Step 3: Remove the wheel chocks from the vehicle and clean up your tools.
Part 7 of 8: Test the trunk latch
Step 1: Grab a key to the car. Put the key into the trunk latch key slot and attempt to open the trunk manually. The trunk latch should release and open the trunk hood.
Step 2: Open your driver door to the car. Locate the trunk latch lever and operate the lever. The lever should pull on a cable manually releasing the trunk latch. Check to see if the trunk hood opens.
- Note: Not all vehicles have a spring loaded trunk hood
Step 3: Use your keyless remote and operate the trunk latch. The trunk should open with a type of beep sound. Check to see if the trunk hood opens.
If the trunk will not open after replacing the trunk latch, then there may be further diagnosis of the trunk latch or a possible electronic component failure.
If the problem persists, then you should seek out help from one of our certified mechanics that can inspect and adjust the trunk latch and diagnosis the problem.
