When you’re pounding through backcountry trails after the sun goes down, you need more than just your headlights to illuminate the road ahead of you. Offroad lights come in many shapes and sizes including:
- Bumper-mounted spotlights
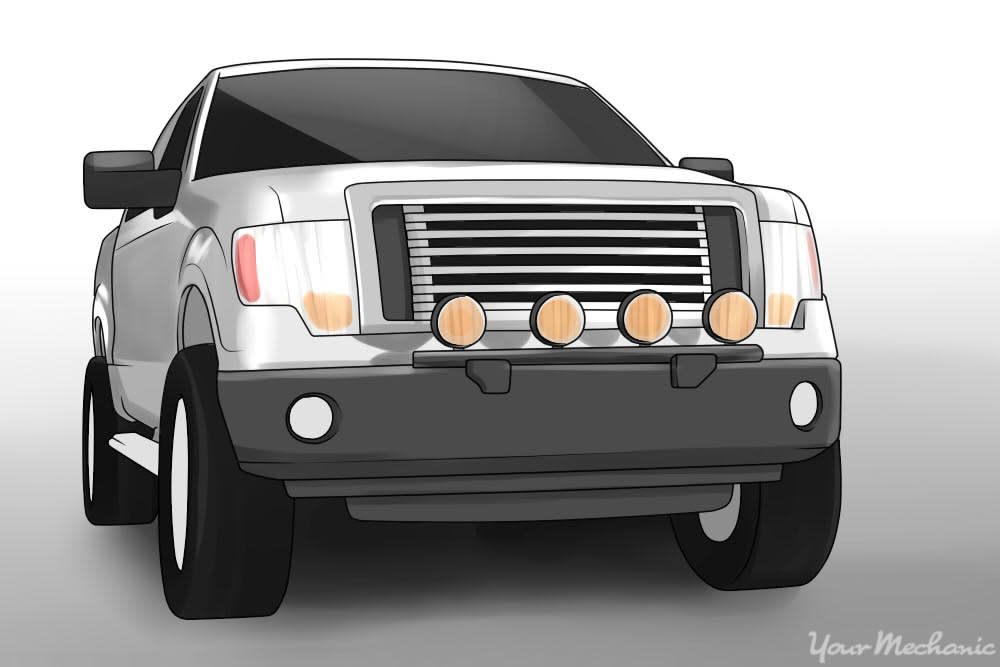
- Grille-mounted offroad lights
- Remote-controlled LED spotlights
- Roof-mounted light bars
Lights vary in color, brightness, placement, and purpose. When you are looking to add viewing ability to your offroading, you’ll need to choose lights based on what is important for you.
LED lights come in an array of styles, brightnesses, and colors. They are incredibly long-lasting with most expected to operate for 25,000 hours or more. They are the most sturdy choice because they do not use a filament that can burn out or dislodge in rough conditions and should never need a bulb replacement. LED lights are more expensive than traditional lights, often two or three times the initial cost.
Incandescent lights use a traditional bulb with a filament. They have been around for a very long time and are a lower cost option than LED lights. They are reliable, and when bulbs do burn out they can be replaced at a minimal cost, unlike LED lights that cannot be repaired and have to be replaced as an assembly. Incandescent lights can burn out easier because the bulbs and filaments are more delicate and can leave you in the dark at the most inconvenient of times.
Part 1 of 3: Choose a light for your needs
Step 1: Determine your needs. Determine what your needs are based on your offroading conditions and habits.

If you are driving at high speeds, roof mounted lights that cast light for a long distance are a great choice.
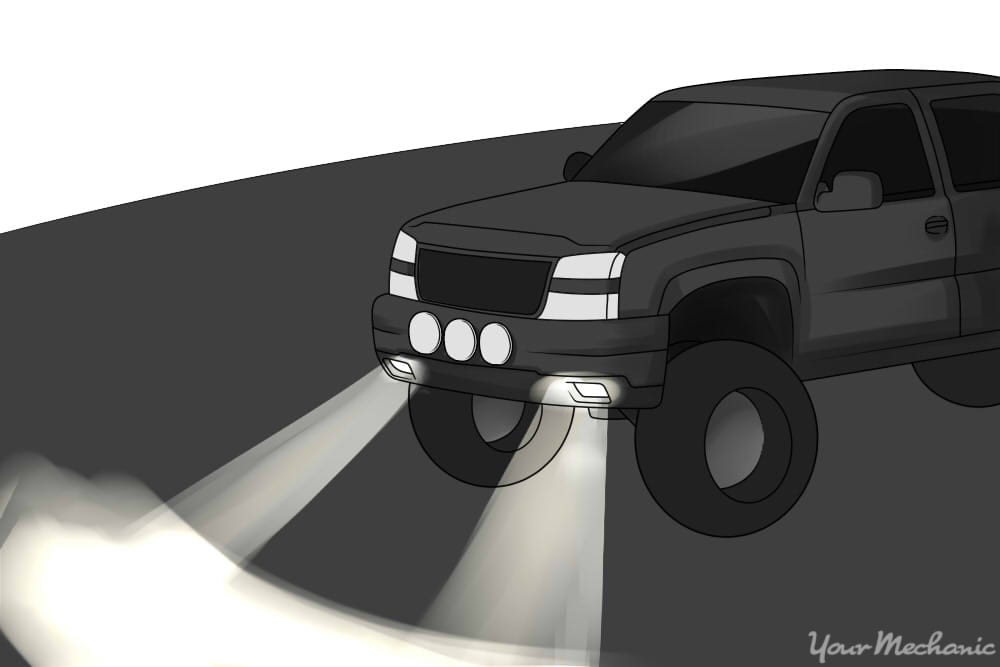
If you plan to drive at low speeds such as rough-terrain trail rides or rock crawling, bumper or grille-mounted lights are your best option.
If you are doing a combination of offroading practices, you can add several styles of lights to your vehicle.
Consider the quality of the lights you are choosing. Read reviews online to determine if the lights will be a good choice for your purpose and if they will last in the conditions they will be used in.
- Warning: Driving on the highway with offroad lights lit is dangerous to oncoming traffic as it can be blinding to other drivers. In many areas, you can be fined for driving on roads with offroad lights on, and in some places you can be ticketed if the lights aren’t covered.
Step 2: Purchase the necessary supplies. Buy high-quality lights backed by a manufacturer’s warranty in case of failure.
Part 2 of 3: Install the lights on your vehicle
- Tip: Check the packaging your offroad lights came in to determine exactly which tools you may need for your application.
Materials Needed
- Drill bits
- Marker or pen
- Masking tape
- Measuring tape
- Power drill
- Ratchet and sockets
- Silicone
- Touchup paint
Step 1: Determine your mounting location. Your offroad lights will need to be mounted in a location where wiring can be run in a relatively safe fashion.
The fasteners on the lights will need to be accessible to tighten them sufficiently.
The area will need to be flat if it is roof-mounted so you can seal the spot after the light is mounted.
Step 2: Mark the light locations. Put a piece of masking tape on your mounting location for one side and mark the exact spot clearly with a marker or pen.
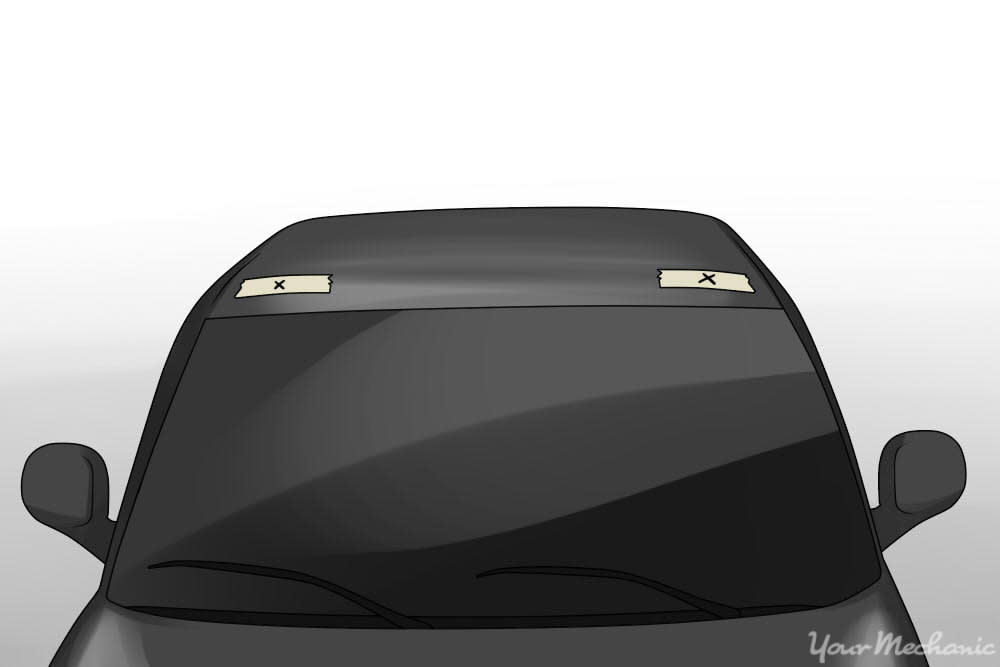
Measure the exact location with a measuring tape. Place a piece of tape on the other side of your vehicle at the same location, marking an exact spot equidistant to the first location.
Step 3: Drill holes for your lights and wiring.
- Tip: Always use the exact drill bit measurement that your light’s instructions indicate so you don’t have issues fastening the lights in place or sealing the spot afterwards.
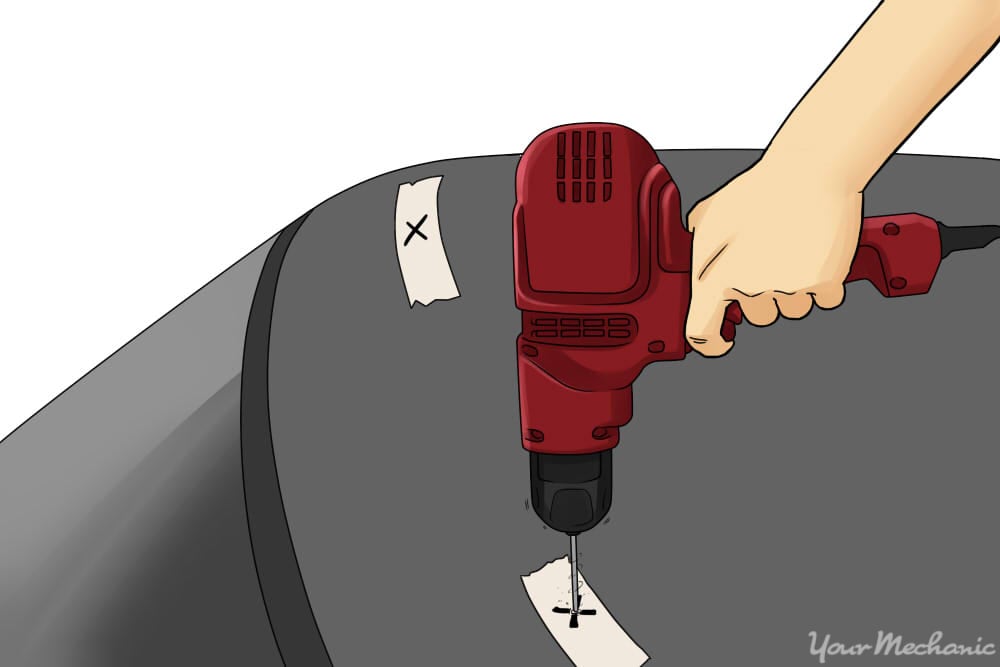
Check the mounting location to make sure nothing behind the mounting spot will be damaged by the drill bit such as the headliner. If there is, move it out of the way or relocate your lights to an alternate location.
Drill a hole through the metal at your desired location with the power drill and the correct size drill bit.
Drill through the masking tape. The tape will prevent paint from flaking and will help to keep your drill bit in place to start the hole.
Be careful not to drill too far. Once the tip of the drill bit has penetrated the metal, pull the drill bit back immediately.
Repeat for the other side light. If your wiring is to be run through the metal, drill the appropriate hole for the wiring at the same time. Some mounting bolts have the wiring going through the bolt.
Step 4: Touch up the paint on the raw metal. To prevent rust from forming, apply touch-up paint to the raw metal from the drilled holes.
Touchup paint will also make the edges less sharp so wiring won’t chafe.
Step 5: Install the lights in their locations. Run a small bead of silicone along the edge of the hole where the light will be mounted. This will seal the hole from water leaks and is especially important for roof-mounted lights.

Place the mounting bolt from the light assembly into the hole you drilled.
Make sure the light assembly is pointed in the forward direction you want. Depending on the light style, you may or may not have the ability to adjust the light direction afterwards.
On the underside of the hole, install a washer and nut on the bolt and tighten by hand until snug.
Finish tightening the nut with your ratchet and socket.
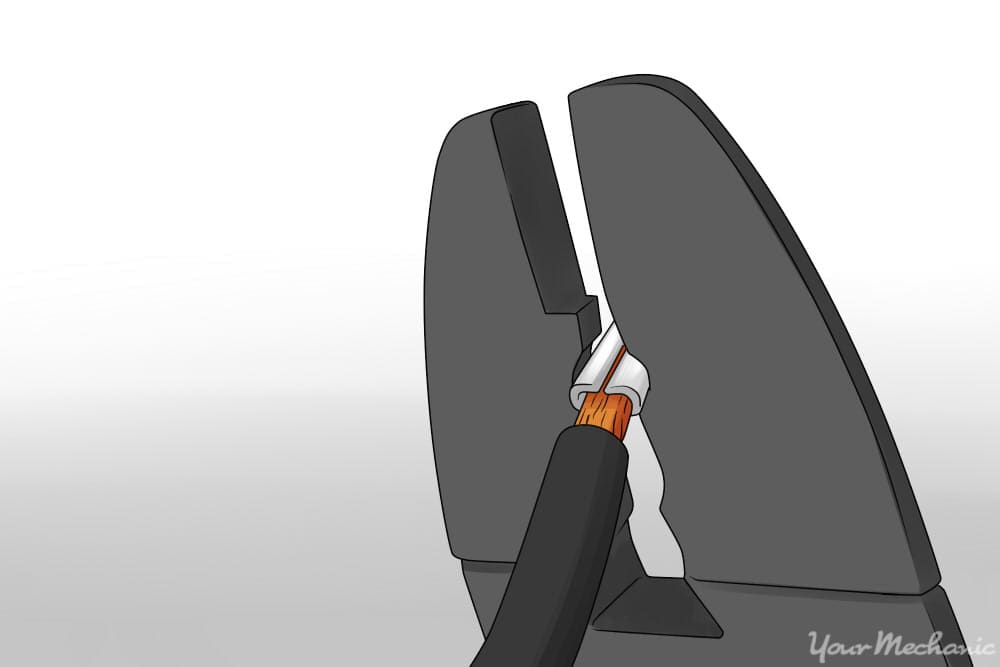
Step 6: Install grommet. If the wiring is going through the body, install a grommet in the wiring hole. This prevents the wires from rubbing through and grounding out.
Put the wires through the grommet. Seal the wiring in the grommet once light is finished.
Part 3 of 3: Install the wiring for your offroad lights
Materials Needed
- Battery terminal wrench
- Crimping tool
- Crimp-style wiring connectors
- Extra wiring
- Fuse holder with fuse
- Light switch
- Power drill with drill bit
- Screwdrivers
- Wire strippers
Step 1: Disconnect the battery. To prevent the possibility of electric shock, fire, or damage to your new lights, disconnect the battery.
Disconnect the negative terminal from the battery first using the battery terminal wrench.
Turn the battery clamp counterclockwise and remove the clamp when it is loose.
Repeat for the positive battery terminal.
Step 2: Install the switch in your desired location.
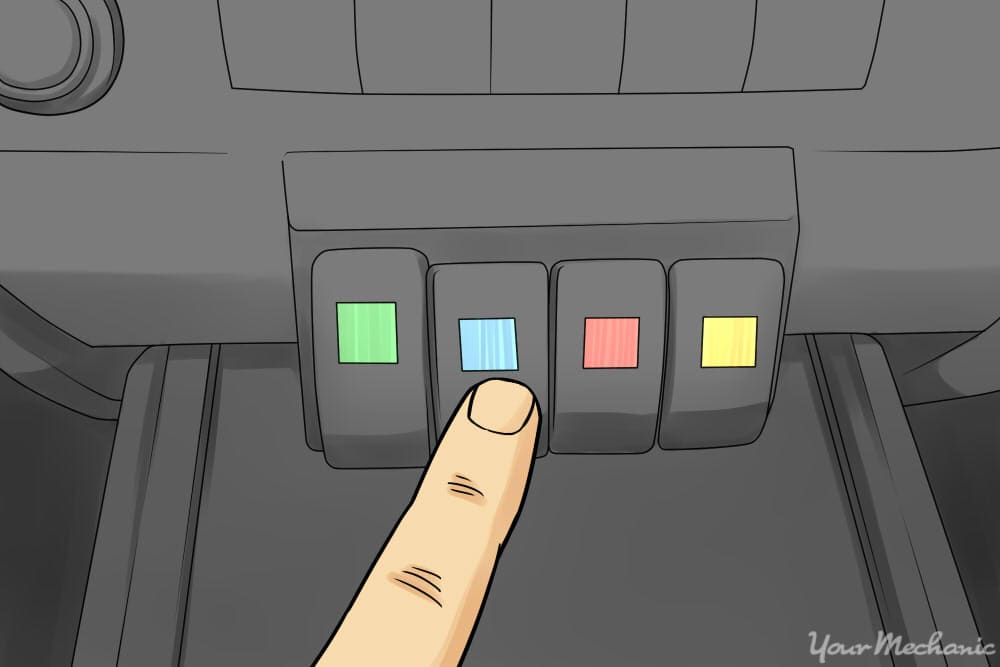
Choose a location that is easily accessible to the driver such as on the center console, under the radio, or on the dash by the steering column.
Depending on the style of switch and your choice of mounting location, you may need to drill a hole to install the switch or to run the wires through.
Install wires on the switch. One wire will run to the battery to supply power to the switch, and another will attach to the lights to supply power to illuminate them.
Step 4: Connect you lights. Connect the wiring to your lights. The lights will have a ground wire that is black and another wire that supplies power to the lights.
Connect the wire from your switch to the power wires on your lights. Use connectors if they are supplied with your lights.
If your lights do not have connectors included, strip a half-inch of bare wire from the end of each power wire using your wire strippers.
Slide each end in a crimp-style wiring connector. Crimp the connector onto the wires by squeezing with a crimping tool or a pair of pliers. Squeeze tightly so the connector squishes the wires inside.
Do the same with the ground wires if they do not have a harness. Connect the end of the ground wire to a bare metal location hidden either under the dash or under the hood.
You can use an existing location or you can drill a new spot and attach the ground wire with a screw.
Step 5: Install the power wire to the battery.
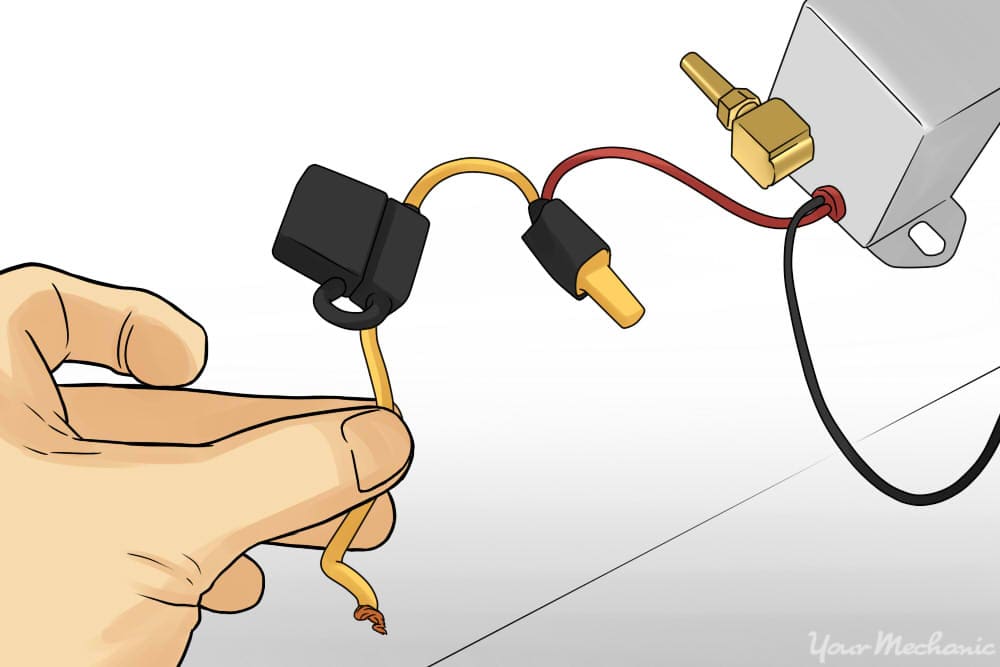
There must be a fused connection to the battery. If there isn’t one on the supplied wiring with the lights you purchased, install an inline fuse holder onto the wire with the same crimp connectors and tool.
One end runs to the switch on your dash and the other end attaches directly to your battery.
Connect the wire to your battery terminal, then install the fuse.
Step 6: Reconnect your battery. Connect the positive terminal first, using your battery terminal wrench in a clockwise direction.
Make sure the offroad light power wire is firmly attached here.
Connect the negative terminal, turning the terminal in a clockwise direction.
Test the operation of your offroad light to make sure they are pointed at the right angle. Adjust them as necessary to suit your needs.
