Mud flaps or mud guards can be used to minimize the amount of spray, or water, that a car, truck, or SUV produces while driving in wet, muddy, or rainy conditions. Slightly different than spray guard, a mud flap is a longer, wider device commonly made of rubber or composites that can be used on any type of vehicle.
Part 1 of 2: Installing "no-drill" mud flaps on a car
Installing mud flaps can commonly can be done in one of two ways, either “no-drill” or requiring a drill for some necessary bolt holes.
While it is recommended to follow the instructions for your specific make and model of mud flap, general steps for installing a “no-drill” mud flaps are as follows:
Step 1: Clean the wheel area. Clean the area where the mud flaps will be installed.
Step 2: Create space between the tire and wheel well. Turn the front wheels to the left fully for the most clearance between the tire and wheel well.
Step 3: Check for placement. Test that the flaps will work for your vehicle by holding them up and comparing them to the shape and fit of the space available and check for a “RH” or “LH” mark for proper placement.
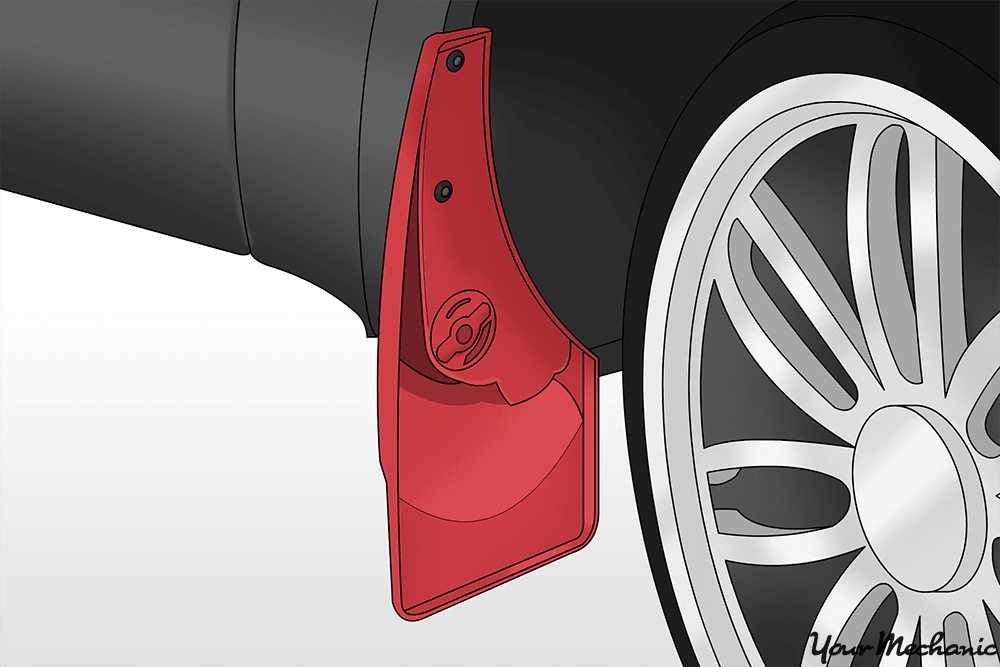
Step 4: Locate the holes. Your vehicle should have holes factory drilled into the wheel well for these mud flaps to work. Locate these holes and remove the screws that are currently in place.
Step 5: Put flaps into place. Move mud flaps into place and reinstall screws into the holes in wheel well to install mud flaps, without fully tightening.
Step 6: Tighten the screws. Adjust placement and angle of mud flaps and fully tighten screws.
Step 7: Install any extras. Install any additional screws, nuts, or bolts that may have come with the mud flaps.
- Note: If a hex nut was provided, be sure to install it between the mudflap and wheel wheel.
Part 2 of 2: Installing mud flaps that need to be drilled
To install mud flaps that require holes drilled into the vehicle, the following general steps will walk you through the process:
Step 1: Clean the wheel area. Clean the area where the mud flaps will be installed.
Step 2. Create space between the tire and wheel well. Turn the front wheels to the left fully for the most clearance between the tire and wheel well.
Step 3: Check for placement. Test that the flaps will work for your vehicle by holding them up and comparing them to the shape and fit of the space available and check for a “RH” or “LH” mark for proper placement.
Step 4: Mark where to drill the holes. If your vehicle does not have the necessary factory drilled into the wheel well for your mud flaps to work, use the mud flaps as a template and clearly mark where the drill holes are needed.
Step 5: Drill the holes. Drill the holes based on the template you created.
Step 6: Install the flaps. Move mud flaps into place and install screws, nuts, and bolts into the holes in wheel well to install mud flaps, without fully tightening.
Step 7: Tighten the screws. Adjust placement and angle of mud flaps and the fully tighten screws.
- Note: If a hex nut was provided, be sure to install it between the mudflap and wheel wheel.
Again, it is highly recommended to locate installation instructions specific to the mud flaps you are installing on your vehicle; however, if it is not possible, the information above can be of help.
If you have any questions about mounting or installing mud flaps on your vehicle, ask a mechanic for help on how to do so.
