
The fuel tank on your car is typically located under the rear or middle of the vehicle. There can be a number of reasons why you would need to remove it; the most common reason is needing to replace the fuel pump. The tanks may need to come out due to leakage, contamination, or possibly from other sensors or parts failing on the tank itself.
Dropping a fuel tank can be difficult depending on the vehicle it is in and how much fuel is in the tank. You can make removing the fuel tank a little less daunting, if you know what you are doing and have the correct tools and equipment to do so.
Part 1 of 2: The fuel tank
The fuel tank has one primary duty, and that is to store fuel for your vehicle.
Fuel tanks can come in all different sizes and dimensions, depending on where it needs to fit in the vehicle and what the fuel capacity is for a particular vehicle. Most are mounted under the vehicle and are easy to access, though others may be buried under the vehicle's frame.
The fuel tanks on modern vehicles are made of plastic, which weighs less than the older metal tanks and also prevents corrosion. The only upside to the metal tanks is that they can typically be repaired, while plastic tanks must be replaced if they have any damage to them.
Besides holding fuel, the tank will also hold most of the fuel vapor until it can be burnt off in the engine.
Part 2 of 2: Replacing your fuel tank
Materials Needed
- Container (large and fuel resistant)
-
Fluid pump
- Fuel line spring release tool
- Hydraulic floor jack
- Hydraulic transmission jack
- Jack stands
- Ratchet w/sockets and extensions
- Wheel chocks
Step 1: Park your vehicle on a flat, hard and level surface.
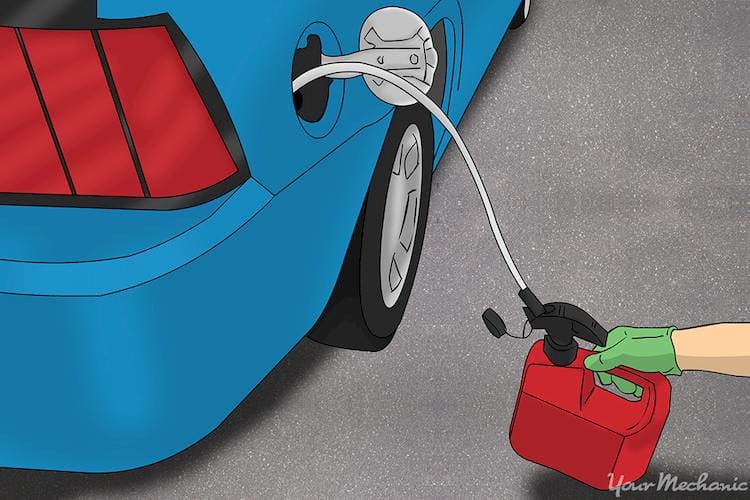
Step 2: Remove any fuel from the vehicle. Using the fluid pump and the container, pump out as much of the fuel from the tank as you can by going through the fuel filler port.
The more fuel you remove, the lighter the tank is - making it easier to remove.
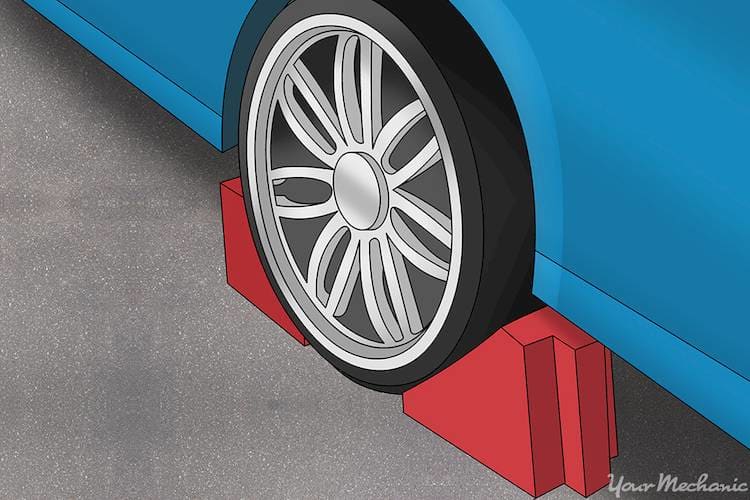
Step 3: Place the wheel chocks around the front tires.
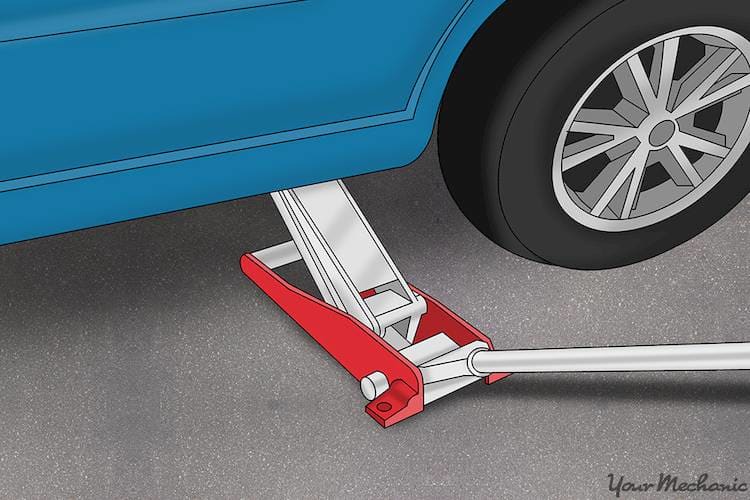
Step 4: Raise the car up using the floor jack. Working on one side at a time, lift the rear of the vehicle with the hydraulic floor jack placed under the body pinch weld.
- Tip: You will want to lift the vehicle as high as your jack stands will allow, to have enough clearance for the fuel tank.
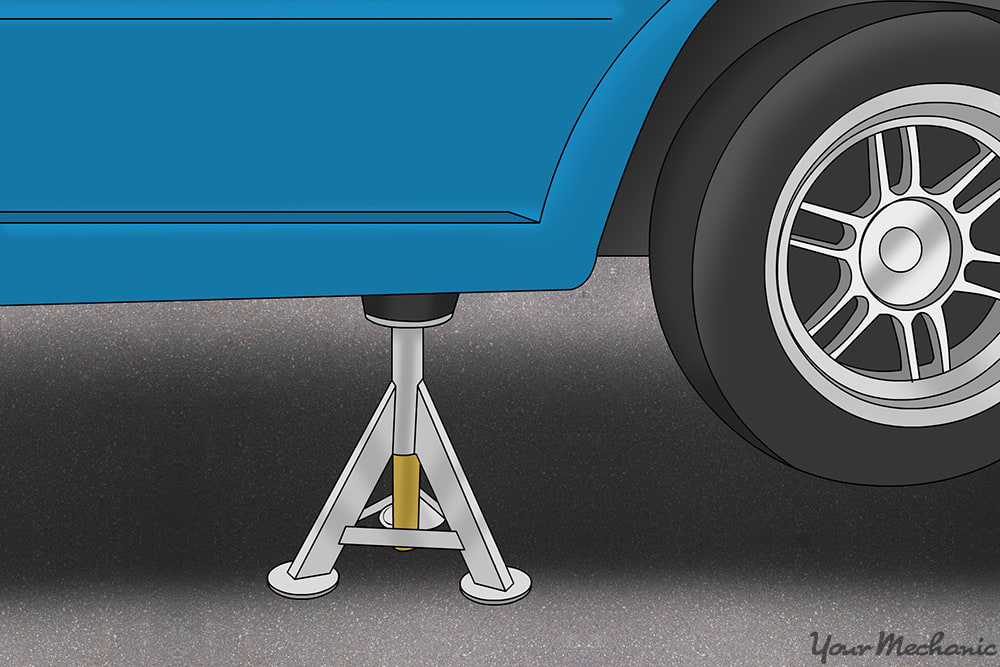
Step 5: Rest the car on the jack stands. Place the jack stand under the body pinch weld and lower the vehicle onto the stand.
Step 6: Locate the fuel tank under the vehicle. If your car isn’t an antique, the fuel tank should be a plastic reservoir with hoses attached.
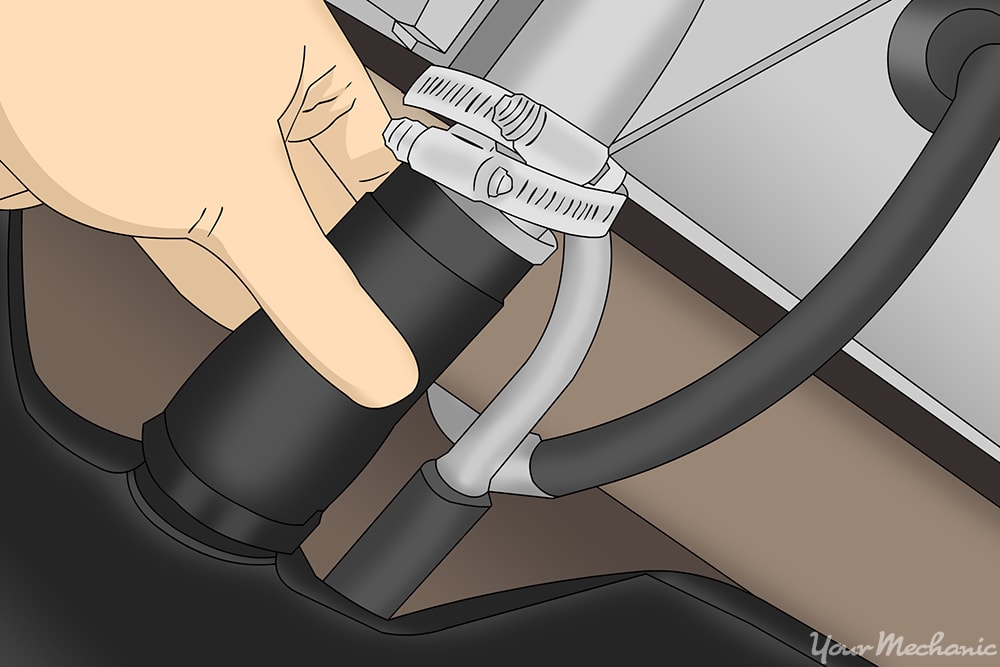
Step 7: Remove the fuel tank hoses. Using your ratchet and the appropriate socket, loosen the hose clamp on the fuel filler tube and the vent tube where they connect to the fuel tank. Then remove the hoses from the tank.
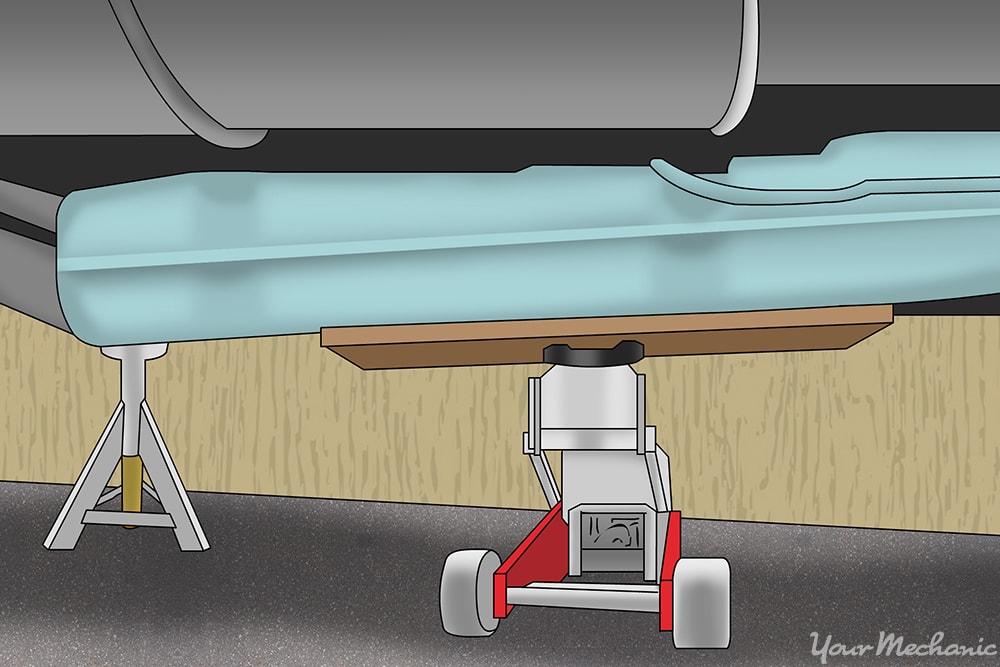
Step 8: Put the transmission jack in place to lower the fuel tank. Place the transmission jack under the fuel tank and lift it until it just makes contact with the tank.
- Tip: This can be done with a normal floor jack, but a transmission jack makes it more stable.
Step 9: Remove the straps holding the fuel tank in. Using your ratchet and the appropriate socket, loosen and remove the two fuel tank straps by loosening the strap mounting bolt.
Step 10: Lower the fuel tank gradually. Slowly lower the fuel tank a little at a time until you can access the lines and electrical connectors at the top of the tank.
- Warning: Lowering the fuel tank too fast or too much can break a fuel line or can pull wiring from the connectors.
Step 11: Disconnect all of the electrical connections from the fuel tank. Do this by pressing on the connector release clips and pulling them from the tank.
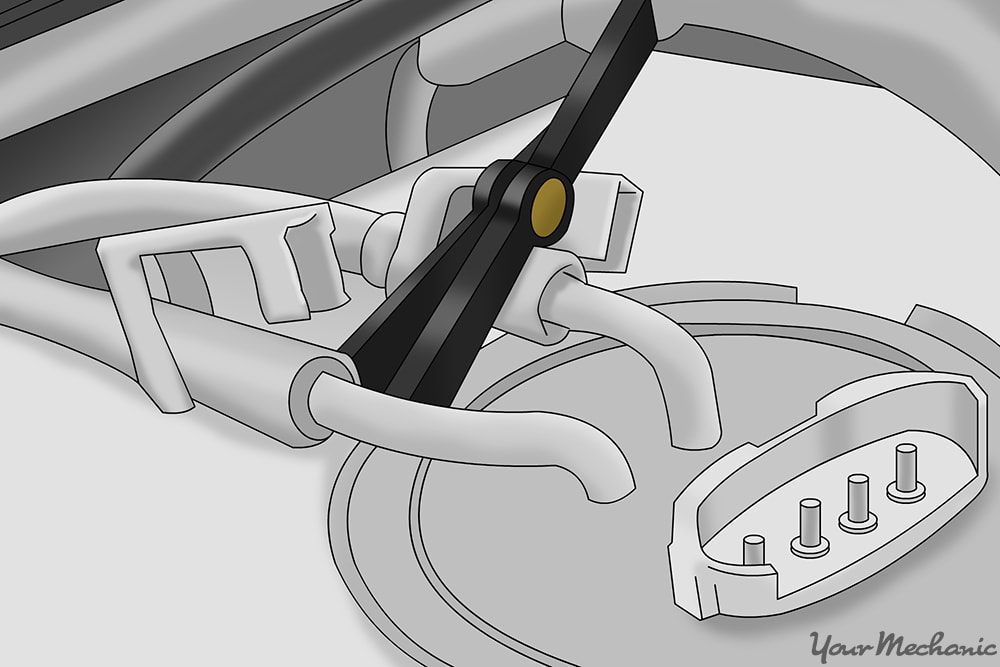
Step 12: Disconnect the fuel lines from the fuel tank . Some fuel lines can be removed by pressing on each side of the connection with your fingers and pulling the line apart.
Other lines have a spring clip that needs to be releasing using a spring release tool.
Step 13: Disconnect the filler tubes and vent pipes. You may need to lower the fuel tank a little farther to access these.
Then, disconnect the filler neck by either removing the screws that hold it in place, or removing a clamp holding the hose to the neck.
Step 14: Carefully lower the fuel tank as needed. Use the transmission jack to slowly continue lowering the fuel tank, either to the ground to be pulled out from under the vehicle or simply low enough that you can perform the service you need to perform.
Hopefully, with following these instructions, you have successfully lowered your car’s fuel tank and are now prepared to make the repair you need. If you have difficulty with any of these steps, or if you are simply not comfortably lowering your fuel tank on your own, our certified mechanics at YourMechanic will be happy to assist you. Call YourMechanic to schedule a service call with a mechanic who can come to you and lower your fuel tank.