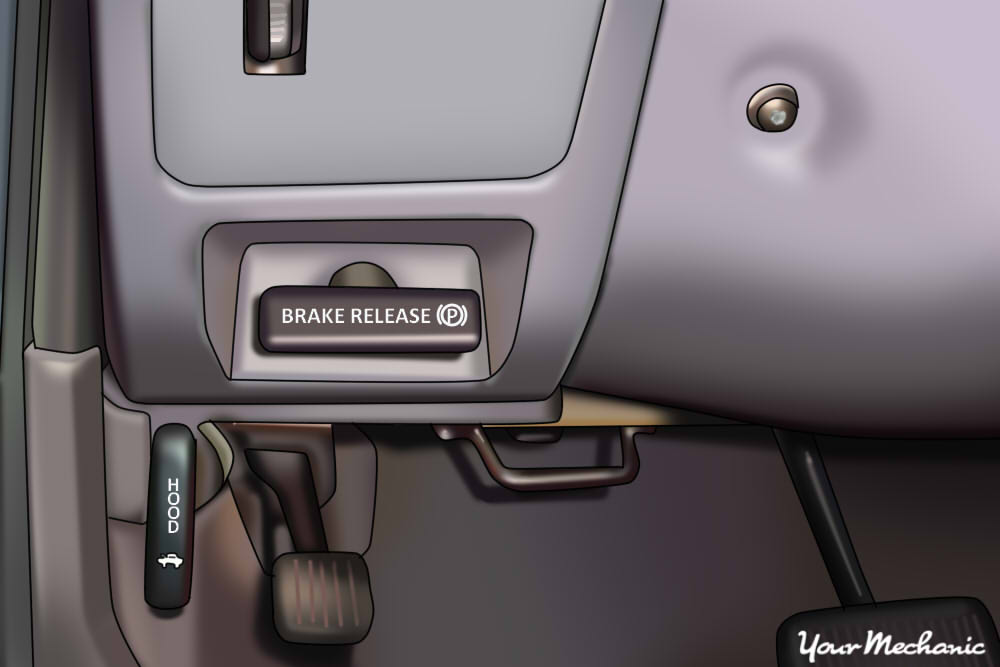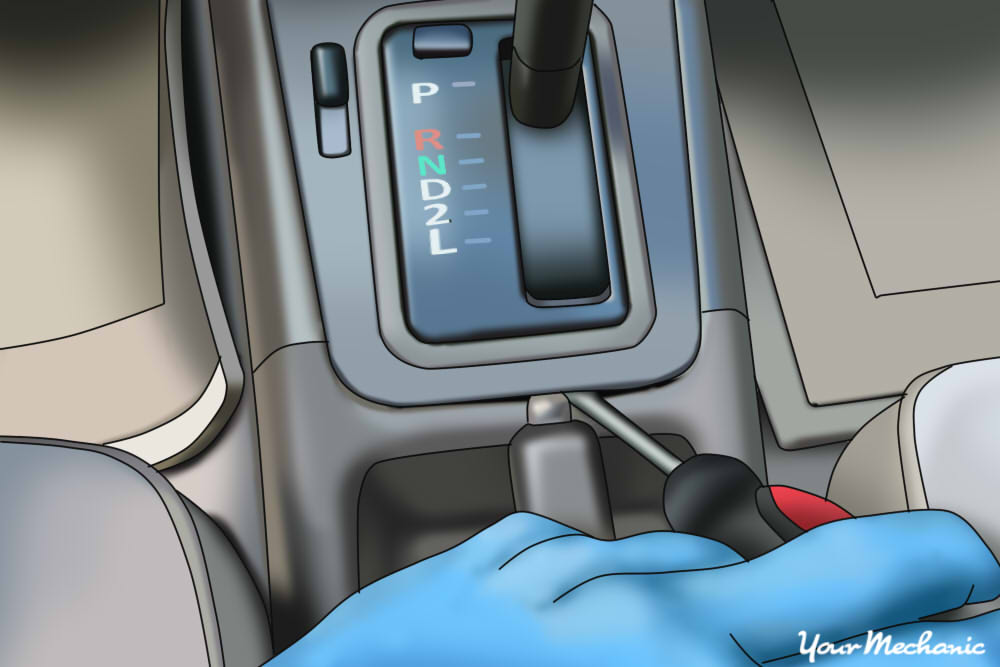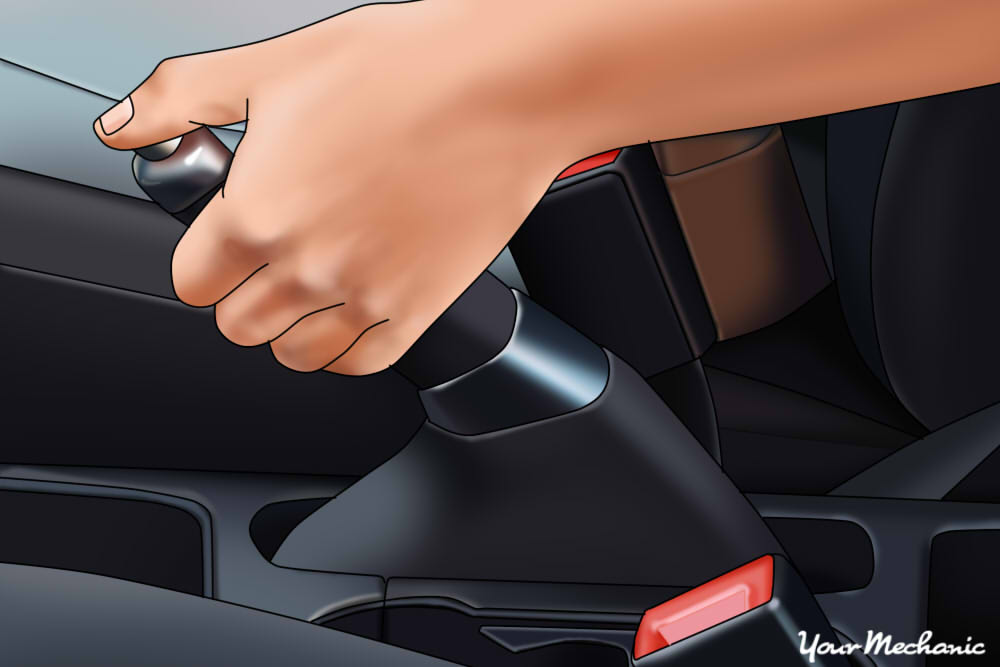

The parking brake system is a mechanical braking system typically used in an effort to keep the vehicle stationary. When leaving the vehicle unattended for an extended period of time, it is good practice to engage the parking brake. There are many different designs for the parking brake control among the different vehicle manufacturers, but the principle is the same. Vehicles are required to be equipped with a mechanical, auxiliary braking system capable of applying a holding force to the vehicle's wheels to keep the vehicle stationary.
The parking brake system uses the mechanical force to hold the vehicle stationary, but the same force can apply friction to a moving braking assembly. This action does accelerate wear on the system as it adds a tremendous amount of stress to the system. The parking brake system is not designed to stop the vehicle, but to hold the vehicle stationary and reduce the speed if necessary due to a primary brake failure.
- Tip: The parking brake control is a handle, a separate pedal, or some way to command the application of the parking brake electronically in many modern vehicles. The parking brake location and function are detailed in your vehicle owner’s manual.
Part 1 of 2: Understanding your parking brake
When the parking brake pedal or handle is applied, a ratcheting mechanism clicks as you apply force. This clicking noise is from a lock that engages and keeps the force applied to the brakes until a release is triggered. The force you apply by pulling the handle or stepping on the pedal is multiplied as it is transferred through a cable attached to the mechanical brake on the other end.
The purpose of the release mechanism is to lock the parking brake with minimal possibility of an accidental release.
Note: An electronic parking brake activates a motor fastened to the braking assembly. This system is locked when the motor is turned off only to be released by the parking brake switch or using equipment to activate the motor. The electronic parking brake is generally a self-adjusting unit as well and only shuts off after a predetermined amount of resistance is experienced, ensuring a proper hold on the brake assembly.
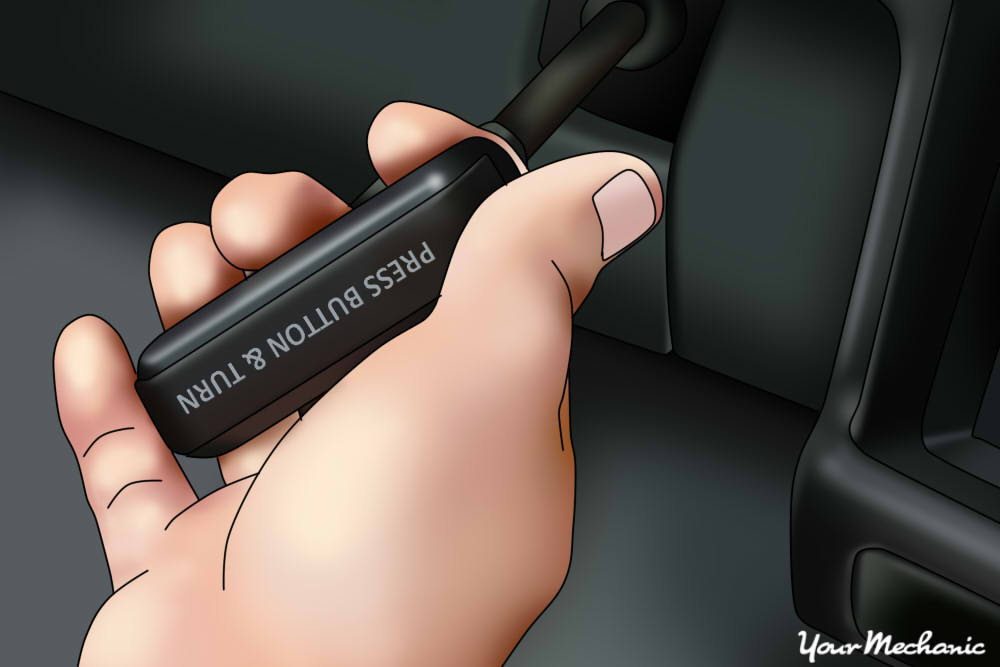
Tip: On vehicles equipped with a hand lever style parking brake control, the release button is typically on the end of the handle and can be activated by the user’s thumb.
Step 1: Using a pedal actuated brake. On many vehicles the pedal parking brake is activated by stepping on the pedal.
It is released by stepping on it once more; the pedal will pop back into the rest position.
Step 2: Using a pull hand brake. Another type of parking brake control is pulled to activate the mechanical brake.
On this design, there is a release button on the back of the handle and the user must depress the release button and push in the handle to release the brake. The parking brake control is usually integrated into the passenger compartment this way to flow with the style of the interior.
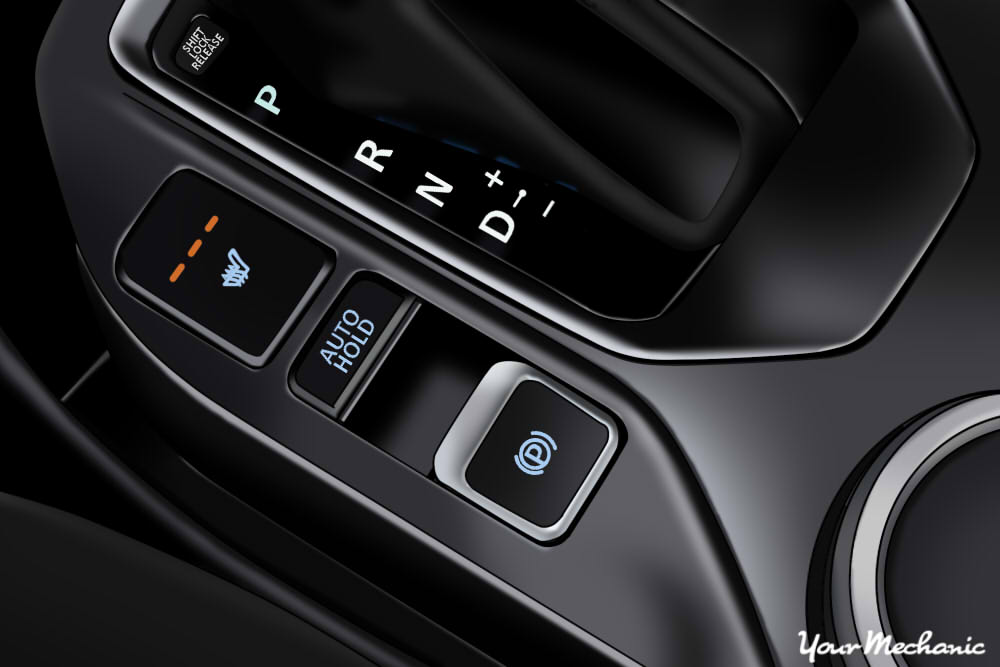
Step 3: Understanding an electric brake. A vehicle equipped with an electronic parking brake allows you to hit a switch and an electric motor will activate the system.
It activates against the braking assembly to provide holding force.
Step 4: Determine if your brake needs service. There are a few signs to warn the user the vehicle’s braking system needs attention.
A red warning indicator illuminates on the dashboard to warn the user the parking brake is engaged. If you disengage the parking brake and the warning light does not go out, some part of the system may require service.
If the parking brake control is binding or there is too much resistance, the parking brake control or cable may require service. The handle or pedal should return to the rest position when the release is activated; if not, there may be a malfunction in the control assembly.
- Note: In many vehicles, the red parking brake or brake warning light is also used to warn the user of a possible hydraulic leak. A low brake fluid level will illuminate the red brake warning.
Part 2 of 2: Repairing your parking brake
The parking brake control assembly may be experiencing a malfunction if you engage the parking brake and the vehicle continues to roll. In some cases the control handle or pedal may feel flimsy or too loose. There should be some amount of resistance to let you know the force is being applied on a vehicle with a manual control.
- Tip: Before beginning, have a professional provide a second opinion on the repair and guide you in the right direction.
Materials Needed
- Brake service retractor set
- Brake service tool set
- Drum brake service tool set
- Gloves
- Jack and jack stand
- Lug wrench
- Push pin pliers
- Parking brake cable release tool
- Respirator mask
- Safety glasses
- Tool set with screwdrivers
- Torque wrench
- Vehicle service manual
Wheel chocks
Tip: The vehicle service manual was written to include information specific to your year model. The publication will have the information you need to determine the design and function of your vehicles many systems. You can even find hints about special tools required for the service.
Step 1: Locate the control. The parking brake control will be located inside the passenger cabin and will typically blend in with body panels.
These panels must be removed in order to uncover the fasteners for the parking brake control. The vehicle service manual will lay out the directions for doing so.
Step 2: Remove the fasteners and and linkage. Remove these for the parking brake control and release the linkage to the rest of the system.
This disconnects the parking brake control from the system and allow removal from the vehicle.
Step 3: Ensure the parts match. Hold the parts side by side to ensure the structure of the new device is similar to the faulty unit.
Step 4: Install the control. The installation process is generally a mirror image of removal.
Follow the steps in the service manual for the proper installation of parts and connecting the control to the parking brake cable.
Step 5: Adjust the parking brake. The parking brake will require an adjustment after service to make sure there isn’t too much slack in the cable.
If there is too much slack in the cable, engaging the parking brake system will pull the slack before applying the brake. This may result in a very weak holding force.
Step 6: Check the parking brake. Once everything is back together and you have your body trim panels back on try the parking brake to make sure it works.
Start the engine and engage the parking brake. Checking your mirrors and with your foot firmly on the brake, put the vehicle in drive. Without applying any throttle whatsoever, gently ease off of the brake pedal. You may feel the vehicle shift weight, but for the most part the vehicle should not move forward at all.
The parking brake control is now in proper working order and the vehicle’s braking system as a whole is in top shape. Continue the use of the parking brake control when leaving the vehicle unattended for extended periods of time to ensure the vehicle remains stationary. If you continue to have an issue with your parking brake not working, have one of YourMechanic’s certified technicians perform an inspection.


