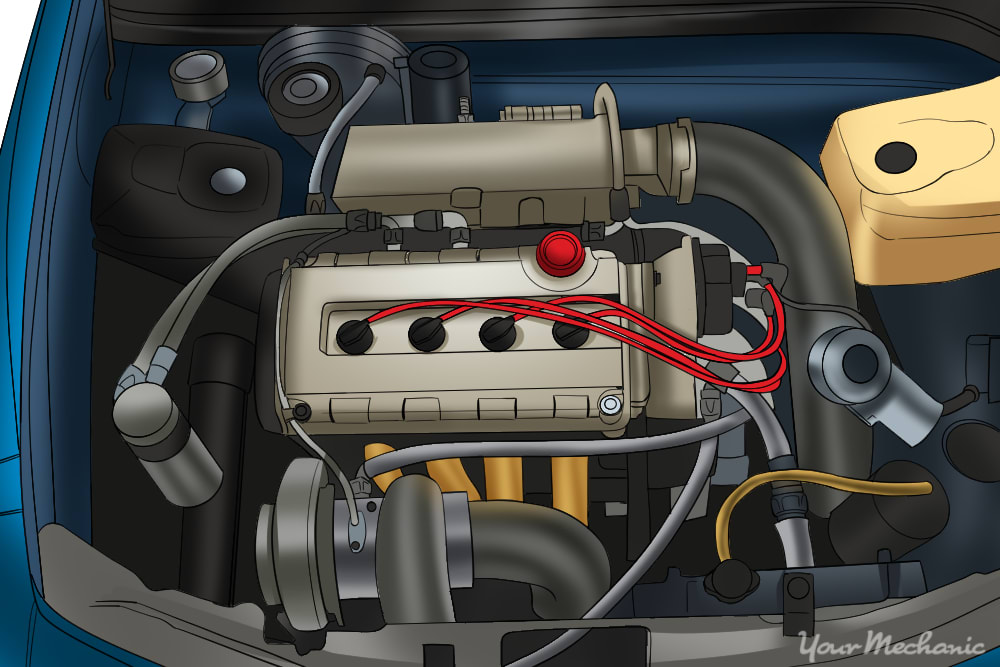
Vacuum hoses run throughout an engine’s compartment, and they are used for many applications in the engine and inside of the vehicle. Vacuum hoses supply vacuum to different sensors and actuators. These sensors help in monitoring how your vehicle is running and gives any input needed to your vehicles PCM (Powertrain Control Module). The PCM is your vehicle's brain, often referred to as your vehicle's computer.
The vacuum hoses tend to get dry and brittle when failing, depending on the environment they are in such as in dry and hot weather hoses in general deteriorate quicker. In some cases they are damaged by chafing or rubbing that causes a vacuum hose to leak.
A good way to check your vacuum hoses would be to look for physical damage. A brittle hose will crackle, break, split, and rubber also deteriorates and blacken your hands after touching. Common signs of a failing vacuum hose include the Check Engine Light illuminating, the engine not running smoothly, and the engine losing power or not starting.
Part 1 of 1: Installing the new vacuum hose
Materials Needed
- Penetrating oil (aerosol)
- Pliers
- Screwdriver - Phillips
- Screwdriver - slotted
- Utility knife
- Vacuum hose
Step 1: Raise and secure hood. Raise and secure the hood to your vehicle.
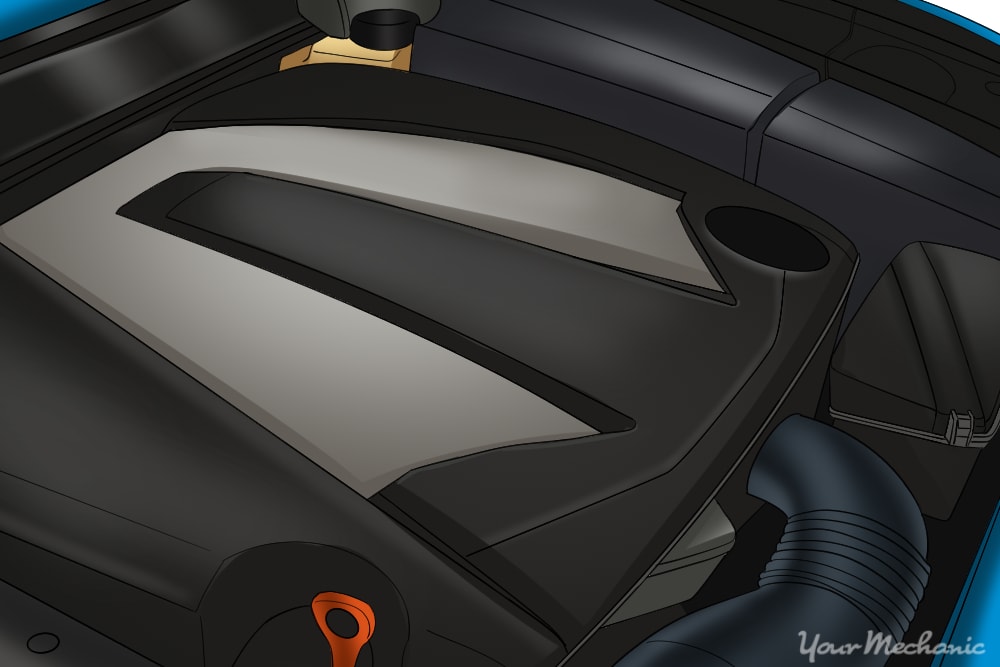
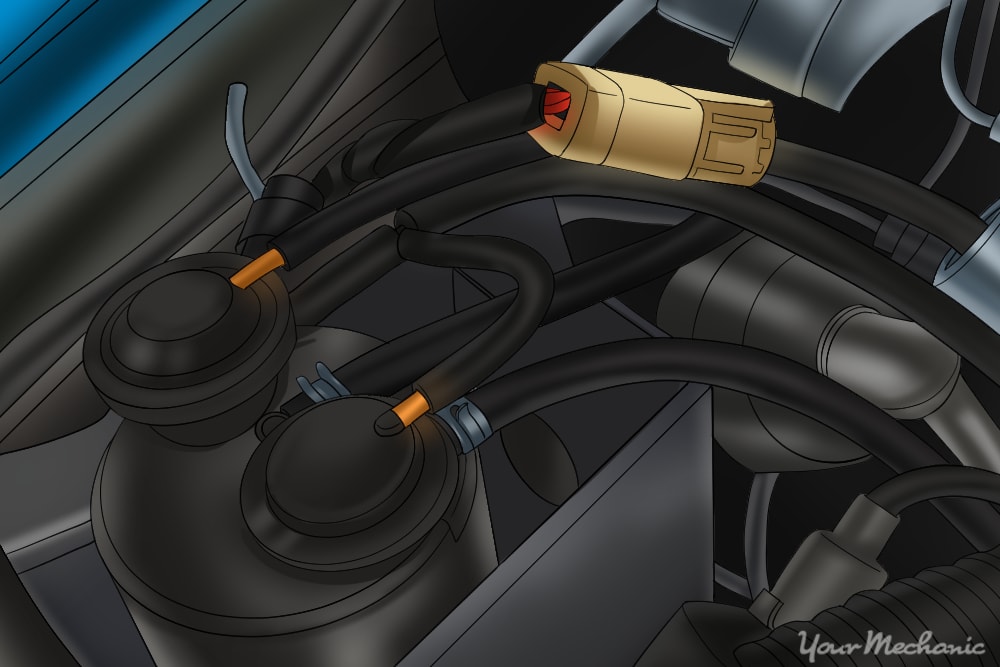
Step 2: Locate the vacuum hose. Depending on your vehicle you may need to remove a engine cover.
The engine cover’s main purpose is cosmetic. They are usually bolted down or easily pull right out by lifting straight up.
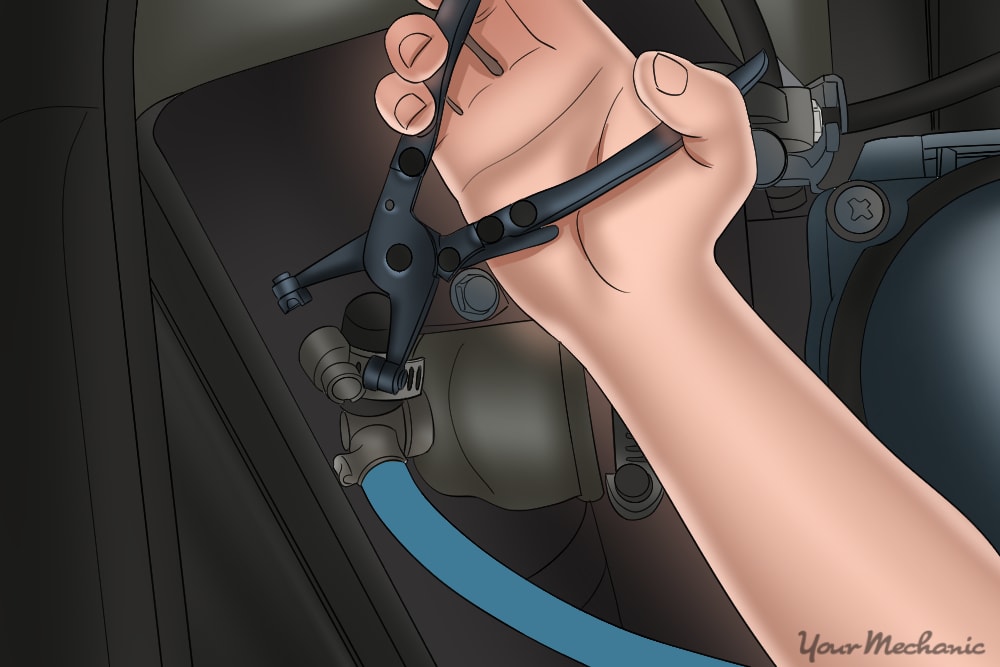
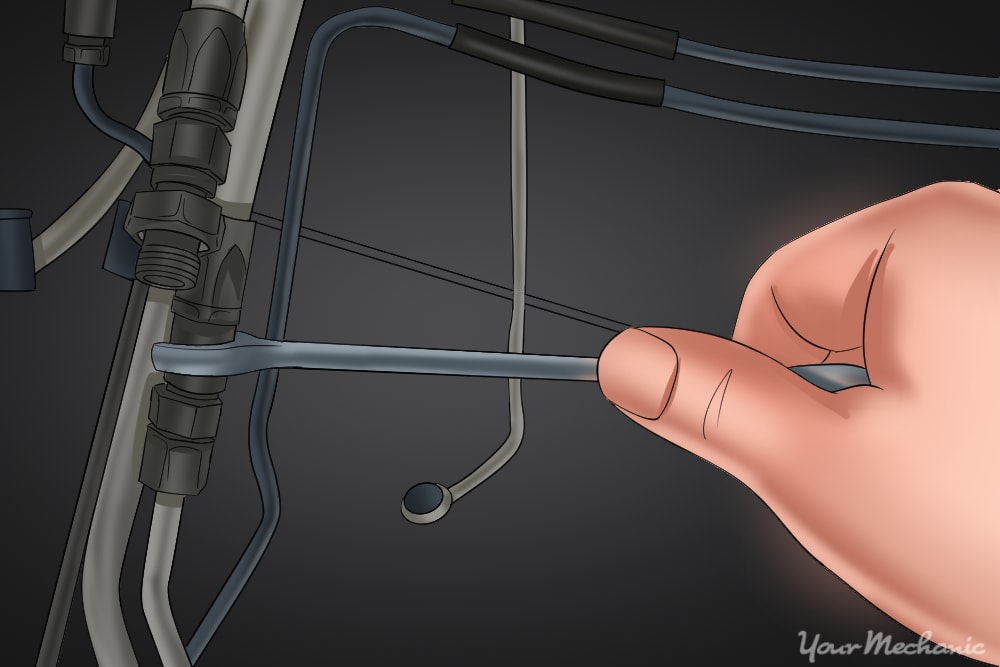
Step 3: Removing the hose clamps. There are a variety of clamps used in vehicles.
Gear type clamps loosen and tighten by a screw type mechanism, spring clamps loosen by compressing clamps with pliers, and some vacuum hoses have quick disconnects that require releasing the vacuum hose by pushing a tab on the fitting. Some vacuum hoses won't have clamps and seal by the constriction of the vacuum hose.
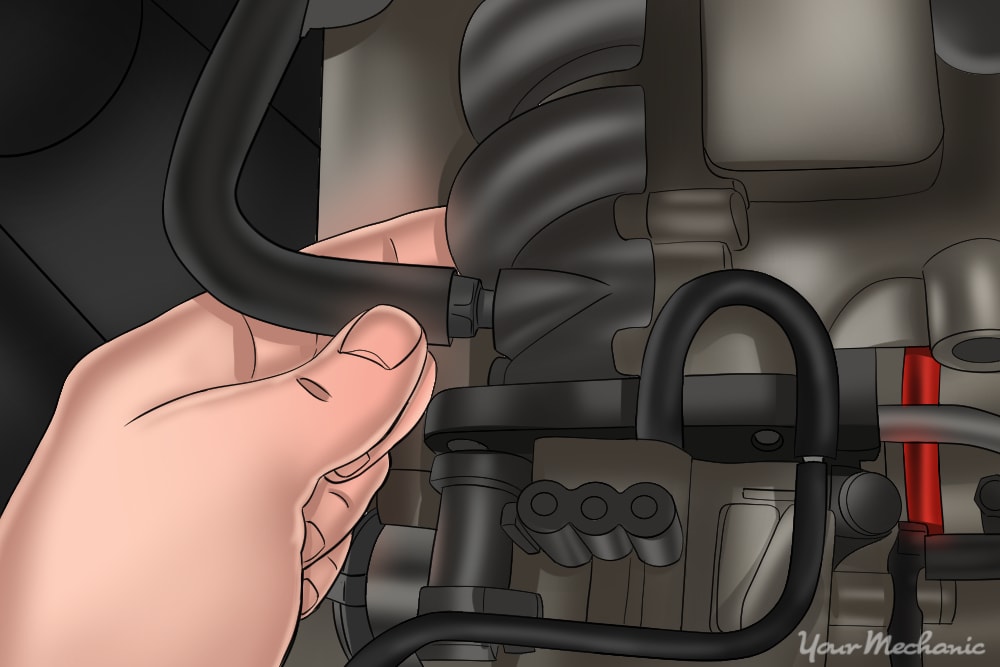
Step 4: Removing the vacuum hose. Once the clamps are removed, a vacuum hose is fairly easy to remove.
Grab the end that was clamped and twist it. This will break it loose, and the hose should turn side to side freely. While turning it side to side, pull on the hose while holding the opposite end and remove the vacuum hose. If you are still have a hard time removing the vacuum hose, you need to split that end of the hose with a utility knife.
Step 5: Routing the vacuum hose. When installing the vacuum hose you may need to route the hose correctly.
If the hose was secured underneath other hoses or clamped down in a specific location, it is very important to install it the way you found it. If you don't, you may chance it rubbing or being smashed by moving parts or against other hoses.
Step 6: Put hose onto fitting. Before putting the hose onto its fitting, spray a little penetrating oil on the inner end of the hose to be installed.
This makes installation much easier.
Step 7: Clamping the vacuum hose. Install the correct vacuum hose clamps and tighten.
Do not over-tighten the hose clamp as you might pinch the hose and cause another vacuum leak.
Step 8: Verify the repair. Take another look at the repaired vacuum hose and be sure everything is in place.
Step 9: Install the engine cover. It either pops back into the retainers or you must secure it with bolts and nuts depending on your vehicle.
Vacuum hoses are very important as they allow your vehicle to run properly and, in some vehicles, there are vacuum operated actuators that control your vehicle's air conditioning and heating air distribution controls. If you have any questions about the process, be sure to Ask a Mechanic for some quick, helpful advice.
