A starter relay, commonly known as a starter solenoid, is the part of a vehicle which switches a huge electric current to the starter motor, in light of a little control current, and which in turn sets the engine in motion. Its capacity is indistinguishable from that of a transistor except that it utilizes an electromagnetic solenoid instead of semiconductor to play out the exchanging. In numerous vehicles the solenoid additionally connects with the starter pinion with the ring gear of the engine.
All start relays are simple electromagnets consisting of a coil and a spring-loaded iron armature. When a current passes through the coil of a relay, the armature moves to increase the flux. When the current is switched off, the armature contracts.
In a starter relay, when a key is turned in the car ignition, the movement of the armature closes the pair of heavy contacts that serve as the bridge between the battery and the starter motor. To ensure the starter relay functions properly, it must receive sufficient power from the battery. Insufficiently charged batteries, corroded connections, and damaged battery cables can all prevent the starter relay from receiving enough power to operate correctly.
When this happens, an audible clicking noise is typically heard when the ignition key is turned. Because it contains moving parts, the starter relay itself can also fail over time. If it fails, the ignition makes no sound when the ignition key is turned.
There are two types of starter relays: internal starter relays and external starter relays. Internal starter relays are built within a starter motor. The relay is the switch mounted on the outside of the starter motor housing with its own case. Most of the time, when a starter motor fails, it is usually the starter motor relay and not the armature or gear that goes bad.
External starter relays are separate from the starter motor. They are usually mounted above a fender or on the firewall of a vehicle. This type of starter relay has power directly from the battery and key operation from the start position. The external starter relay works the same as the internal starter relay; however, there is more resistance applied to the circuits. There are wires from the external starter relay to the starter motor, which can create additional heat if the wire size is incorrect.
In addition, external starter relays tend to have easy access for someone to tap in a fuseable link to a stereo amplifier. This is usually fine; however, when the amplifier is active and the starter motor becomes active, the relay can create too much heat, destroying the contact points inside and making the starter relay ineffective.
Symptoms of a failing starter relay include problems starting the vehicle, the starter staying on after the engine is cranked, and a clicking noise coming from the starter. Sometimes the starter relay will stay on causing the starter motor gear to stay engaged with the engine ring gear, even when the engine is propelled on its own. Also, corroded contacts can make a high resistance on the relay keeping the relay from making a good connection.
Engine light codes related to the starter relay on computer controlled vehicles:
Part 1 of 4: Verifying the starter relay condition
Materials Needed
- Baking soda
- Water
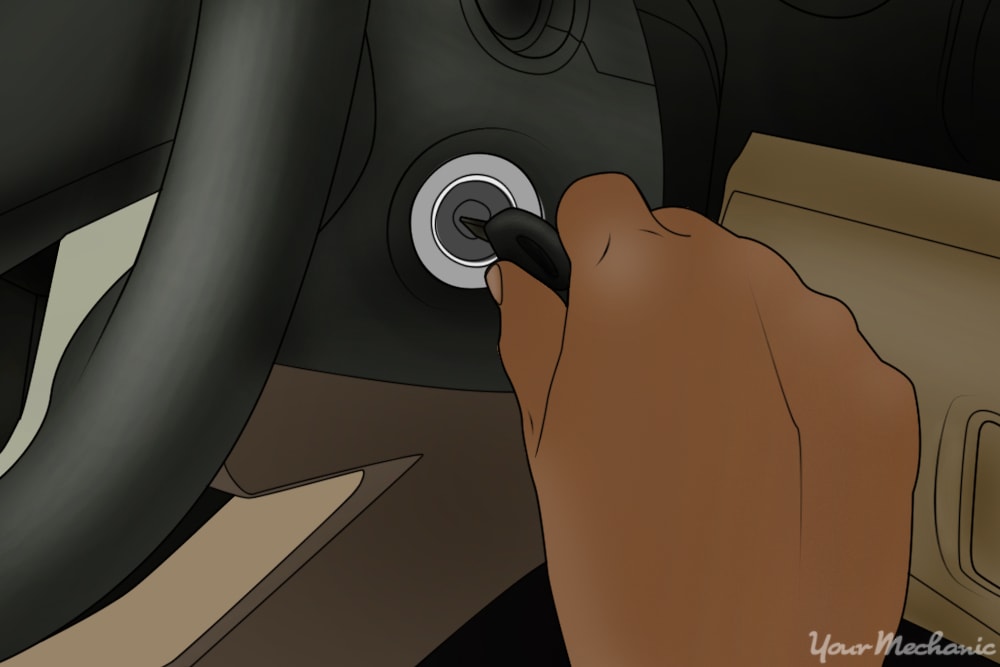
Step 1: Attempt to start the engine. Do this by putting the key in the ignition switch and turning it to the start position.
There are 3 different sounds that could transmit when a starter relay has failed: A starter relay click and not the starter motor engagement, the loud grinding noise of the starter motor gear staying engaged, and a slow engine cranking sound
You could hear one of the sounds when a starter relay has failed. It is possible to hear all three of the sounds when a starter relay has melted the contacts inside.
If the contacts are melted inside the starter relay, then when you attempt to start the engine you may hear a click. When you attempt to start the engine again, the engine may crank slowly on startup. The melted contacts could keep the starter pinion gear in contact with ring gear after startup.

Step 2: Remove the cover to the fuse panel if there is one. Locate the starter relay circuit fuse and verify that the fuse is in good condition.
If the fuse is blown, replace the fuse, but do not attempt to start the vehicle without checking the condition of the starting circuits.
Step 3: Look at the battery and check the post connections. A loose battery connection causes the symptoms of a failing starter relay.
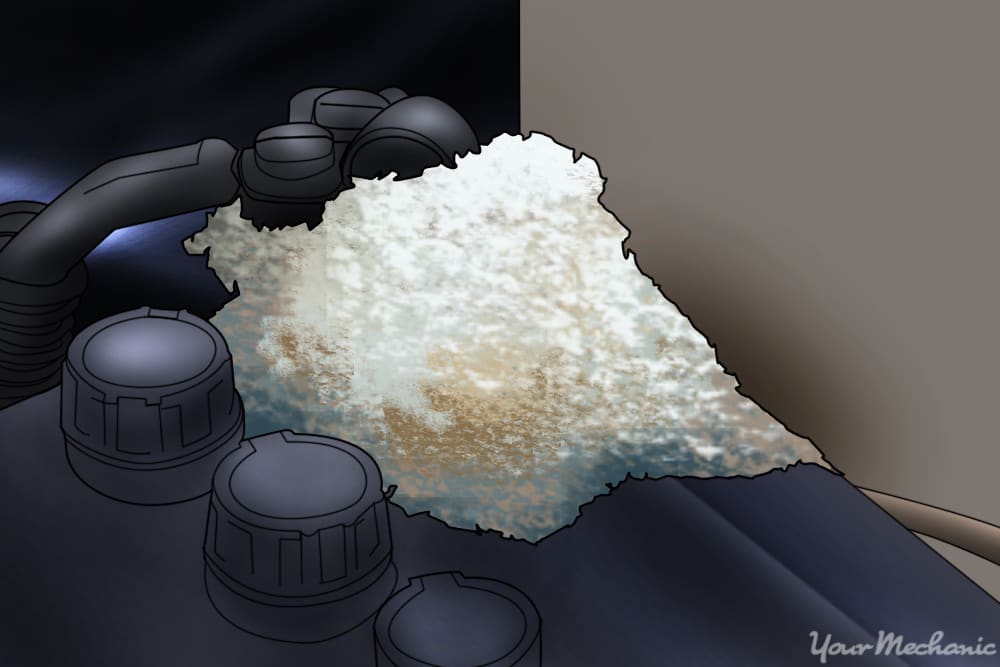
- Note: If the battery posts are corroded, clean them prior to continuing testing. You can use baking soda and water mixed to clean the corrosion off the battery. Plus, you will need to use a terminal cleaning brush to scrub off the hard corrosion. If you do, wear eye protection.
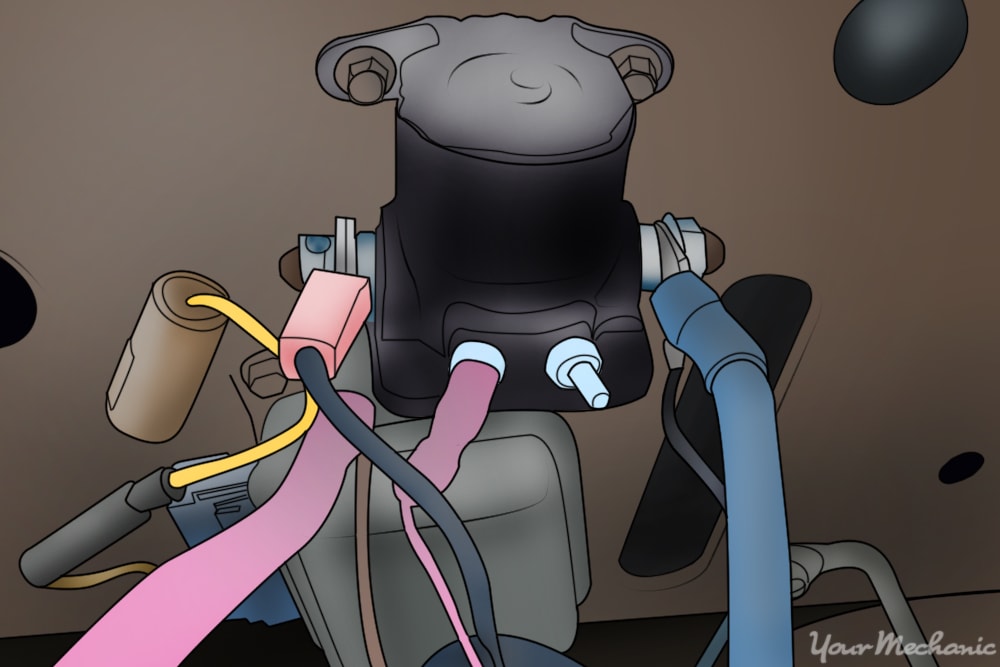
Step 4: Check the terminal ends and cable connections to the starter relay and starter body ground. A loose terminal end shows a broken connection inside the starter relay.
Loose cables cause a problem with the starting circuit and create a no start situation.
Step 5: Check the jumper wire on the internal starter relay. Make sure that it is not burned and make sure that the small wire from the ignition switch is not loose.
Part 2 of 4: Testing the battery and the starter relay circuit
Materials Needed
- Battery load tester
- DVOM (digital volt ohm meter)
- Safety glasses
- Sun Vat-40 / Ferret-40 (optional)
- Starter jumper switch
Step 1: Put on safety glasses. Do not work on or around a battery without any eye protection.
Step 2: Hook up a Sun Vat-40 or Ferret-40 to the battery. Turn the knob and load the battery up to 12.6 volts.
The battery should hold a charge above 9.6 volts.
Step 3: Perform the battery test again with a Sun Vat-40 or Ferret-40. Turn the knob and load the battery up to 12.6 volts.
The battery should hold a charge above 9.6 volts.
If the battery reads under 12.45 volts before putting a load on it, you will need to charge the battery to its full charge. A full charge is 12.65 volts and 75 percent charged is 12.45 volts.
Warning: Do not test the battery for more than 10 seconds or the battery can fail or leak acid. Allow 30 seconds in between tests to let the battery cool down.
Note: If you do not have a Sun Vat-40 or a Ferret-40, you can use a battery load tester of any kind.
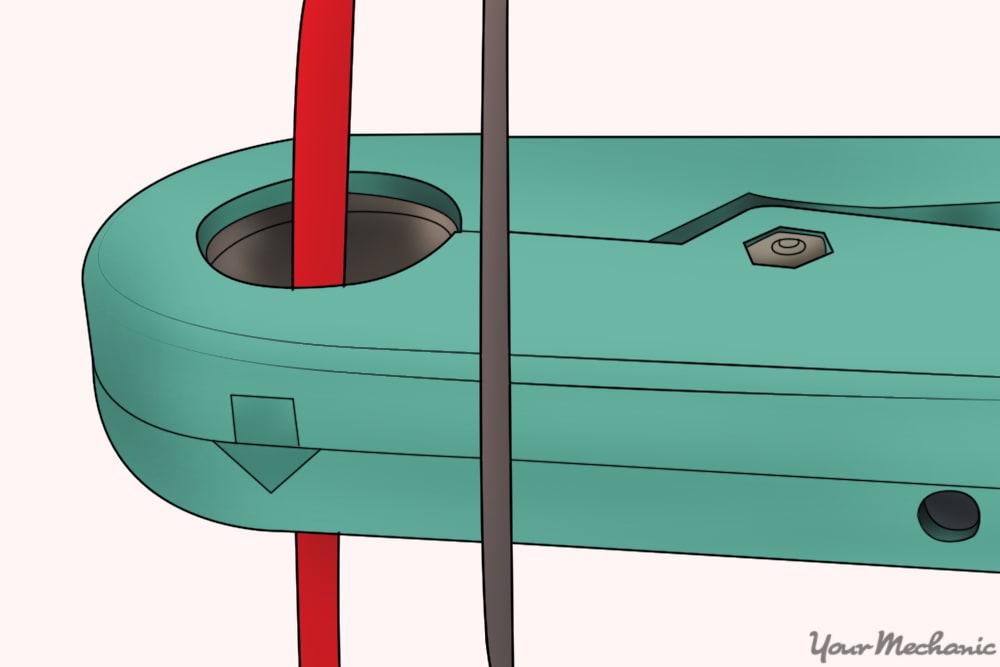
Step 4: Hook up inductive pickup. Hook up the inductive pickup (amp lead) from the Sun Vat-40 or Ferret-40 to the starter relay cable.
This is the cable from the battery to the starter relay.
Step 5: Attempt to start the vehicle. With h the Sun Vat-40 or Ferret-40 facing you, turn the key on to the start position and attempt to start the vehicle.
Monitor what the voltage drops to and what the amperage goes up to. Write down the readings to cross reference them with the manufacture settings. You can use a starter jumper switch to bypass the ignition switch to verify that the ignition switch is in good condition.
- Note: If you do not have a Sun Vat-40 or Ferret-40, you could use a DVOM, Digital Volt Ohm Meter, with an inductive pickup (amp lead) to check the amperage only on the cable from the battery to the starter relay. You will not be able to check the voltage drop during this test with a DVOM.
Part 3 of 4: Replacing the starter relay
Materials Needed
- Boxed end wrenches
- Creeper
- Disposable toothbrush
- DVOM (digital volt ohm meter)
- Floor jack
- Jack stands
- Nine volt battery saver
- Ratchet with metric and standard sockets
- Safety glasses
- Safety wire
- Starter jumper switch
- Terminal cleaning brush
- Wheel chocks
Step 1: Park your vehicle on a flat, hard surface. Make sure that the transmission is in park (for automatics) or in 1st gear (for manuals).
Step 2: Place wheel chocks around the tires remaining on the ground. In this case, the wheel chocks go around the front tires since the rear of the vehicle will be lifted up.
Engage the parking brake to lock the rear tires.
Step 3: Install a nine volt battery saver into your cigarette lighter. This keeps your computer live and your settings current in the vehicle.
If you do not have a nine volt battery saver, that is okay.
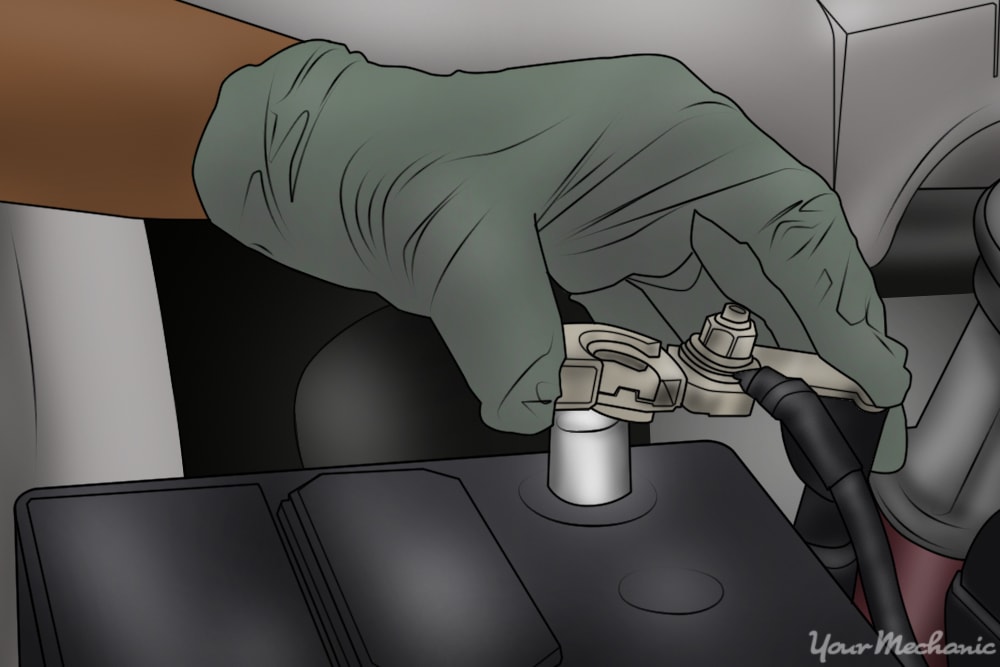
Step 4: Disconnect the battery. Open the vehicle’s hood, if it is not already open, to disconnect your battery.
Take the ground cable off of the battery’s negative post, disabling the power to the power window switches.
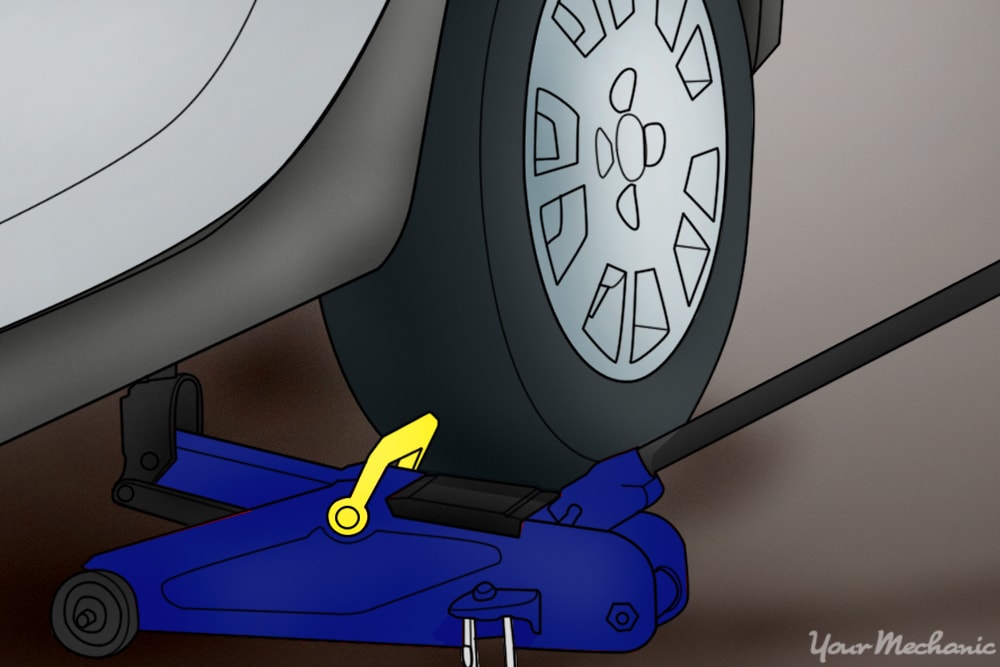
Step 5: Raise the vehicle. Using a floor jack, lift under the vehicle at its specified jacking points until the wheels are completely off the ground.
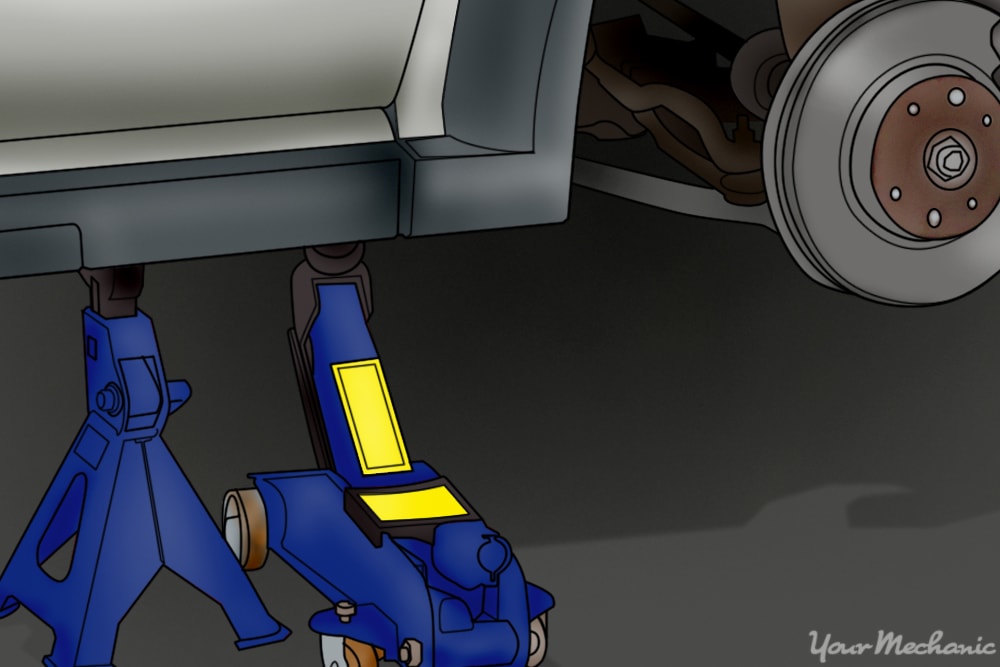
Step 6: Place the jack stands. The jack stands should go under the jacking point locations.
Lower the vehicle onto the jack stands. For most modern cars, the jacking points for jack stands are on the pinch weld just under the doors along the bottom of the car.
On an external starter relay:
Step 7: Remove the mounting screw and cable from the relay to the starter. Make sure to mark the cable.
Step 8: Remove the mounting screw and cable from the relay to the battery. Make sure to mark the cable.
Step 9: Remove the mounting screw and wire from the relay to the ignition switch. Make sure to mark the wire.
Step 10: Remove the mounting bolts that secure the relay to the fender or firewall. Remove the relay from its bracket if there is a bracket.
On an internal starter relay:
Step 11: Grab your creeper and go under the vehicle. Locate the starter to the engine.
Step 12: Remove the cable from the relay to the battery. Make sure to mark the cable.
Step 13: Remove the cable from the starter motor housing to the engine block. Make sure to mark the cable.
- Note: Do not go by color coordination, as most cables to the starter are all black and may be the same length.
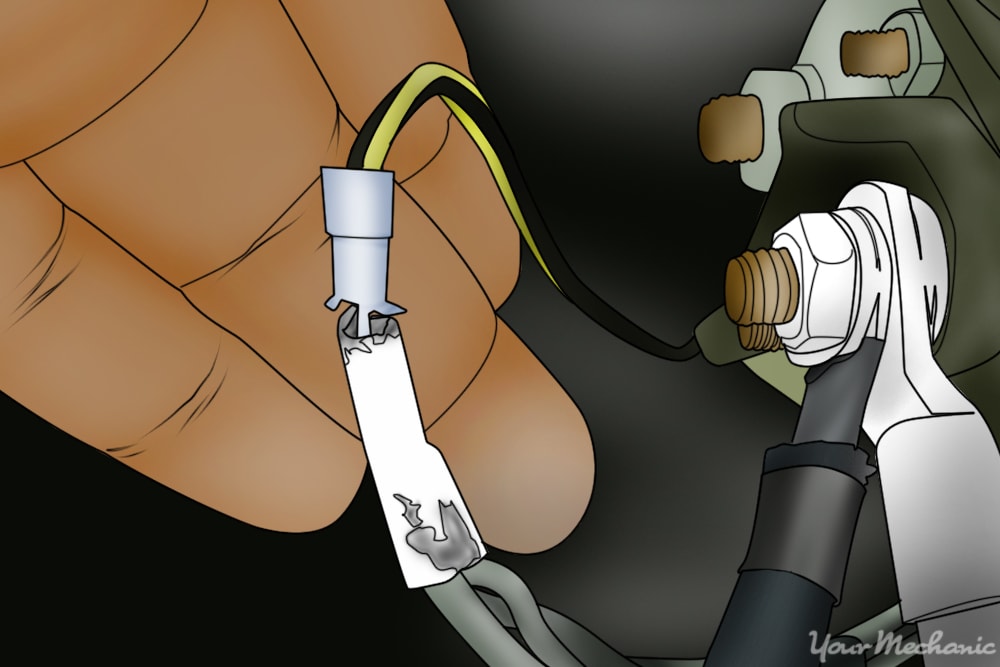
Step 14: Remove the small wire from the relay to the ignition switch. Make sure to mark the wire.
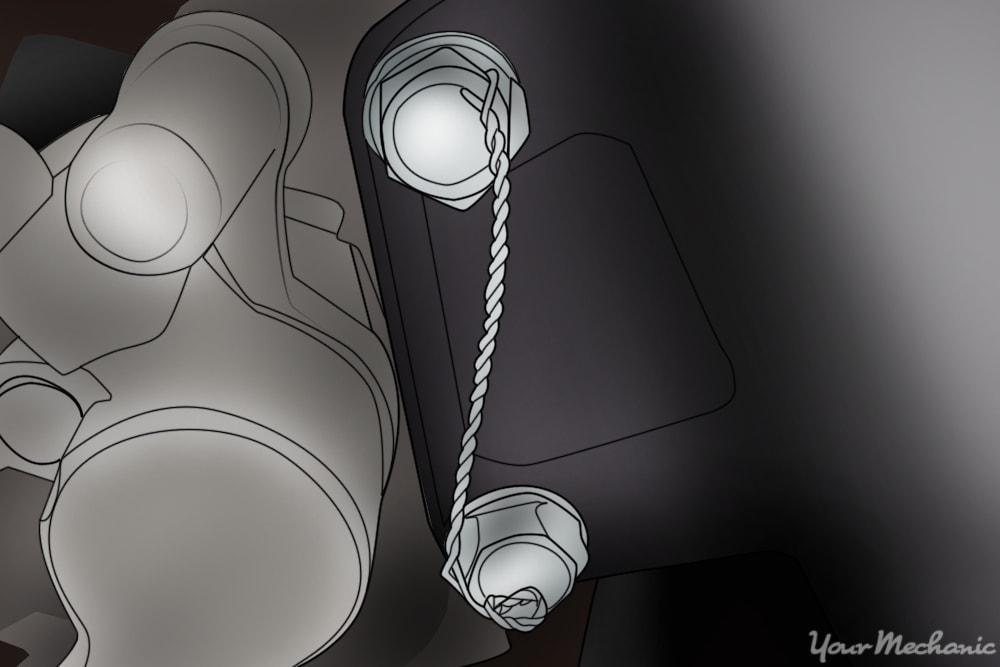
Step 15: Remove the mounting bolts to the starter motor. Some bolts have safety wire wrapped around the heads.
You will need to cut the safety wire off with side cutters prior to removing the bolts.
- Note: When removing a starter motor, be ready for the motor. Some starter motors can weigh up to 120 pounds depending on what type of vehicle you are working on.
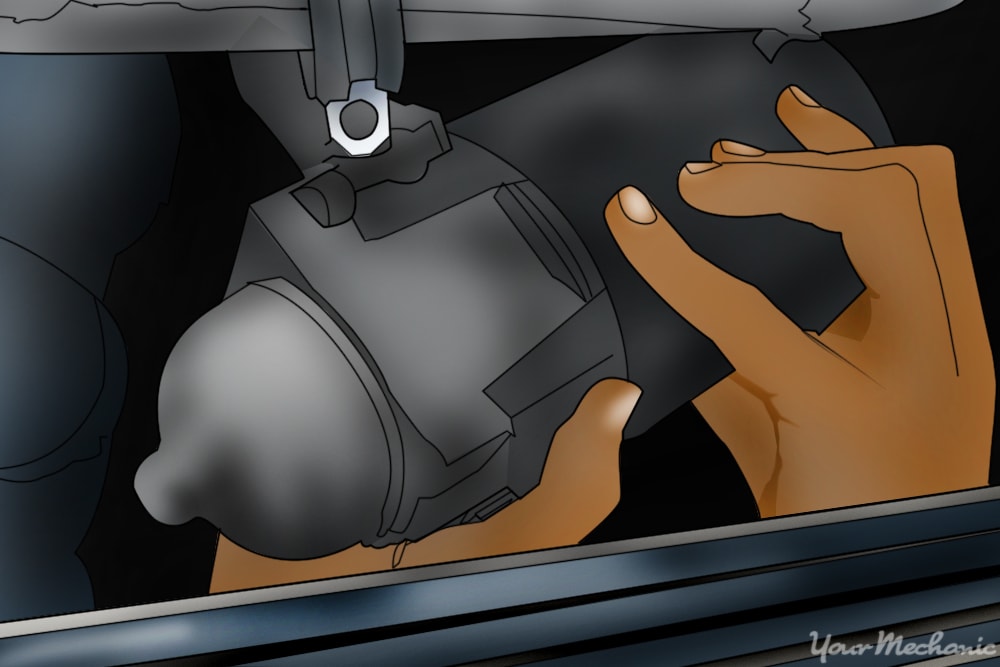
Step 16: Remove the starter motor from the engine. Take the starter motor and place it on a bench.
Step 17: Remove the mounting screws from the relay on the starter motor. Pull off the relay.
Check the condition of the contacts where the relay connects. If the contacts are ok, you can clean them with a non-lint cloth. If the contacts are damaged, you will need to replace the starter motor assembly.
On an external starter relay:
Step 18: Install the relay into its bracket. Install the mounting bolts to secure the relay to the fender or firewall.
Step 19: Install the wire mounting screw from the relay to the ignition switch.
Step 20: Install the cable and mounting screw from the relay to the battery.
Step 21: Install the cable and mounting screw from the relay to the starter.
On an internal starter relay:
Step 22: Install the new relay onto the starter motor housing. Install the mounting screws and secure the new starter relay to the starter motor.
Step 23: Wipe down the starter motor and go under the vehicle with it. Install the starter motor onto the engine block.
Step 24: Install mounting bolt to secure starter. While holding up the starter motor, use your other hand and install a mounting bolt to secure the starter to the motor.
Once on mounting bolt is threaded in, you can let go of the starter and it should stay put.
Step 25: Install the remaining set of mounting bolts. This fully secures the starter motor to the engine block.
- Note: When you removed the starter motor, if any shims fell out, put them back in. Do not leave them out. Also if you had to remove any safety wire from the bolt heads, be sure to install new safety wire. Do not leave out the safety wire as the starter bolts may come loose and fall out.
Step 26: Install the cable from the engine block to the starter motor housing.
Step 27: Install the cable from the battery to the relay post.
Step 28: Install the small wire from the ignition switch to the relay.

Step 29: Reconnect the ground cable back onto the battery’s negative post. Remove the nine volt battery saver from the cigarette lighter.
Step 30: Tighten the battery clamp. Ensure that the connection is good.
If you did not have a nine volt battery saver, you will have to reset all of the settings in your vehicle, like your radio, electric seats, and electric mirrors.
Step 31: Raise the vehicle. Using a floor jack, lift under the vehicle at its specified jacking points until the wheels are completely off the ground.
Step 32: Remove the jack stands.
Step 33: Lower the vehicle to where all four wheels are on the ground. Pull out the jack and put it aside.
Step 34: Remove the wheel chocks.
Part 4 of 4: Test driving the vehicle
Step 1: Put the key in the ignition and turn it to the start position. The engine should start up normally.
Step 2: Drive the vehicle around the block. During the test drive, be sure to check the gauges for any battery lights or engine lights to appear.
If your engine light comes on after replacing the starter relay, then there may be further diagnosis of the starting system needed or a possible electrical issue within the ignition switch circuit. If the problem persists, then have one of YourMechanic’s certified technicians perform a replacement.