Every vehicle is equipped with a fuel gauge to tell the driver how much fuel is left in the fuel tank. A fuel gauge sender is a device that transmits the data from the fuel tank to the fuel gauge.
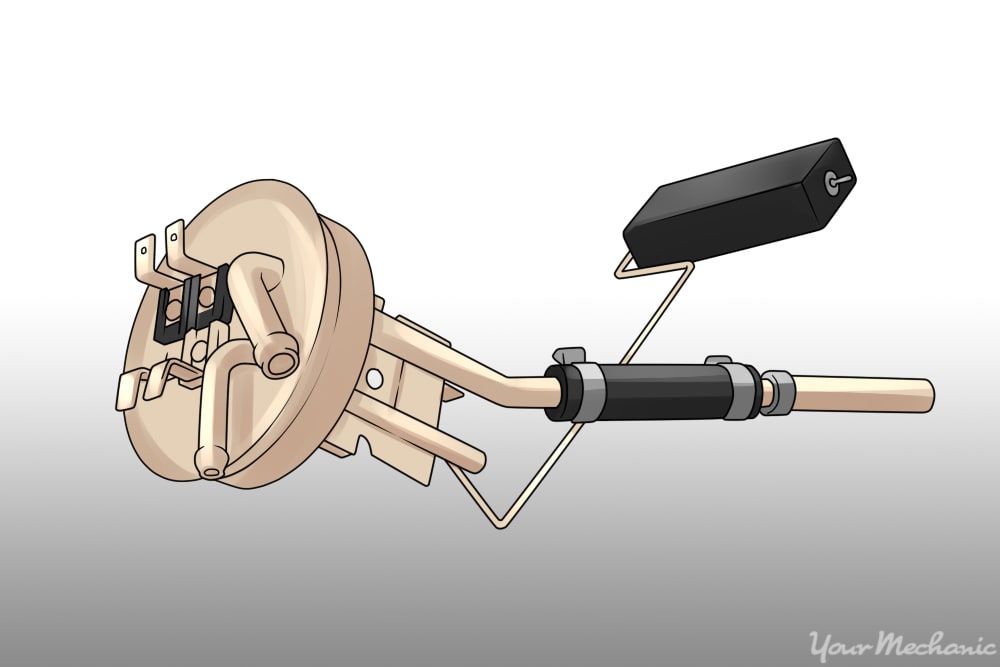
The fuel gauge sender is located in the fuel tank and attached to the fuel pump. The sender has a base with a rod and float attached to it. The float is a device that is light and hollow to lay on top of fuel without sinking. The rod is attached to the base and has a rheostat meter that registers the amount of fuel is in the fuel tank.
A rheostat is an electrical instrument used to control an electrical current by varying the resistance. Inside the rheostat, there is a coil that is wound up loosely at one end and wound up tightly at the other end. Throughout the coil, there are multiple ground connections, usually a piece of metal. Also, on the other side of the coil there is another piece of metal that has power from the car's battery with the key on. The rod acts as a connector between the positive and ground inside the base.
When the fuel enters the fuel tank, the float moves as the fuel tank fills up. When the float moves, the rod attached to the float moves across the coil connecting a different resistance pattern. If the float is lowered, the resistance pattern is low and an electrical current is quick to move. If the float is raised, the resistance pattern is high and an electrical current is slow to move.
The fuel gauge is designed to register the resistance of the fuel gauge sender. As the resistance is lowered all the way in the sender, the fuel gauge will register E or empty. As the resistance is raised all the way in the sender, the fuel gauge will register F or full. Any other location within the sender will vary and register to the fuel gauge the correct amount of fuel.
Part 1 of 6: Know the signs of failure
As the fuel is constantly being filled at the pump, drained by engine operation, and sloshed around due to driving conditions, the fuel gauge sender wears out from sliding the rod up and down within the rheostat. This causes the rod to gain clearance causing the resistance to increase. When this happens, the fuel gauge will begin to register overfull when the fuel tank is full and seem to still have 1/8 to 1/4 tank left when the fuel tank is empty.
If fuel was poured in at a gas station while a gas pump truck is fueling the station, junk in the bottom of the large storage tanks will stir up and end up into the fuel tank of the vehicle. The particles can get inside the rheostat and increase the resistance.
If the fuel was poured in at a gas station with very little traffic to the station, there may be an excessive amount of water in the fuel causing the rheostat to rust, causing more resistance and getting stuck.
Plus, if any of the wiring from the battery or computer to the sender and to the fuel gauge get corroded will cause more resistance than normal. Eventually the rheostat will have too much clearance to where the current will not flow, causing the rod to act like an off switch. This is where the fuel gauge stops working and stays below E or empty.
If the fuel gauge sender fails, the engine management system will record this event. A fuel level sensor will let the computer know of the level and resistance transmitted to the gauge.
Engine light codes related to the fuel gauge sender:
P0460, P0461, P0462, P0463, P0464
Part 2 of 6: Verifying the fuel gauge sender condition
As the fuel gauge sender is located inside the fuel tank, there is no real way to check it. However, you can check the fuel gauge to see how much fuel there is in reference to the actual amount of fuel in the fuel tank.
Step 1: Fuel up the vehicle to when the fuel pump at the gas station stops. Check the fuel gauge to see the level.
Document the location of the needle or percentage of the fuel level.
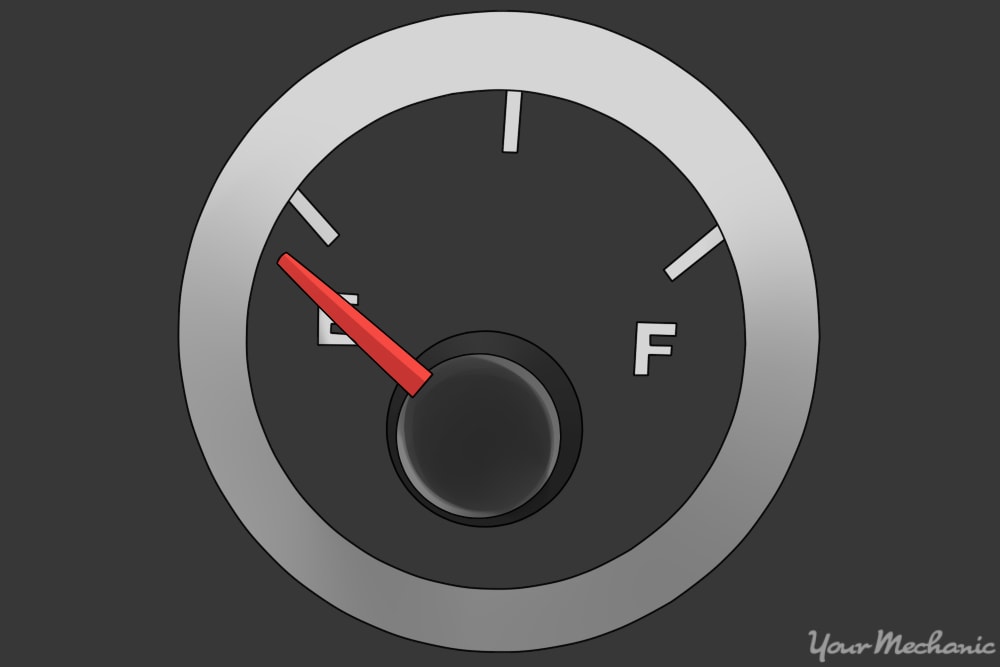
Step 2: Drive the vehicle to when the fuel low light comes on. Check the fuel gauge to see the level.
Document the location of the needle or percentage of the fuel level. The fuel light should come on when the fuel gauge reads E. If the light comes on before E, then the fuel gauge sender has to much resistance.
Part 3 of 6: Replacing the fuel gauge sender
Materials Needed
- Allen wrench set
- Boxed end wrenches
- Breaker bar
- Drip pan
- Flashlight
- Flathead screwdriver
- Floor jack
- Fuel resistant gloves
- Jack stands
- Lint-free cloth
- Needle nose plyers
- Protective clothing
- Ratchet w/metric and standard sockets
- Torque wrench
- Torque bit set
- Transmission jack
- Safety glasses
- Wheel chocks
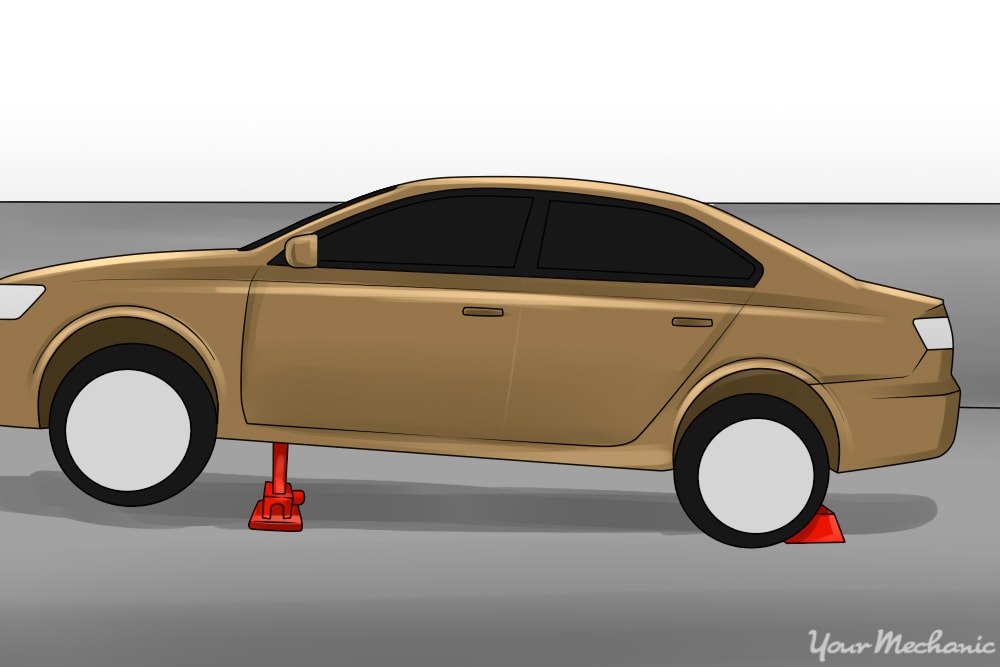
Step 1: Park your vehicle on a flat, hard surface. Make sure that the transmission is in park (for automatics) or in 1st gear (for manuals).
Step 2: Place wheel chocks around the tires. In this case, the wheel chocks will be around the front tires since the rear of the vehicle will be lifted up.
Engage the parking brake to the lock the rear tires from moving
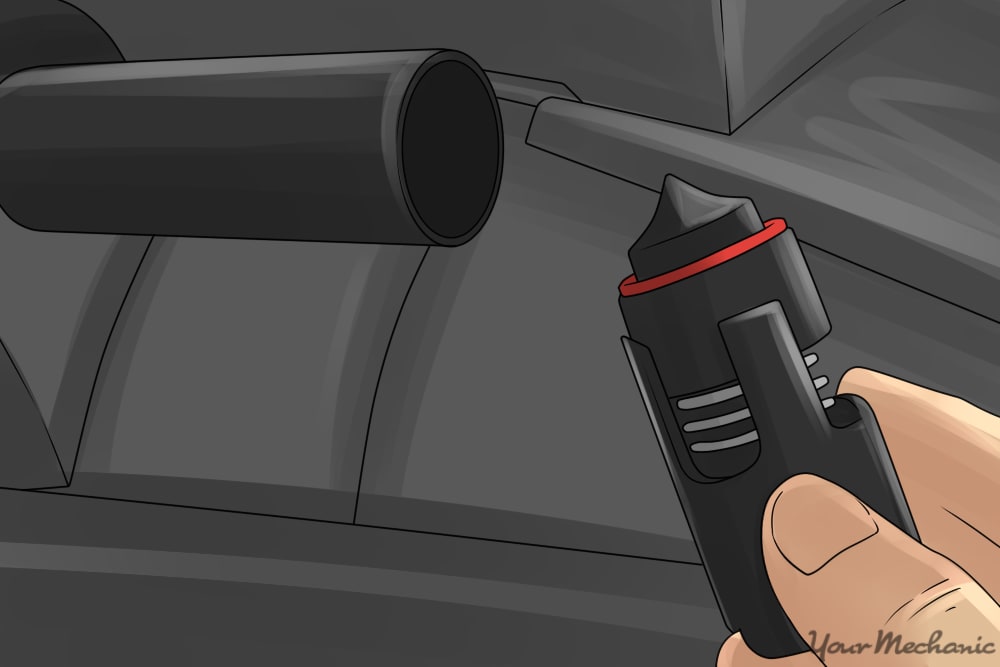
Step 3: Install a nine volt battery saver into your cigarette lighter. This will keep your computer live and keep your setting current in the vehicle.
If you do not have a nine volt battery saver, that is ok.

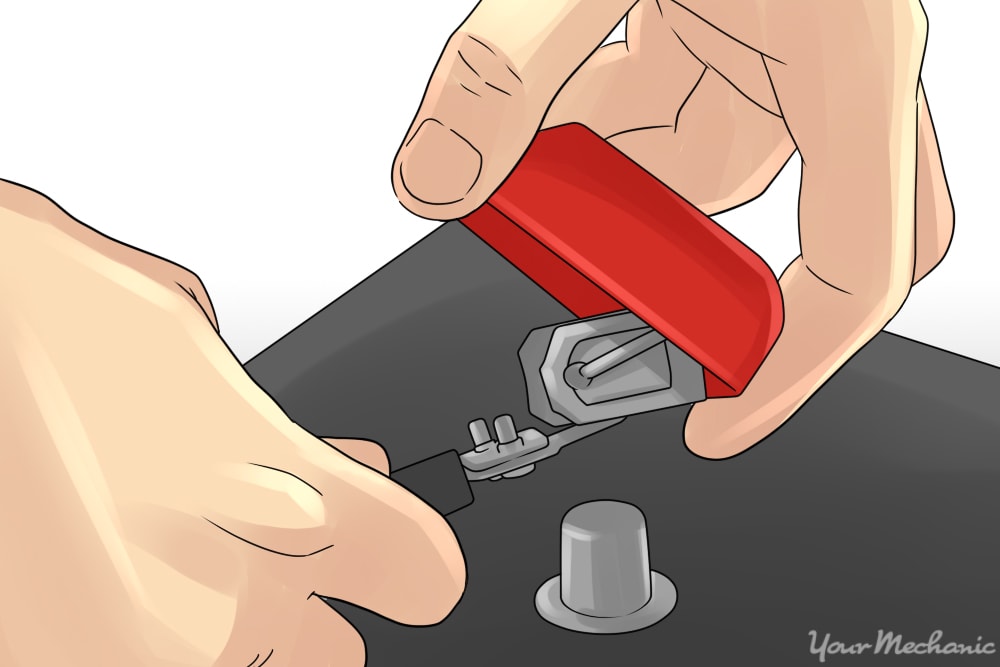
Step 4: Open the vehicle’s hood to disconnect your battery. Take the ground cable off of the battery’s negative post disabling the power to the fuel pump and sending unit.
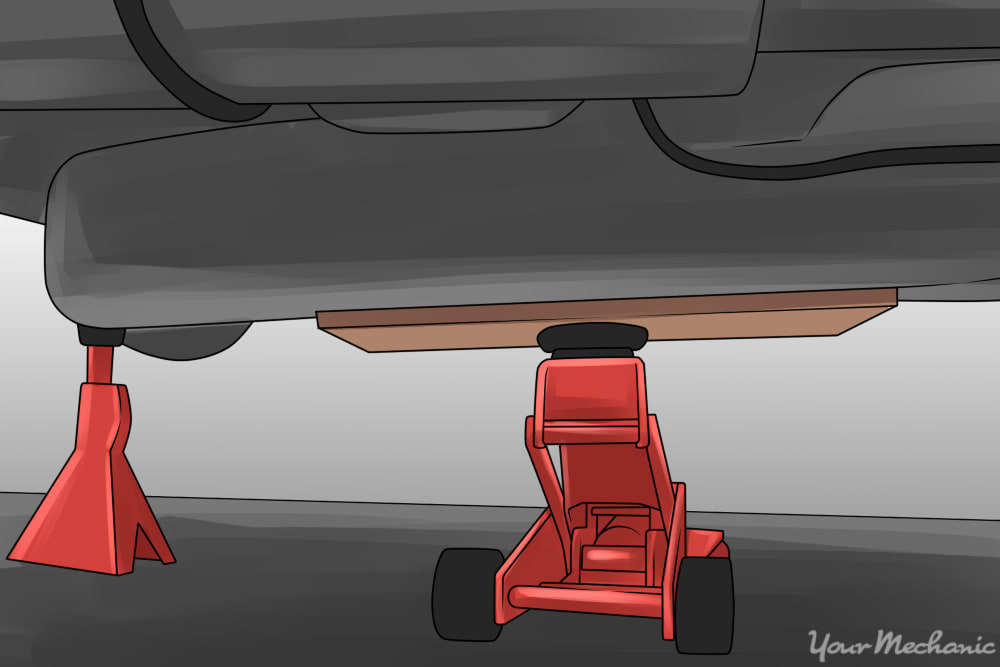
Step 5: Raise the vehicle. Lift under the vehicle at its specified jacking points until the wheels are completely off the ground.
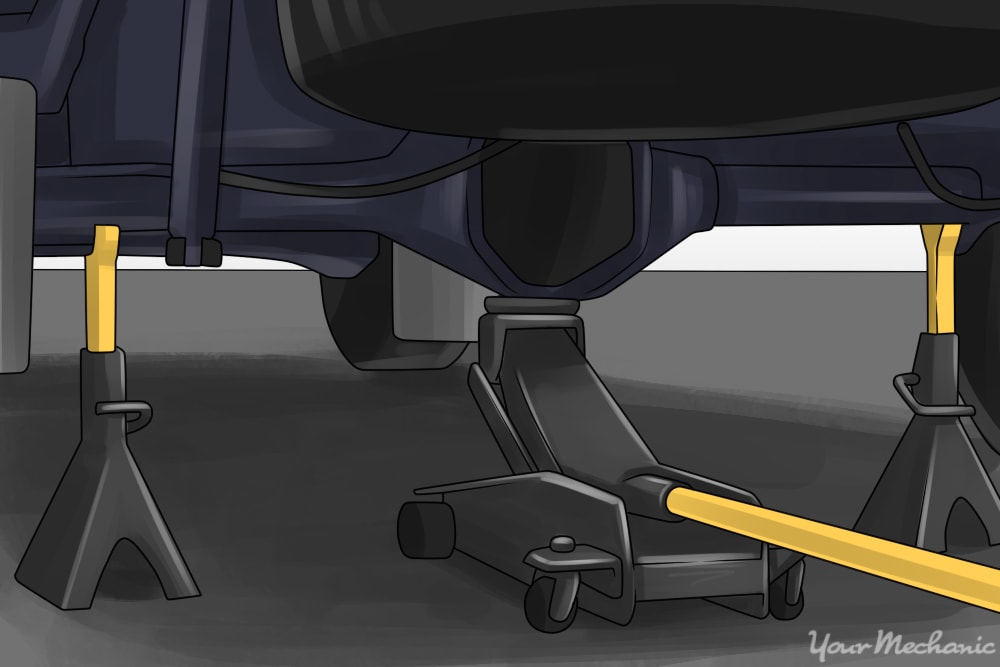
Step 6: Place the jack stands. The jack stands should go under the jacking point locations and then lower the vehicle onto the jack stands.
For most modern cars, the jacking points for jack stands will be on the pinch weld just under the doors along the bottom of the car.
Step 7: Remove the fuel filler cap cable from the fuel neck and place aside. Open the fuel door to gain access to the fuel filler neck.
Remove the mounting screws or bolts attached to the cutaway.
Step 8: Go under the vehicle and locate the fuel tank.
Step 9: Lower the fuel tank a little. Take a transmission jack or similar jack and place it under the fuel tank and loosen and remove the straps to the fuel tank.
Step 10: Disconnect the harness from the connector. You will have to feel for a harness attached to the tank.
This is the harness for the fuel pump or sending unit on older vehicles. Reach up on top of the fuel tank to access it.
Step 11: Lower the fuel tank more to reach the vent hose attached to the fuel tank. Remove the clamp and small vent hose to allow more clearance.
- Note: Vehicles of 1996 and newer have a return fuel charcoal canister attached to the vent hose to collect fuel vapors for emissions.
Step 12: Remove the fuel filler neck. Twist the fuel filler neck and pull it out of the rubber hose.
Guide the fuel filler neck out of the area and remove it from the vehicle. Remove the clamp on the rubber hose attaching the fuel filler neck.
Step 13: Remove the fuel tank from the vehicle. Be sure to transfer any fuel out of the tank prior to removing the fuel tank.
- Note: It is best to have the vehicle at a 1/4 tank of fuel or less when removing the fuel filler neck.

Step 14: Inspect the rubber hose for any cracks. If there are any cracks, the rubber hose is to be replaced.
Step 15: Clean the harness on the vehicle and the connector to the fuel pump or sending unit on the fuel tank. Use electrical cleaner and a lint free cloth to remove any moisture and debris.
While the fuel tank is out of the vehicle, it is recommended to remove and replace the one way breather valve on the tank.
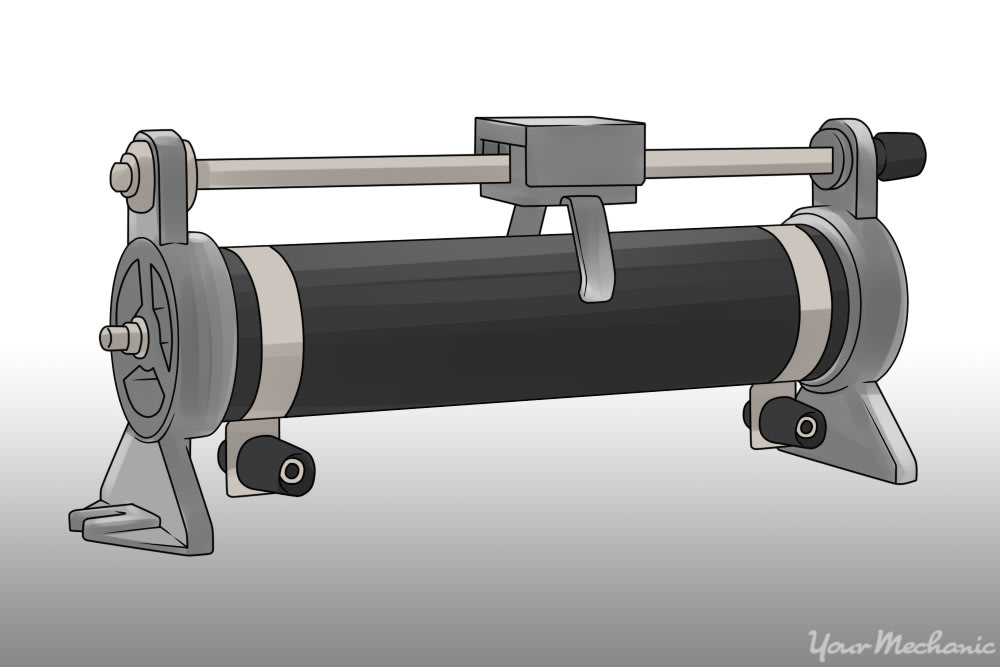
If the breather valve on the fuel tank is non-serviceable, then you will need to use a pump to check the valves condition. If the valve has failed, replace the fuel tank.
The breather valve on the fuel tank allows fuel vapors to release into the canister but not allow any water or debris into the tank.
Step 16: Clean any dirt and debris around the fuel pump and sender mounting area.
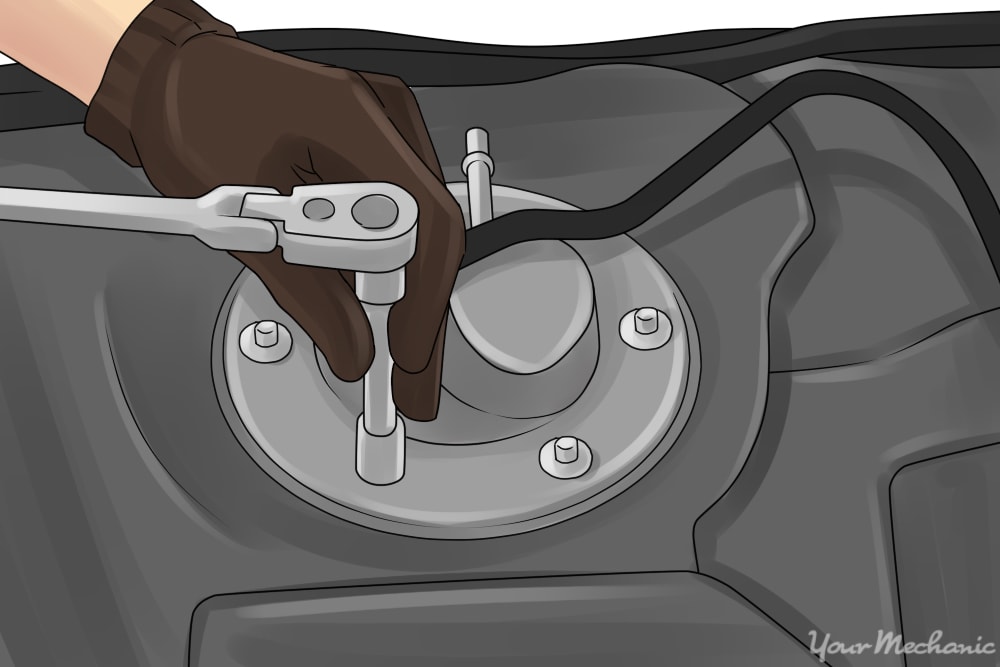
Step 17: Remove the mounting bolts to the fuel pump and sender. Pull out the fuel pump and sender from the fuel tank and remove the rubber seal from the fuel tank.
- Note: You may have to rotate the fuel sender to get the float out of the fuel tank.
Step 18: Install the fuel pump. Install a new rubber gasket to the fuel tank and the fuel pump with the new sender into the fuel tank.
Step 19: Install the mounting bolts to the fuel pump and sender. Tighten the bolts hand tight then an additional 1/8 turn.
Step 20: Place the fuel tank back under the vehicle. Wipe out the rubber hose on the fuel tank with a lint-free cloth.
Step 21: Place a new clamp onto the rubber hose. Take the fuel filler neck and twist it into the rubber hose.
Put the clamp in place and tighten up the slack. Allow the fuel filler neck to twist but not allow the clamp to move.
Step 22: Raise up the fuel tank to the vent hose. Attach the vent hose using a new clamp and tighten the clamp until the hose will not twist and turn 1/8 turn.
- Warning: Make sure that you do not use the old clamps. They will not hold tight and cause a vapor leak.
Step 23: Raise up the fuel tank up to align the fuel filler neck to the cutaway. Align the fuel filler neck mounting holes and lower the fuel tank.
Tighten the clamp and keep the fuel filler neck from moving.
Step 24: Raise up the fuel tank to the harness. Connect the fuel pump or sending unit harness to the fuel tank connector.
Step 25: Attach the fuel tank straps and tighten them up till they stop. Torque the mounting nuts to specifications on the fuel tank.
If you do not know the torque value, you can tighten the nuts 1/8 turn more with thread locker.
Step 26: Align up the fuel filler neck to the cutaway in the fuel door area. Install the mounting screws or bolts into the neck and secure it tight.
Attach the cable of the fuel filler cap to the neck. Screw on the fuel filler cap until it locks in place.
Part 4 of 6: Checking for leaks
Materials Needed
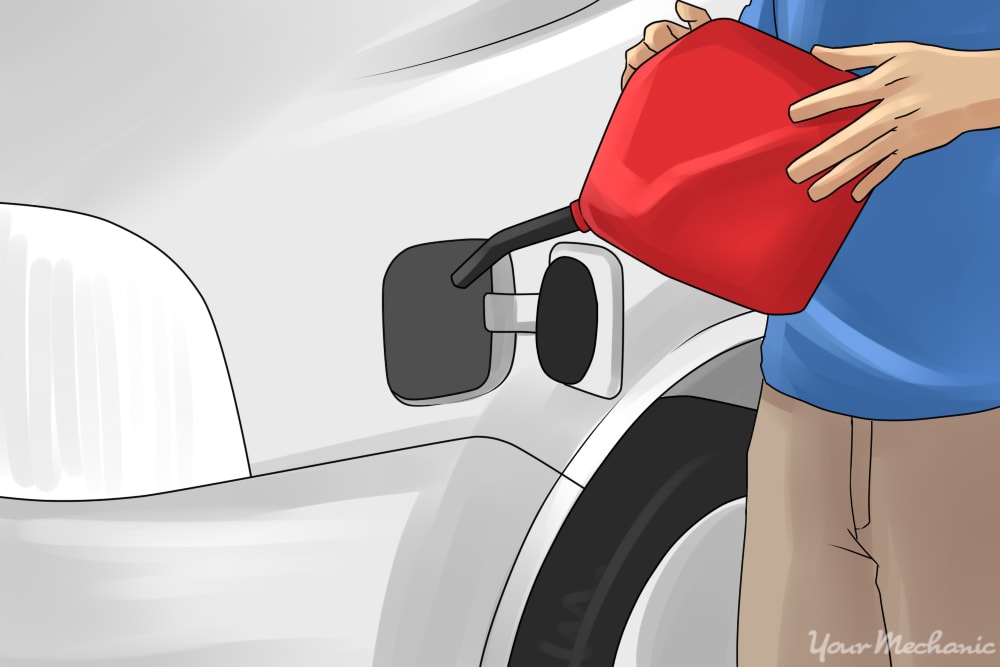
Step 1: Get the transfer tank or a portable fuel can. Remove the fuel filler cap and empty the fuel into the fuel filler neck fueling up the tank.
Try not to drain any fuel on the ground or neck area.
Step 2: Check for leaks. Wait 15 minutes away from the vehicle and, after 15 minutes, come back to the vehicle and check for leaks.
Look under the vehicle for any fuel drops and sniff around to see if you smell any vapors. You can use a combustible gas detector to check for any vapor leaks that you cannot smell.
If there are no leaks, you can continue. However, if you found a leak, check the connections out to see if they are tight. If you had to make adjustments, make sure to check for leaks again before continuing.
- Note: If there are any vapor leaks, the vapor sensor will pick up the leak and display the engine light when driving.
Part 5 of 6: Restoring the car to normal
Step 1: Open the vehicle’s hood. Reconnect the ground cable back onto the battery’s negative post.
Remove the nine volt battery saver from the cigarette lighter.
Step 2: Tighten the battery clamp up. Ensure that the connection is good.
- Note: If you did not have a nine volt battery saver, you will have to reset all of the settings in your vehicle, like your radio, electric seats, and electric mirrors.
Step 3: Raise the vehicle. Lift under the vehicle at its specified jacking points until the wheels are completely off the ground.
Step 4: Remove the jack stands. Keep them far away from the vehicle.
Step 5: Lower the vehicle to where all four wheels are on the ground. Pull out the jack and put it aside.
Step 6: Remove the wheel chocks. Put them aside.
Part 6 of 6: Test drive the vehicle
Step 1: Drive the vehicle around the block. During the test, go over different bumps allowing the fuel to slosh around inside the fuel tank.
Step 2: Monitor the dash for the fuel level and for any engine light to appear.
If your engine light comes on after replacing the fuel gauge sender, then there may be further diagnosis of the fuel system needed or a possible electrical issue within the fuel system. If the problem persists, then you should seek out help from one of YourMechanic’s certified mechanics that can inspect the fuel gauge sender and diagnosis the problem.
