The purpose of a heater control valve is to control the flow of engine coolant to the heater core, located within the passenger compartment. When the heater or defroster is turned on, warm engine coolant passes through the heater core. Here a fan forces air across the surface of the heater core and then into the passenger compartment where the warm air is felt.
During times when the air conditioner is in use, the heater control valve closes, preventing engine coolant from entering the heater core. The result is less heat in the passenger compartment, allowing the air conditioner to work more efficiently.
Follow the step-by-step guide below for directions for replacing a faulty heater control valve.
- Note: It is important to remember that this is a general guideline. Therefore, be sure to consult your factory service manual for complete and detailed instructions specific to your vehicle.
Part 1 of 1: Replacing the heater control valve
- Warning: Be sure the vehicle’s engine is cool to prevent burns to the skin. It is also always a good idea to wear safety glasses to prevent any contaminants from getting into the eye.
Materials Needed
- Distilled or demineralized water
- Drain pan
- New heater control valve
- New engine coolant
- Pliers
- Ratchet set
- Screwdrivers
- Spill-free funnel
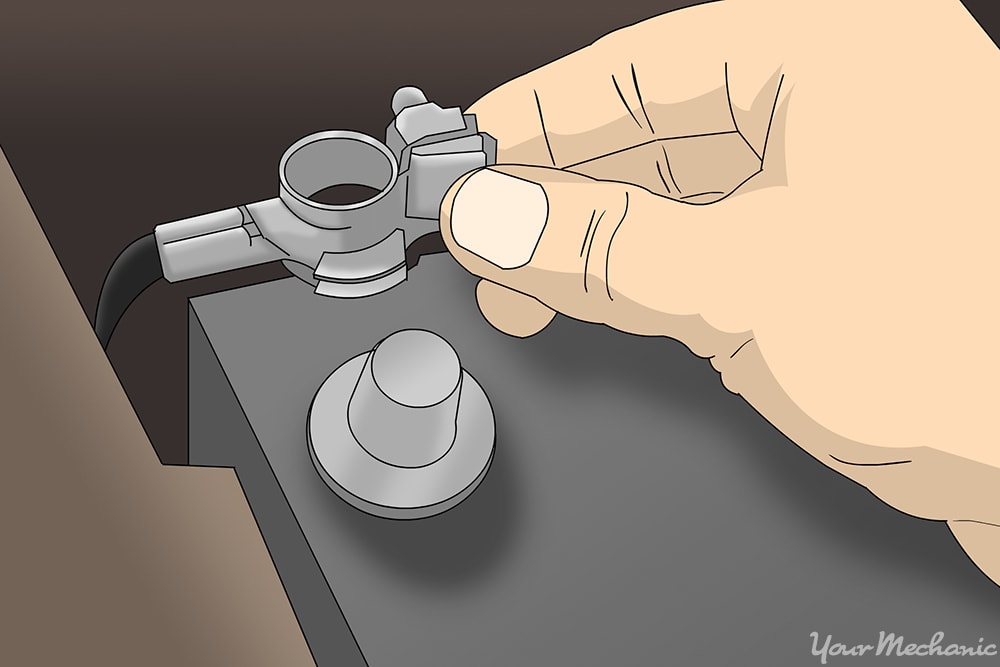
Step 1: Disconnect the battery. Loosen the hold down nut and bolt from the negative battery cable end and remove the connector from the battery post. This will prevent any shorts from damaging the electrical components.
- Tip: If the vehicle is an automatic with a shifter in the console, you may want to place the vehicle in low gear before disconnecting the battery to give you more space to work.
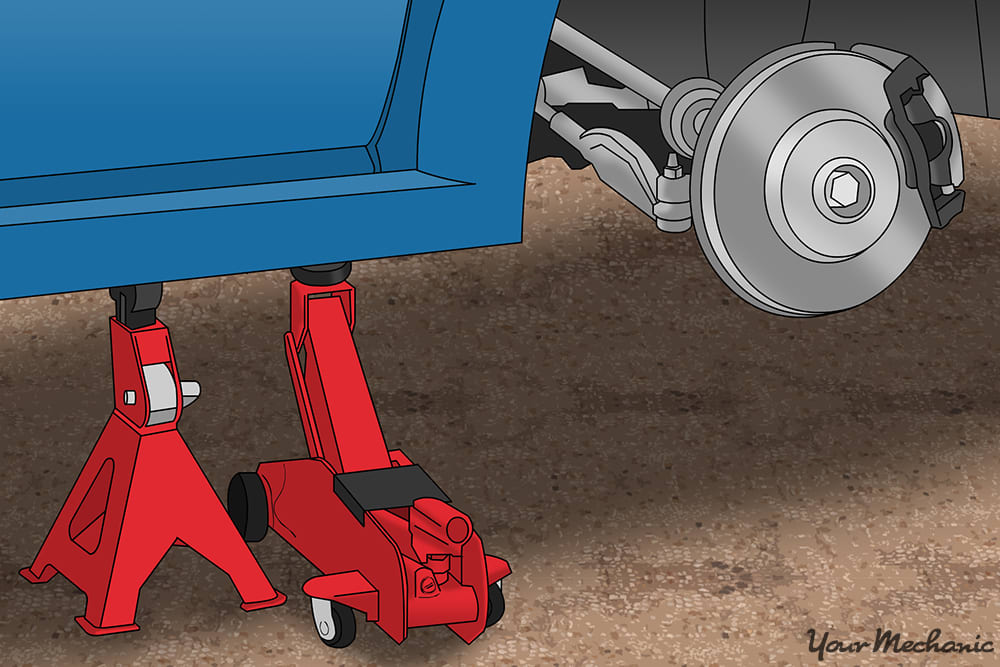
Step 2: Raise the vehicle. If you can not easily reach the lower radiator hose, jack the vehicle up and secure it on jack stands to gain better access.
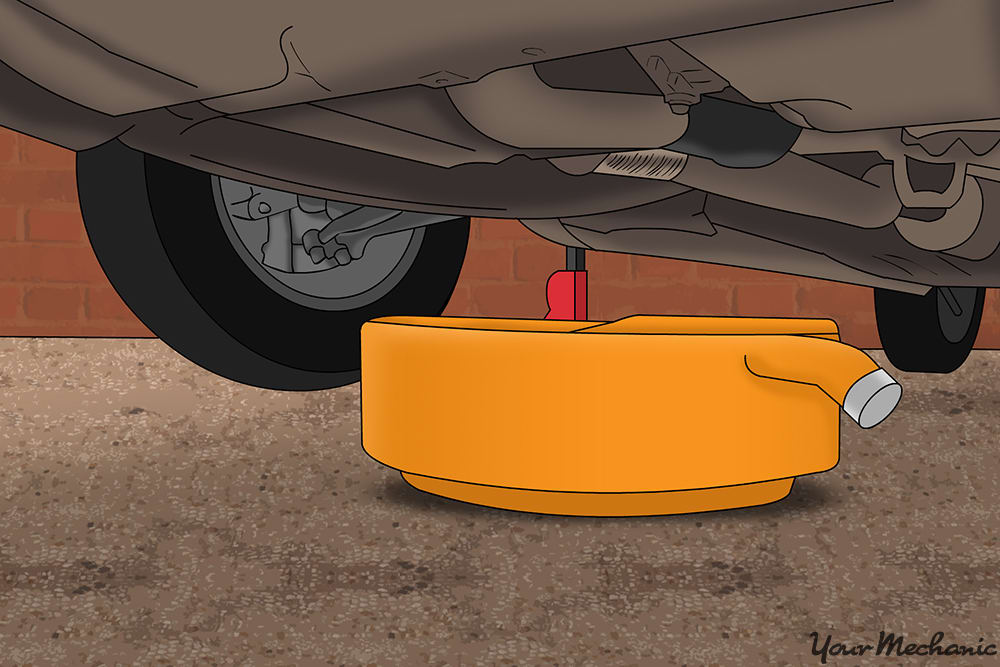
Step 3: Place the drain pan under the vehicle. In order to catch the coolant that will be drained, you will need to put the drain pan underneath the lower radiator hose.

Step 4: Remove the lower radiator hose. Remove the lower radiator hose from the radiator by first loosening the clamp and then gently but firmly twisting the hose to ensure that it is not stuck on.
- Tip: Oftentimes the hose will stick as if it is glued in place. By twisting, you can break this bond and make it much easier to remove.
Remove the hose and drain the engine coolant into the drain pan.
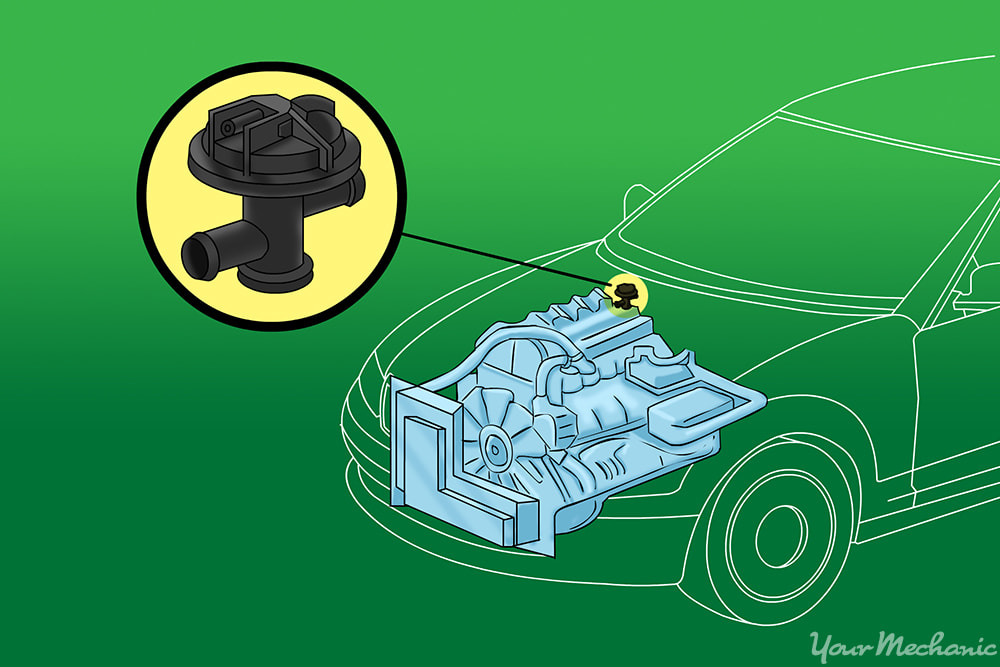
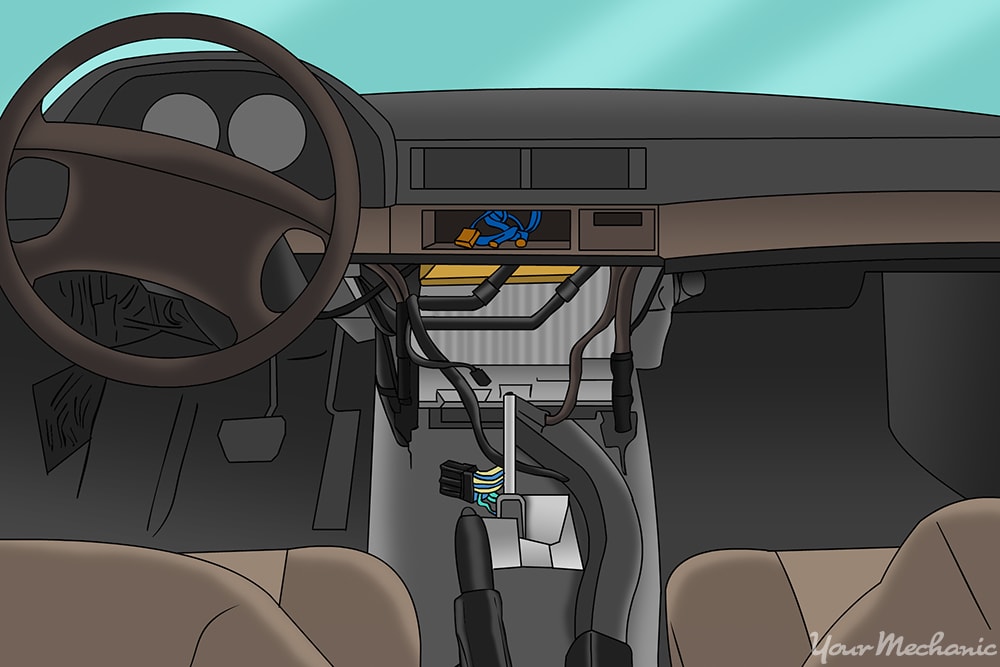
Step 5: Locate your heater control valve. Some heater control valves will be located in the engine compartment at or near the passenger side firewall. Others are located behind the dashboard near the passenger footwell.
Refer to the factory service manual for your vehicle to determine the exact location. In this guide, it is assumed that the control valve is located behind the dash.
- Note: For the steps that follow, you will need to continue referring to the factory service manual for details about what needs to be removed and the location and number of fasteners that need to be removed as well.
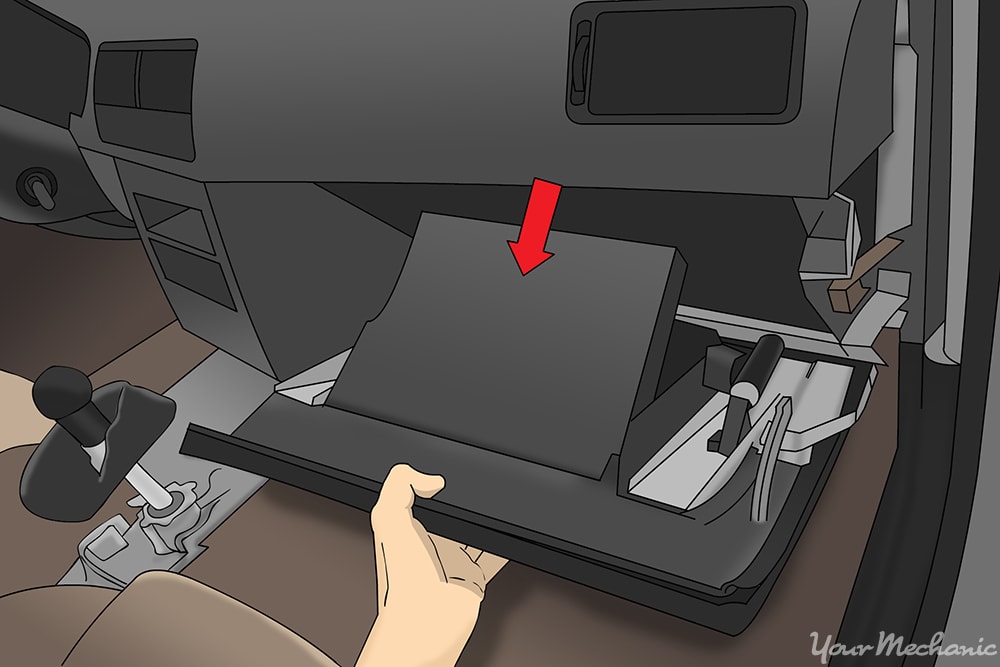
Step 6: Remove the glove box assembly Open the glove box door and locate the attachment screws located along the outer edge of the glove box. Remove the screws with the appropriate screwdriver or ratchet and socket. Gently pull on the glove box assembly to remove from dash and disconnect any electrical connectors connected to the glove box assembly.
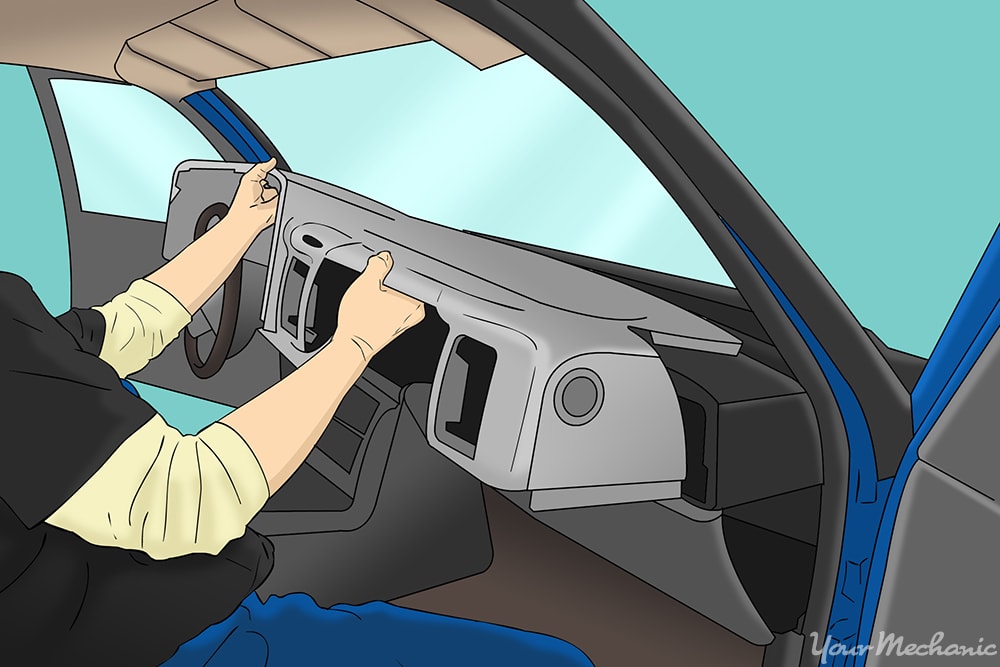
Step 7: Remove the dashboard. Locate the attachment screws, usually along the top edge and bottom edges. There may be other fasteners on the sides, depending on vehicle design. Remove the attachment screws using an appropriate tool. Gently but firmly pull on the dashboard and slowly remove it, making sure to disconnect any remaining electrical connectors that may prevent you from removing the dashboard.
Be careful not to pull on any wire or control cables.
Tip: Take pictures of how the wires and cables are routed and where all the electrical connectors go. Later you can use the photos to ensure everything is put back together properly.
At this point you may see the heater control valve, but in some cases you will need to remove the heater box to gain access.
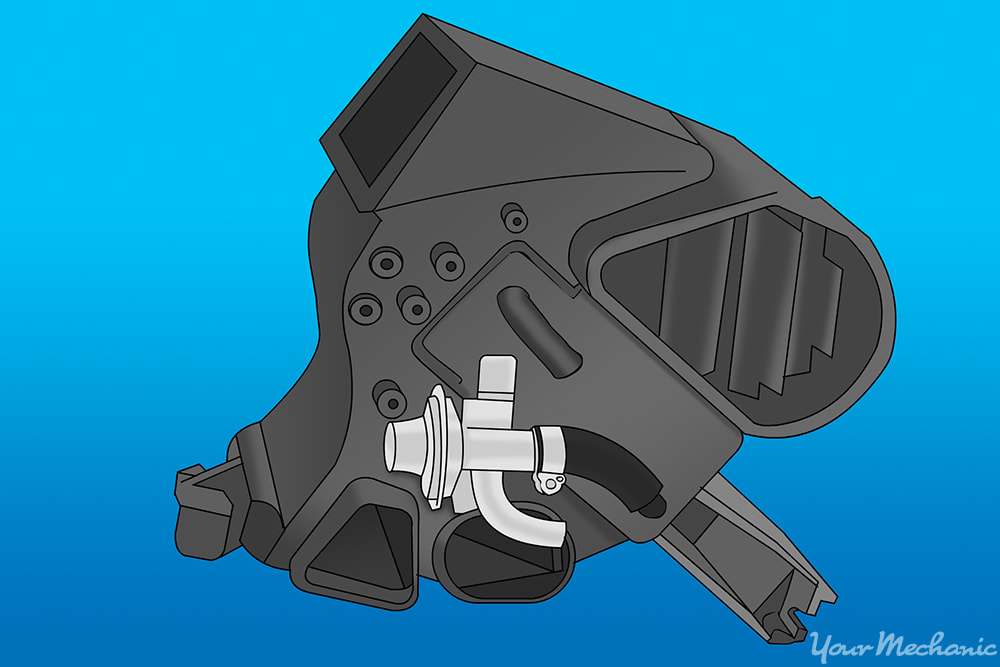
Step 8: Remove the heater control valve Locate the mounting bolts or screws that hold the heater control valve in place.
Remove the fasteners with an appropriate tool and remove the valve. Pay attention to its orientation.
Step 9: Prepare the hoses. To help prevent leaks, thoroughly clean the interior of any hoses that were removed as well as the component you are reattaching it to.
Step 10: Install the new heater control valve. Install the new valve in the same position and orientation as the old valve.
Step 11: Reassemble the dashboard and glove box. Reinstall the dashboard, glove box, and any other components that were removed.
Refer to the photos you took earlier if necessary.
Step 12: Replace the lower radiator hose. Reattach the lower radiator hose and tighten the hose clamp.
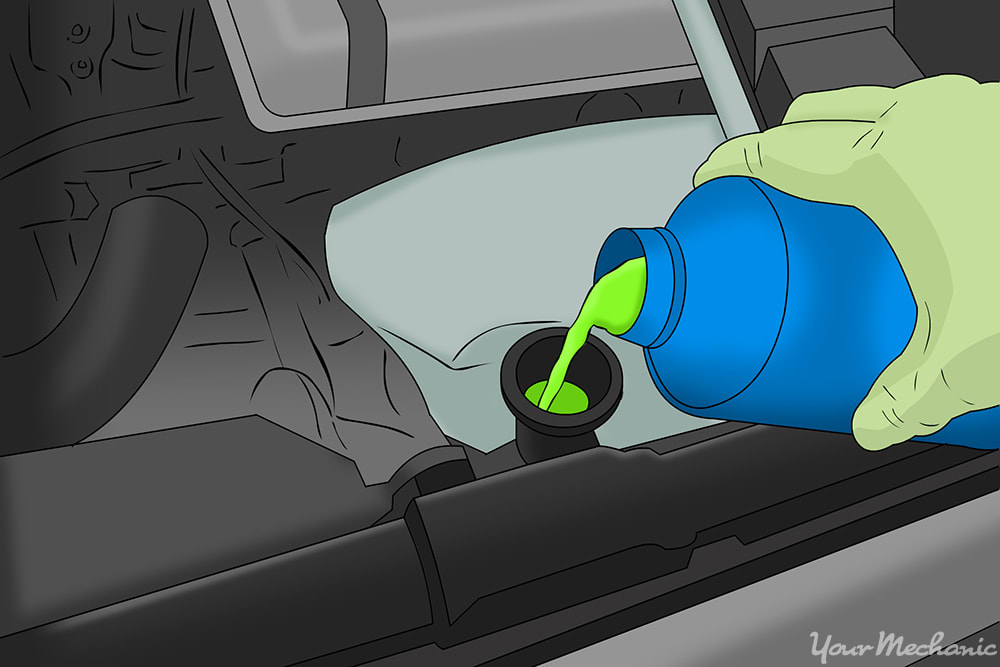
Step 13: Refill the cooling system. Use a 50/50 mixture of antifreeze and distilled or demineralized water to refill the cooling system.
Step 14: Bleed all the air out. To get all the air out of the cooling system, you will need to start the vehicle, turn the heater on high, and allow the vehicle to achieve normal operating temperature.
Keep topping off the coolant as needed until the system is totally full, checking for leaks where hoses were removed and installed.
Step 15: Clean up afterward. Dispose of the used coolant in a manner that corresponds to local laws and regulations.
Each vehicle model is designed differently; therefore it is important to refer to the manufacturer’s factory service manual for your vehicle for additional details. If you would like a professional technician, such as one from YourMechanic, to replace your heater control valve for you, one of our mobile mechanics can work on your car at your home or office.