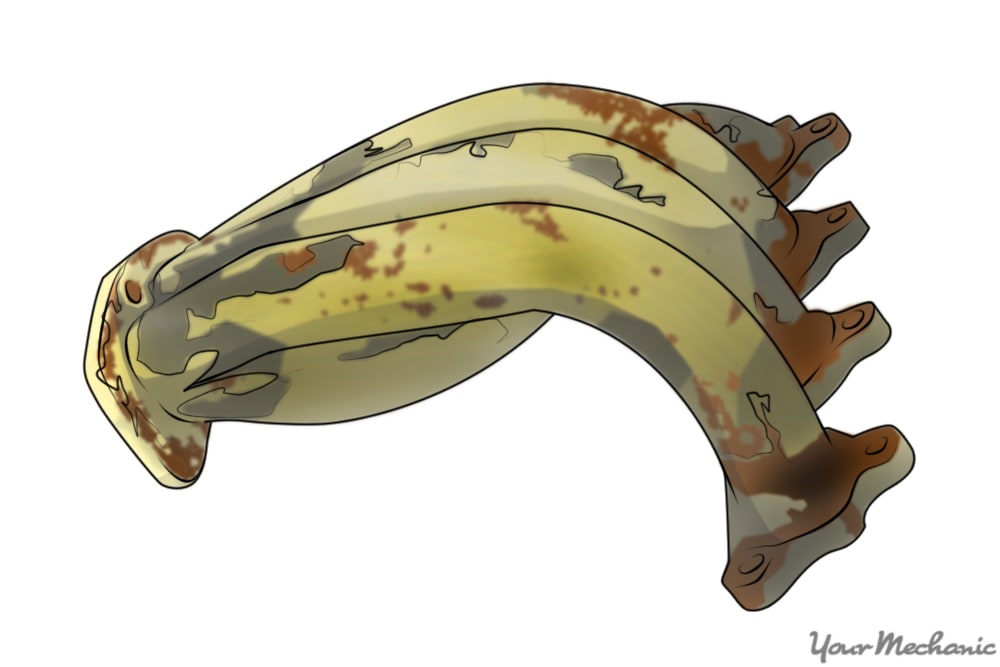
Due to the degree of heat and amount of exposure that an exhaust header is exposed to from your system, it is prone to showing signs of wear and tear. So, on occasion, you may wish to polish your exhaust header to make it shine like new again. Or, you may have purchased an aftermarket exhaust header to replace the one on your current vehicle and want to polish it before you make the switch.
Part 1 of 1: Polish your header
Materials Needed
- Aluminum polish
- Brake cleaner
- Cloth or rags
- Latex gloves
- Newspaper or tarp
- Rust cleaner (if needed)
- Sandpaper (800 and 1000 grit)
- Soapy water
- Toothbrush

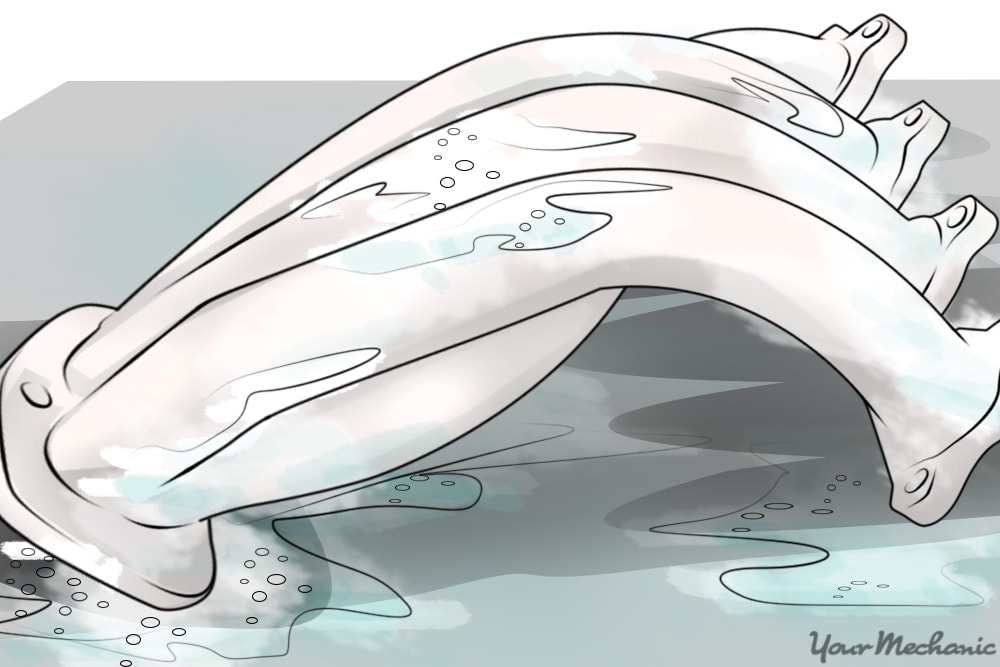
Step 1: Clean with soapy water. Clean with a cloth and soapy water to remove major gunk and grime, using an old toothbrush to clean hard to reach spots.
If the exhaust header is rusted, you can then apply a liberal amount of cleaner with a cloth and scrub in the same manner.
Step 2: Dry completely. Once through, dry the exhaust header thoroughly with an unused cloth or rag.
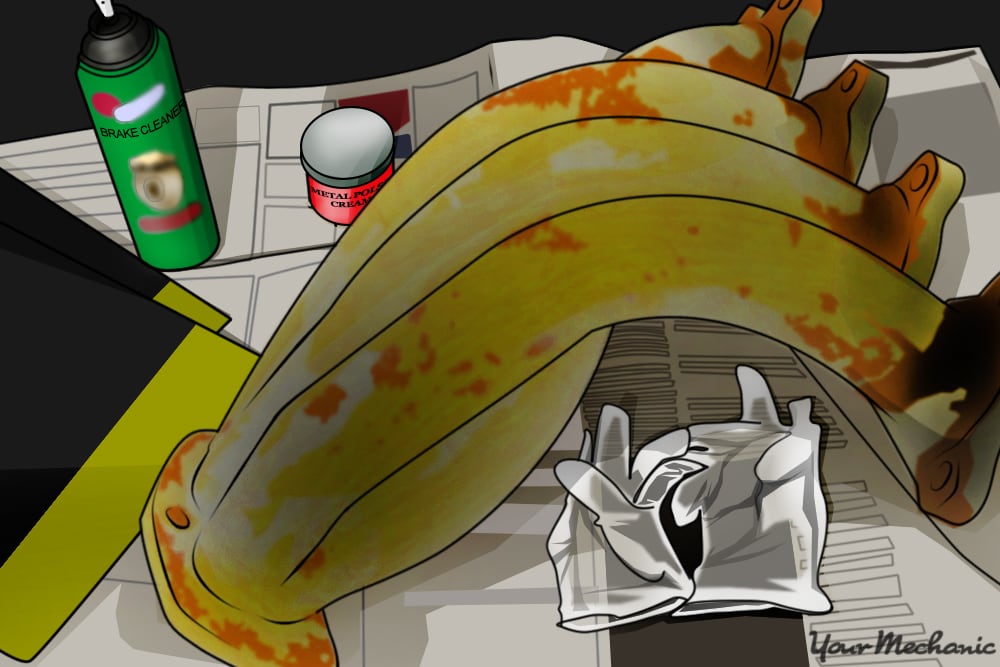
Step 3: Lay newspaper out on work area. Spread newspaper down on your work area, and place your dry exhaust header on top of the newspaper.
Collect all of the remaining items you will need into a nearby spot, so you can reach them without any fuss, saving time during the polishing process.
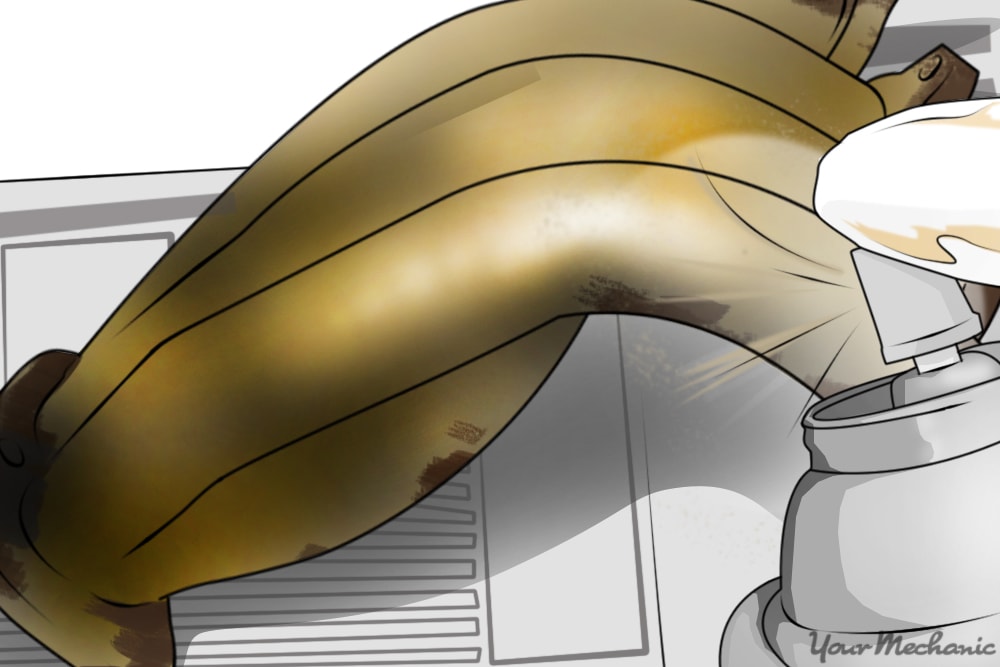
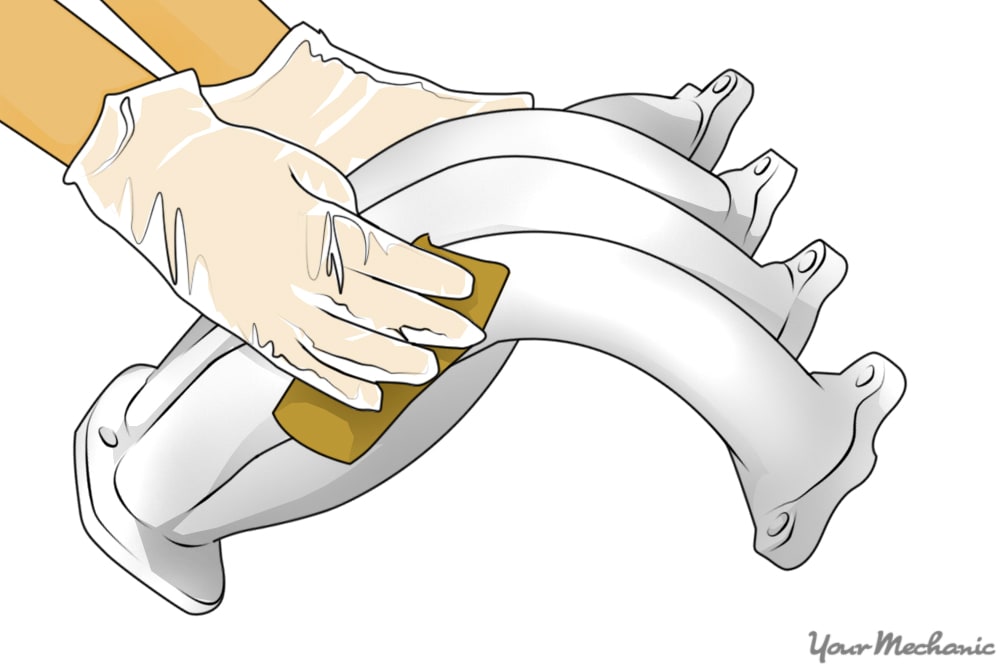
Step 4: Spray and rub brake cleaner. Spray a thin to moderate layer of brake cleaner on a few square inches of area on the exhaust header, then rub it firmly in a circular motion.
Be sure to do this with a rag while wearing latex gloves to protect your skin from irritation. Repeat as many times as needed to treat the entire surface of the exhaust header.
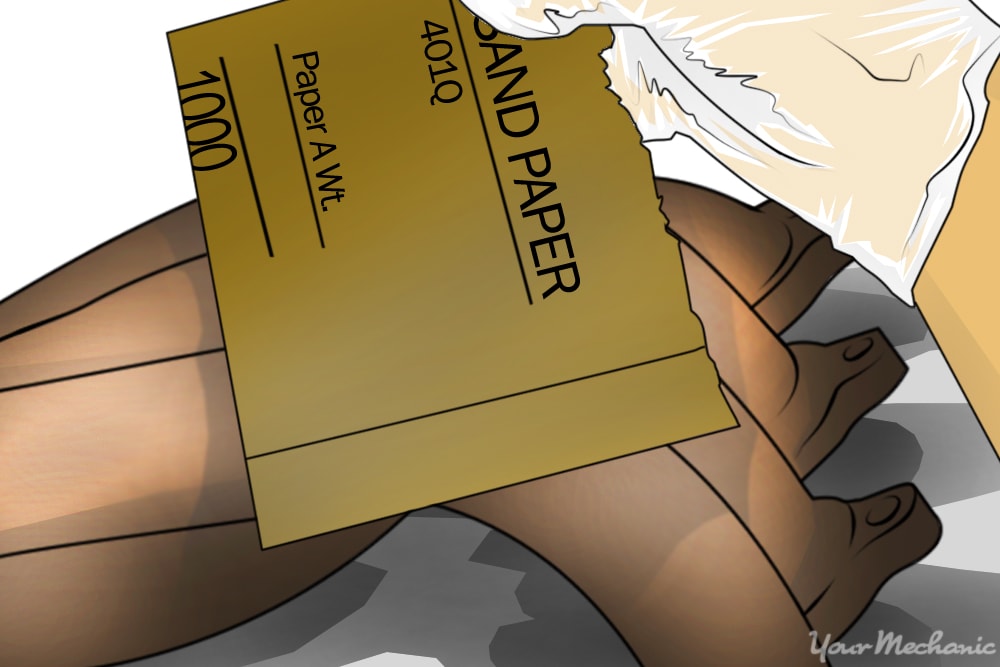
Step 5: Apply metal polish to the header. Spread a liberal amount of metal polish on the header, and firmly sand on top of it with 1000-grit sandpaper.
Whenever the metal polish accumulates enough that it begins to bunch up in lumps on the sandpaper, rinse the paper off with plain water and continue your work.
Step 6: Rinse off the excess metal polish with plain water. It may be best to take the exhaust header outdoors for easy cleanup and the use of a water hose.
Step 7: Apply soapy water once more. Wash it again with soapy water followed by another plain water rinse like you did in Step 1.
Step 8: Dry the header. Allow the exhaust header to air dry thoroughly on a clean surface.
Step 9: Dry sand the header. Dry sand it with the 800-grit sandpaper using a swift up-and-down or back-and-forth motion, then wash it off again with soap and water.
If desired, you can clean it again with metal polish as you did in Step 4, and wash it off a final time before allowing to air dry untouched.
Tip: For best results, after you have re-installed your polished exhaust header on your vehicle, lightly spray it with brake cleaner. Then, wipe it down with a clean rag. This will remove any oils inadvertently left on the exhaust header from your fingers, which could cause discoloring after exposed again to heat from the exhaust system.
Warning: Polishing an exhaust header is a time-intensive process. Expect to spend between 4 and 10 hours on the job, depending on the header’s condition.
While polishing an exhaust header requires some time and elbow grease, it can be a labor of love to an auto enthusiast. Returning a discolored and perhaps rusty header to like-new condition is easy and relatively inexpensive, and it can make a vehicle’s under-the-hood view far more eye-catching. This is especially helpful for vehicle owners who have collectible cars or ones that are customized for aesthetic appeal. If you notice any unusual noise or misfiring from your engine, have one of YourMechanic’s certified professionals perform an inspection.
