
It can be upsetting to know you just put a bunch of your hard-earned money into a new car stereo, only to realize it sounds terrible. You changed the head unit, added more speakers, and better yet, put in a new amplifier. At first, your new radio sounds great, but then you turn up the volume and it no longer works as you expected. The amplifier cuts in and out, the speakers are full of static, and even worse, other electrical systems in your car are no longer working properly.
You may wonder what went wrong with the installation - but chances are, you have just forgotten to install a capacitor to handle a large stereo system. Whether it is a stereo that was installed, or another piece of equipment that takes a lot of power to run, a capacitor may be needed to make it work properly.
Part 1 of 2: Purpose of a capacitor
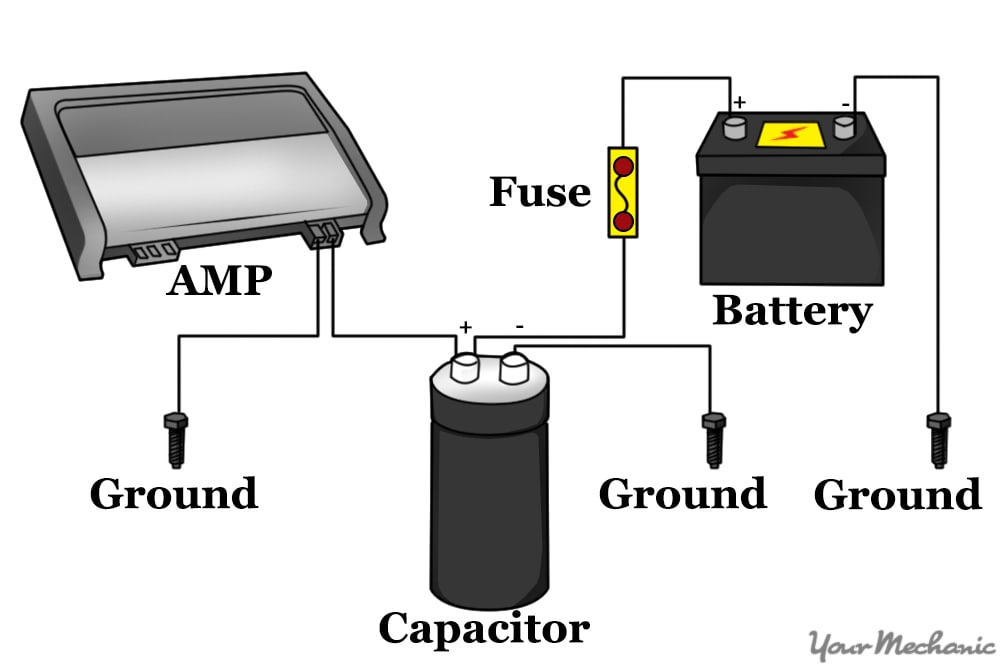
A capacitor is a storage device for electrical power or voltage. Capacitors come in all shapes and sizes, so it is important that you consult an electronic specialist to make sure you purchase the one that is right for your circuit. Once you know what you need, you can purchase it and prepare for the installation, or have it installed into your vehicle by a pro.
- Warning: Capacitors are used to store electrical power. Once they are fully charged, they can release that voltage if they are touched. Large capacitors can cause serious electrical shocks and can even injure you.
You may need to install a capacitor if you have a:
- Stereo system
- Winch
- Exterior lighting system
- Hydraulics
Other electrical circuits, not listed here but which can draw a lot of power from your vehicle's electrical system, may also require a capacitor to operate correctly.
Part 2 of 2: Installing the capacitor
Materials Needed
- Capacitor
- Electrical butt connectors (various sizes)
- Electrical eyelet connectors (various sizes)
- Memory saver
- Wire (same size as the circuit you are installing the capacitor into)
- Wire strippers/crimpers
- Wrenches (assorted sizes)
Step 1: Park your car on a flat surface and apply the parking brake.
Step 2: Install the memory saver per its manufacturer's instructions.
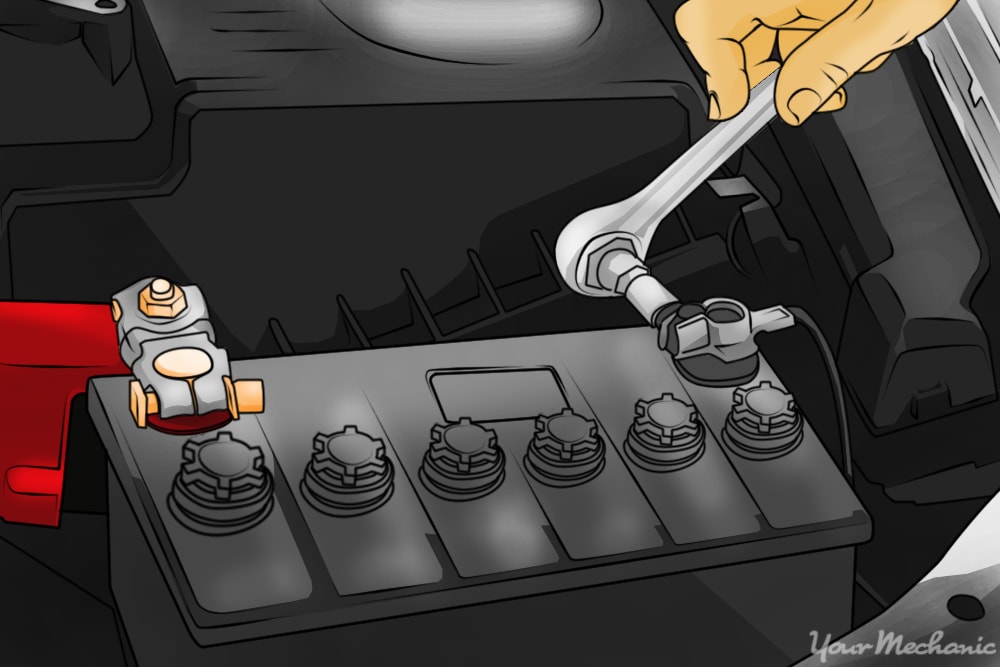
Step 3: Disconnect the negative battery cable. Turn the cable clamp nuts or cable bolts counterclockwise to loosen them.
Wiggle the cable free from the top post when it is loose. If it is a side-post battery, completely unscrew the bolt.
Step 4: Locate the power feed circuit that you want to place the capacitor in. On an amplifier, this would be the main battery power wire going to it.
Step 5: Using the pliers, cut the positive feed wire to the circuit. To allow for the right amount of space, you should always splice into the circuit at least six inches from the item receiving the power.

Step 6: Using the pliers, strip the insulation from both ends of the wire you just cut.
Step 7: Install an eyelet onto one of the wiring ends. Crimp it in place with the pliers. * Tip: The eyelet must be made for that size of wire. Once you crimp it into place, you need to make sure that it is tight and secure.
Step 8: Install the wire to the positive terminal on the capacitor. Then loosely install the terminal nut.
Step 9: Mount the capacitor to the vehicle per the manufacturer's instructions. Some capacitors are mounted using screws, and others are mounted using double-sided tape.
Step 10: Cut a wire at the right length to complete the circuit. Using the extra wire that you have, measure a piece that will extend the other circuit wire to the capacitor, and cut it to length.
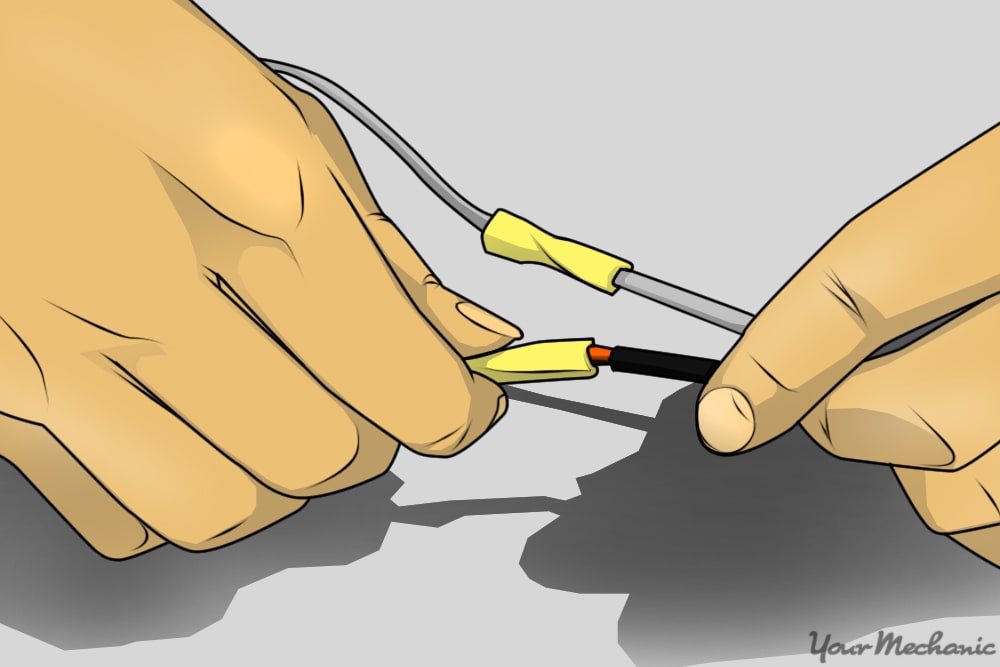
Step 11: Strip both ends of the section of wire with the pliers. Install the appropriate butt connector for that wire’s size onto one end.
Step 12: Install the other end of the butt connector over the circuit wire. This will go on the wire that was initially cut, supplying the positive power feed to the amplifier or other circuit.
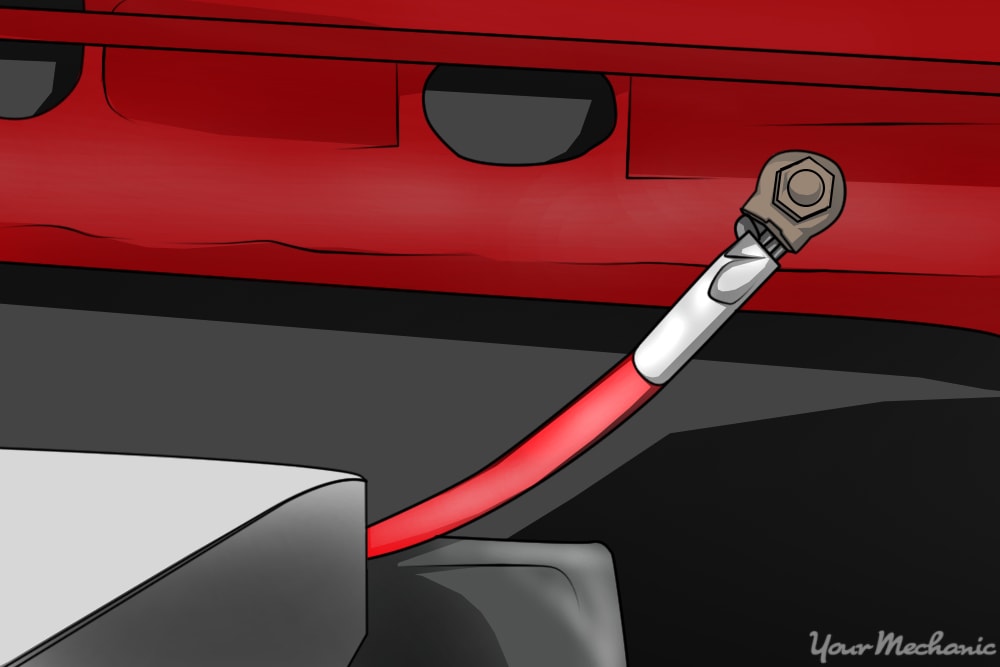
Step 13: Install an eyelet on the other end of the wire and crimp it into place.
Step 14: Install the eyelet and wire onto the positive terminal of the capacitor. Then tighten the terminal nut with the appropriate wrench until it is snug.
Step 15: Ground the circuit. Install a piece of wire from the negative terminal of the capacitor to a good body ground.
Step 16: Install the negative battery cable. Tighten with the terminal wrench until they are snug, then add another quarter turn to tighten.
Step 17: Remove the memory saver.
Step 18: Start your vehicle and allow the capacitor to charge. Once it is charged, you can use the circuit that it is installed in.
Once the capacitor is properly installed, the circuit can be used. When installing a capacitor it is important to use caution, as a capacitor can easily shock you. Make sure that it is installed in such a way that it cannot accidentally touch anyone. If you are not comfortable with any part of this installation, call a certified mechanic from YourMechanic to come to you and install the capacitor.