Flushing the cooling system is part of every vehicle's scheduled maintenance. This procedure is usually required every two to four years, depending on the vehicle.
It is important to perform this maintenance at its scheduled time because the radiator plays a big role in keeping your car’s engine cool. Failure to keep the engine cool could lead to engine overheating and costly repairs.
Flushing your radiator and cooling system is a straightforward procedure that you can do at home with a little patience and some basic knowhow.
It must be noted, however, that if your vehicle is leaking coolant or if you find that the engine is overheating, then a radiator flush is not recommended. The cooling system cannot be flushed if it is not functioning properly in the first place.
Part 1 of 1: Flush the cooling system
Materials Needed
- Cat litter
- Distilled water, about 3-5 gallons
- Drain pan
- Five gallon buckets with lids
- Floor jack
- Latex gloves
- Pair of pliers
- Pre-mixed coolant specific to your vehicle, about 1-2 gallons
- Rags
- Safety glasses
- Safety jack stands x2
- Screw driver
Socket and ratchet
Note: Always start with a cold vehicle when flushing a cooling system. This means the vehicle has not been used for some time to allow everything in the engine to cool down.
Warning: Do not open the cooling system on a hot vehicle, or serious injury can occur. Let the vehicle sit for at least two hours so it is cool enough to work on safely.
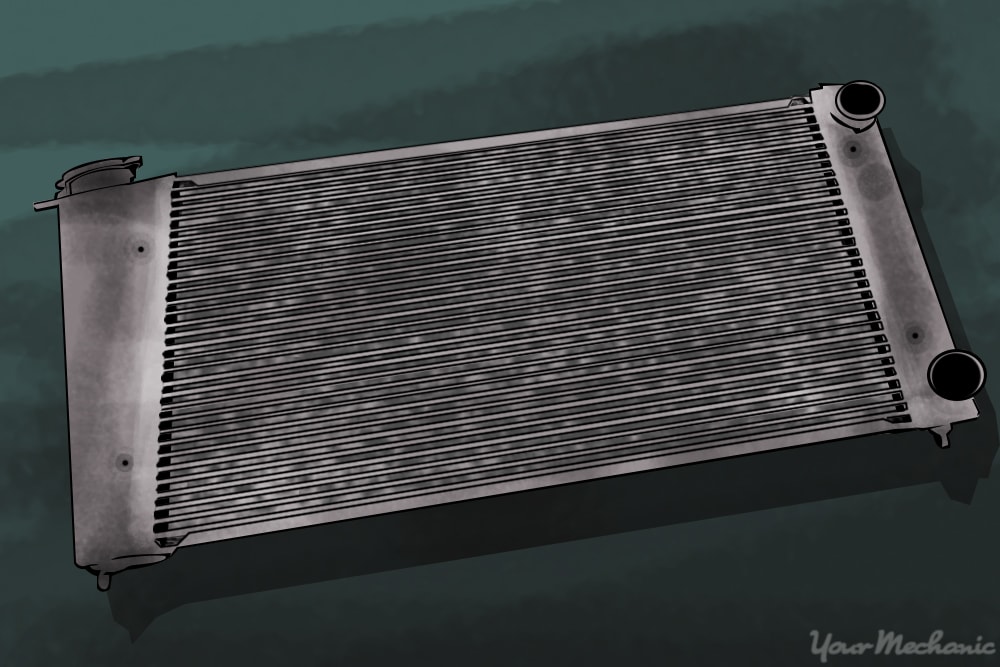
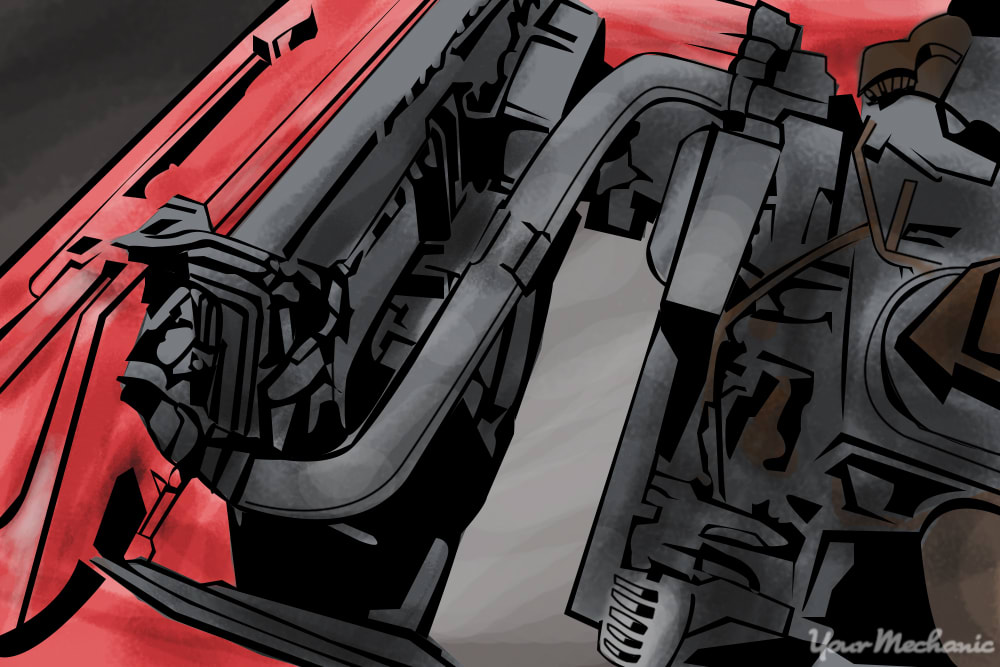
Step 1: Locate the radiator. Open the hood of the car and locate the radiator in the engine bay.
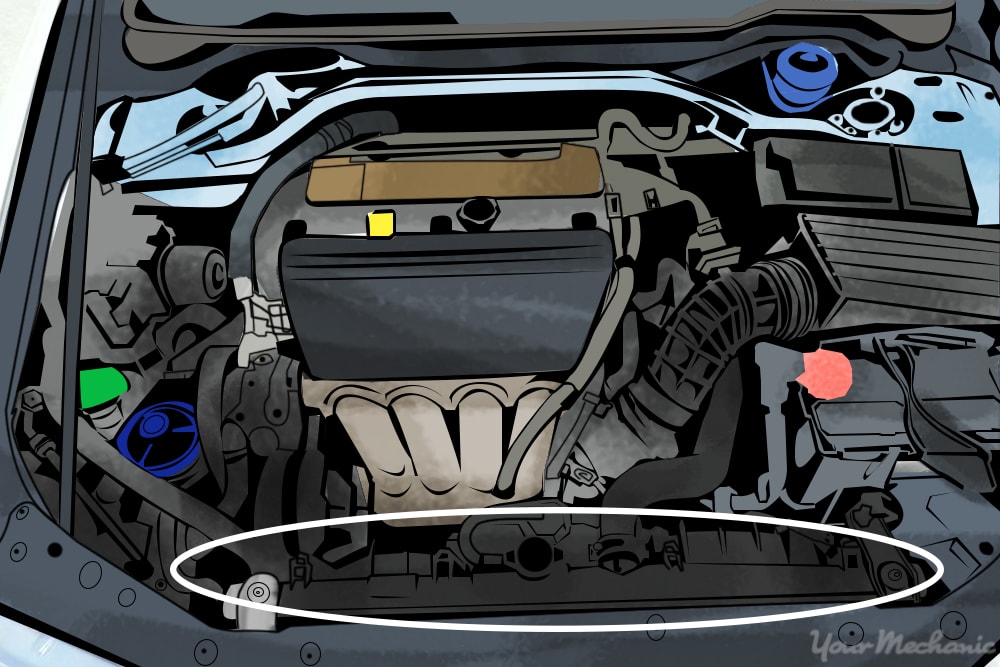
Step 2: Access the drain spout. Locate the bottom of the radiator, where you will find the drain spout or petcock.
It may be necessary to remove any splash shields to gain access to the bottom of the radiator and the petcock. You can use a tool, such as a screw driver, to do this.
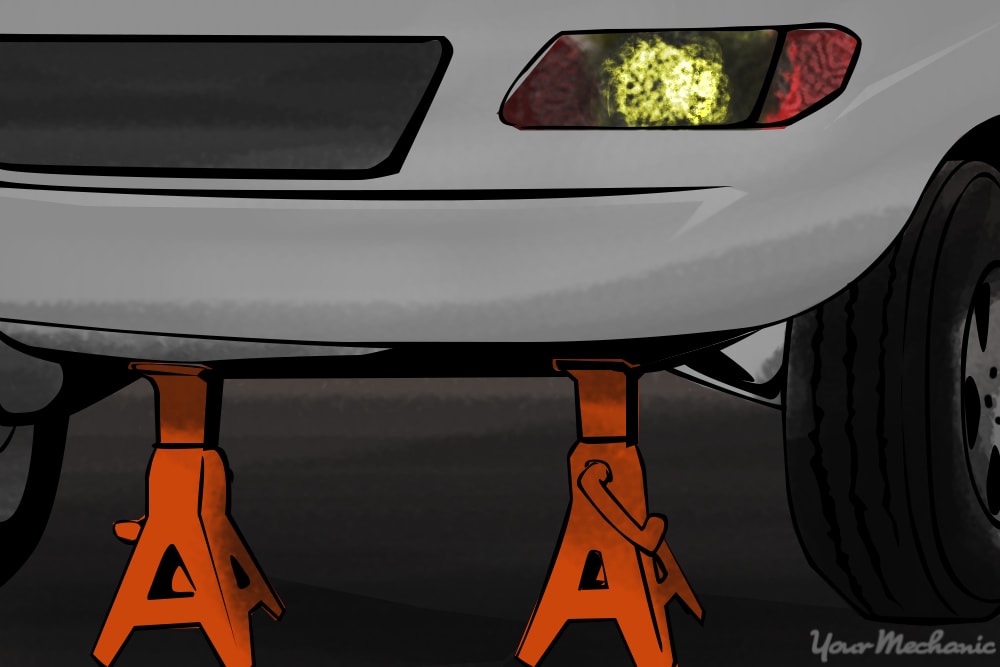
- Tip: It may also be necessary to raise the front of the vehicle to have enough room to access the spout or petcock on the radiator from underneath the vehicle. Use the jack to lift the vehicle and use jack stands to secure it for easy access.
Please refer to your vehicle owner's manual on how to properly and safely lift the car.
Step 3: Loosen the drain spout. Place a drain pan or bucket below the vehicle before opening the drain spout or petcock.
If you are unable to loosen this piece by hand, then use a pair of pliers to assist you with the removal.
Once this is done, proceed to remove the radiator cap as well. This will allow the coolant to drain out quicker into the drain pan.
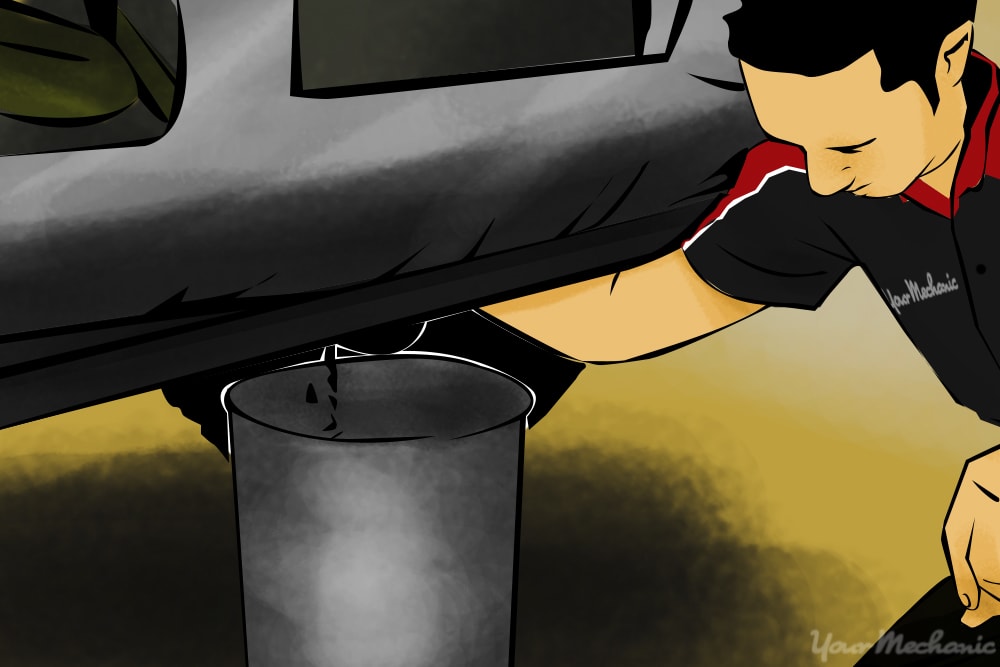
Step 4: Drain out the coolant. Allow all of the coolant to drain into the drain pan or bucket.
- Tip: Take care to not let the coolant drip on to the ground, as it is toxic to the environment. If you do spill coolant, put some cat litter on to the spill. The cat litter will absorb the coolant and can later be swept up with a dustpan and bagged for proper, safe disposal.
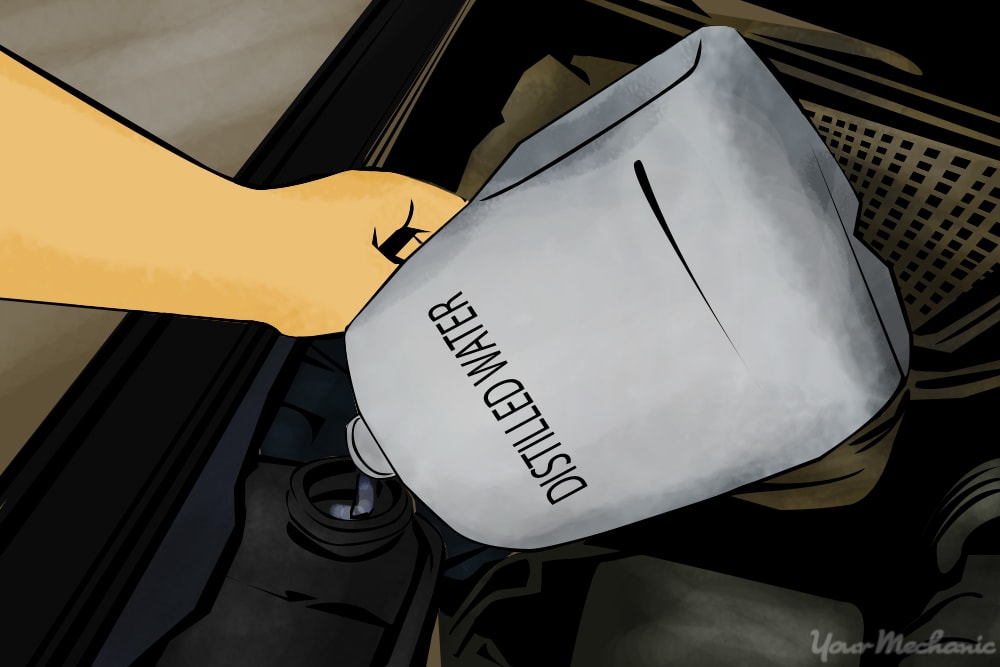
Step 5: Fill distilled water. Once all the coolant is drained, close the petcock and fill the cooling system with plain, distilled water.
Replace the radiator cap, start the engine, and run the vehicle for about 5 minutes.
Step 6: Check the system pressure. Shut off the car. Squeeze the upper radiator hose to determine if the system has pressurized.
- Warning: Do not open the cap if the radiator hose is pressurized and firm. When in doubt, wait 15-20 minutes between running the vehicle and opening the cap.
Step 7: Drain out the distilled water. Open the petcock again, then the radiator cap and allow the water to drain out of the cooling system into the drain pan.
Repeat this process 2 to 3 times to remove the old coolant from the cooling system.
Step 8: Dispose the old coolant. Pour the used coolant and drain water from the drain pain into a five gallon bucket with a secure lid and take it to a recycling center for safe disposal.
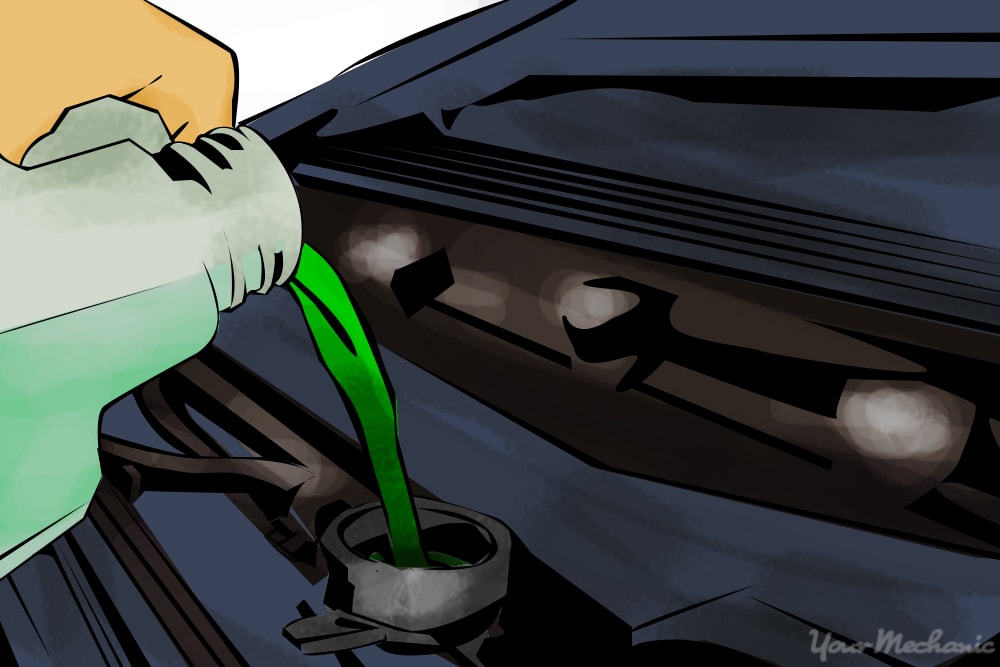
Step 9: Fill the coolant. Grab the coolant specified for your vehicle and fill the cooling system. Leave the radiator cap off and start your vehicle.
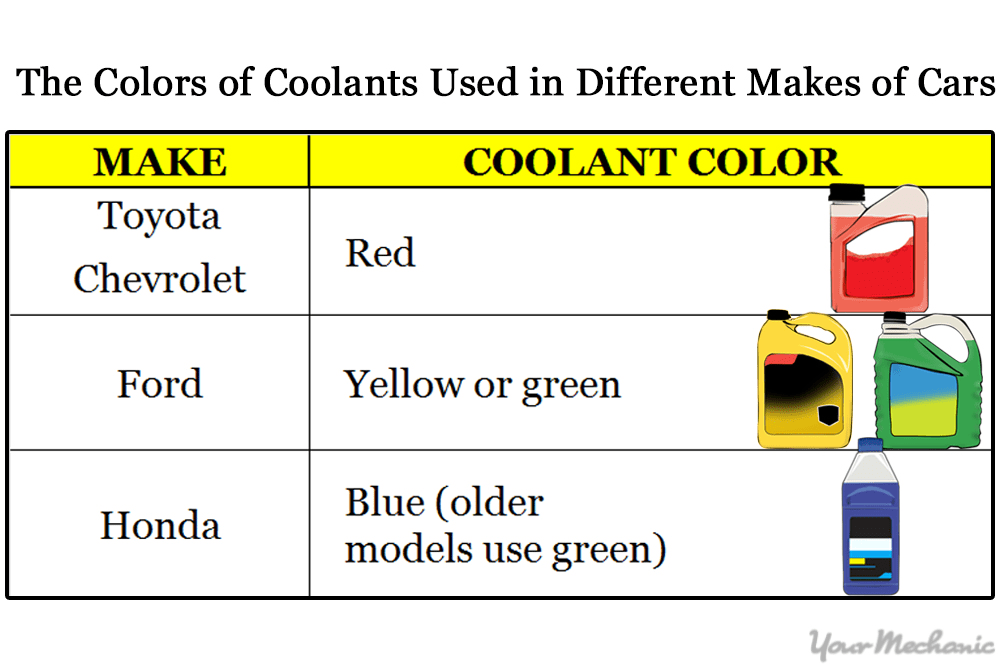
Tip: The type of coolant will vary from one manufacturer to another. An older vehicle may use the typical green coolant, but newer vehicles have coolants formulated specifically for their engine’s design.
Warning: Ensure that you never mix the different types of coolant. Mixing coolant can cause damage to the seals inside the cooling system.
Step 10 : Circulate fresh coolant in the system. Return to the inside of your car and set your heater to High to allow the fresh coolant to circulate throughout the entire cooling system.
You can also idle your vehicle at 1500 rpms for several minutes by pressing on your gas pedal while in park or neutral gear. Doing this allows the vehicle to reach the usual operating temperature more quickly.
Step 11: Bleed air out of the system. As the vehicle warms up, air will bleed out of the cooling system and out of the radiator cap.
Monitor the temperature gauge on your dashboard to ensure that the vehicle does not overheat. If the temperature begins to rise, shut the vehicle off and let it cool down; it’s likely that an air pocket is trying to find its way out. After it cools down, start the vehicle again and continue to let the air bleed out of the cooling system.
When all of the air is out, the heater will blow strong and hot. When you touch the lower and upper radiator hoses, they will have a similar temperature. The cooling fan will come on indicating that the thermostat has opened and the vehicle has reached operating temperature.
Step 12: Top off the coolant. When you are confident that all the air is out of the system, top off the coolant in the radiator and secure the radiator cap.
Re-install any splash shields, lower the car from the jack stands, clean up all of your materials and perform a test drive. Performing the test drive will help you verify that the car is not overheating.
- Tip: On the following morning, check the coolant level in the radiator before starting the vehicle. Sometimes there may still be air left in the system and it will find its way to the top of the radiator overnight. Simply top off the coolant, if needed, and you are good to go.
Car manufacturers recommend that you flush the radiator at least every other year or every 40,000 to 60,000 miles. Ensure that you flush your car’s radiator at the recommended intervals to prevent it from overheating and to help maintain an efficient radiator system.
Overheating can cause serious, expensive damage like a blown head gasket (which typically requires complete engine replacement) or warped cylinders. If you suspect that your engine is overheating, get your car inspected by a certified mechanic, such as one from YourMechanic.
Flushing the radiator correctly helps to clean and prevent dirt and sediment buildup. By performing this routine maintenance procedure, you can help your car’s radiator in perfect working condition.