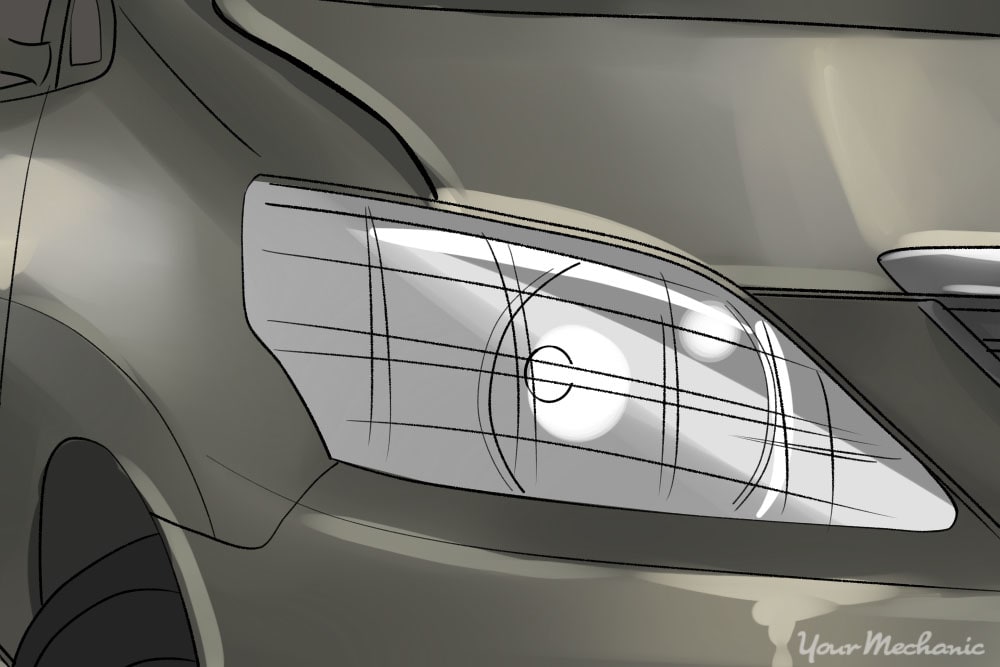
Since vehicle manufacturers made the widespread switch in the 1980s from easily broken glass headlights to ones made of polycarbonate or plastic, the problem of headlights becoming cloudy has arisen. This is caused by oxidation, which naturally occurs over time--oxidized headlights aren't necessarily the result of poor maintenance and happen to even the most conscientious of vehicle owners. UV light, road debris, and atmospheric chemicals are common culprits.
This cloudiness decreases nighttime visibility and should therefore be periodically repaired. Fortunately, repairing oxidized headlights is often a job you can do yourself.
A cloudy appearance on a polycarbonate or plastic lens isn't necessarily the product of oxidation. Sometimes, built-up grit and grime can lend a hazy look to these surfaces. Give your headlights a thorough wash before making the decision to move forward with oxidized light repair.
If they still appear cloudy after a thorough cleaning, try one of these three methods for oxidation repair:
How to clean oxidized headlights using toothpaste
-
Gather the correct materials - To clean your headlights using the toothpaste method, you will need the following: Car wax, Masking tape, Plastic or vinyl gloves (optional for those with sensitive skin), Soft cloth, Toothpaste (any kind), Water
Start by cleaning with soap - First wash with soap and water using firm, back-and-forth movements with the cloth or sponge, then rinse with plain water. After allowing some time to air dry, look at your headlights again closely.
-
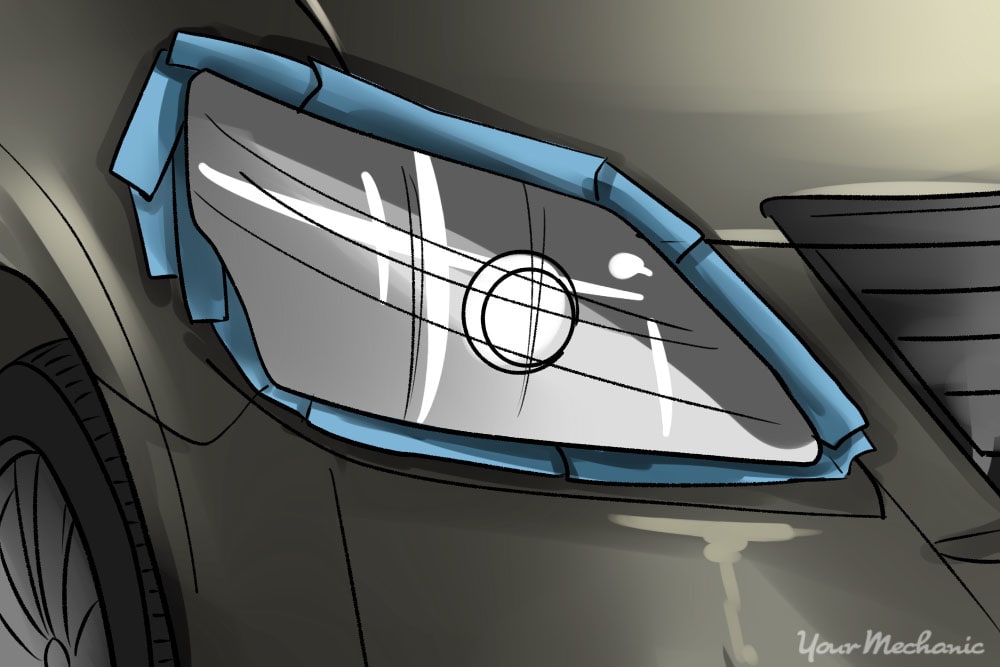
Protect surrounding area with masking tape - Using masking tape, cover the areas surrounding your headlights to protect them from accidental scuffing.
-
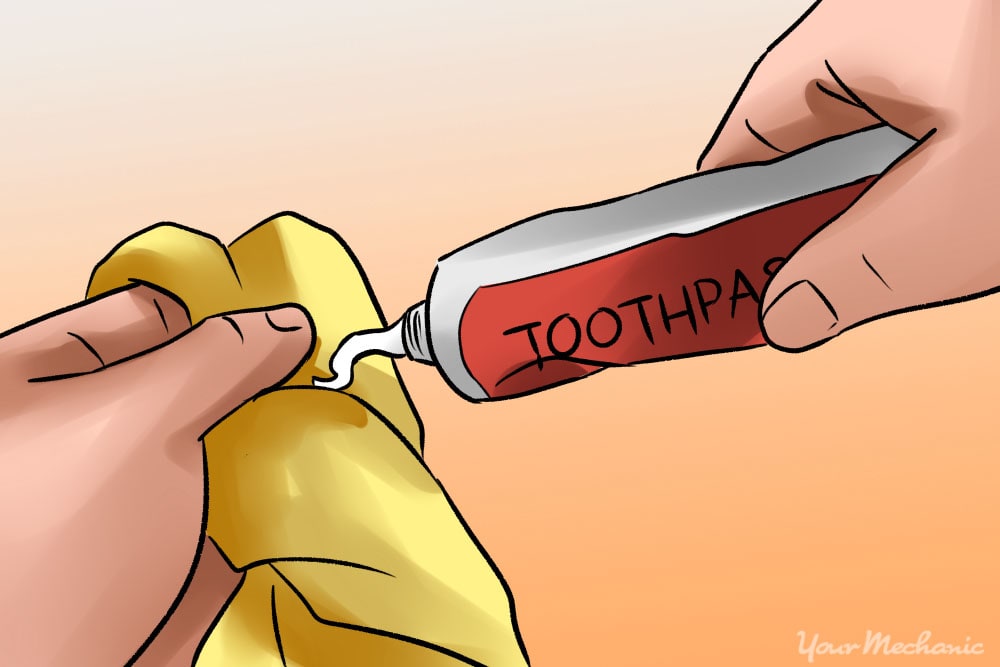
Wear gloves - Wear plastic or vinyl gloves if you have sensitive skin. Dampen a clean, soft cloth in water, and add a dab of toothpaste.
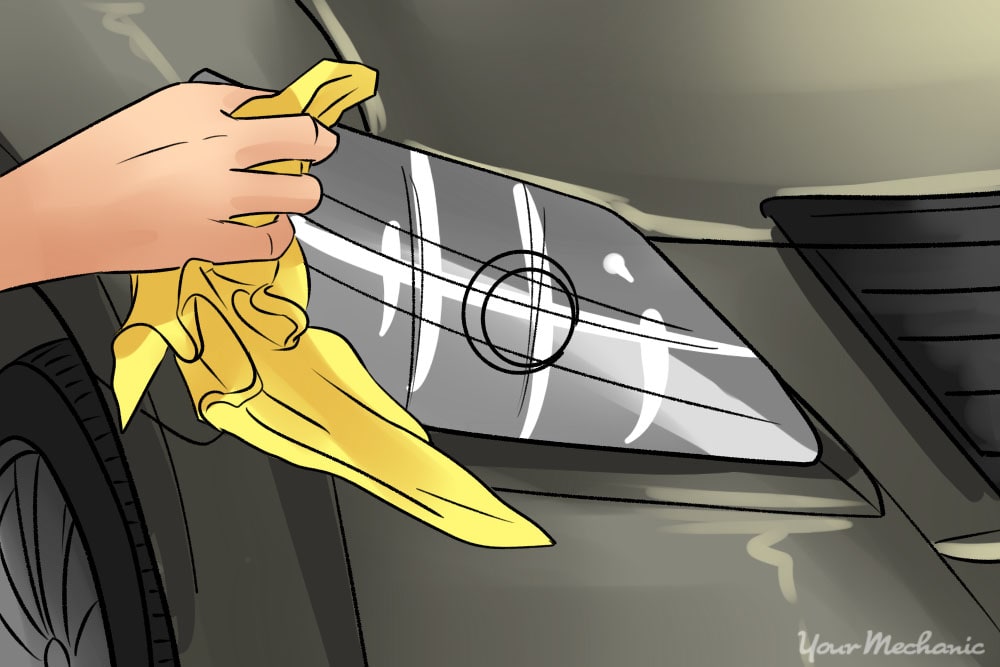
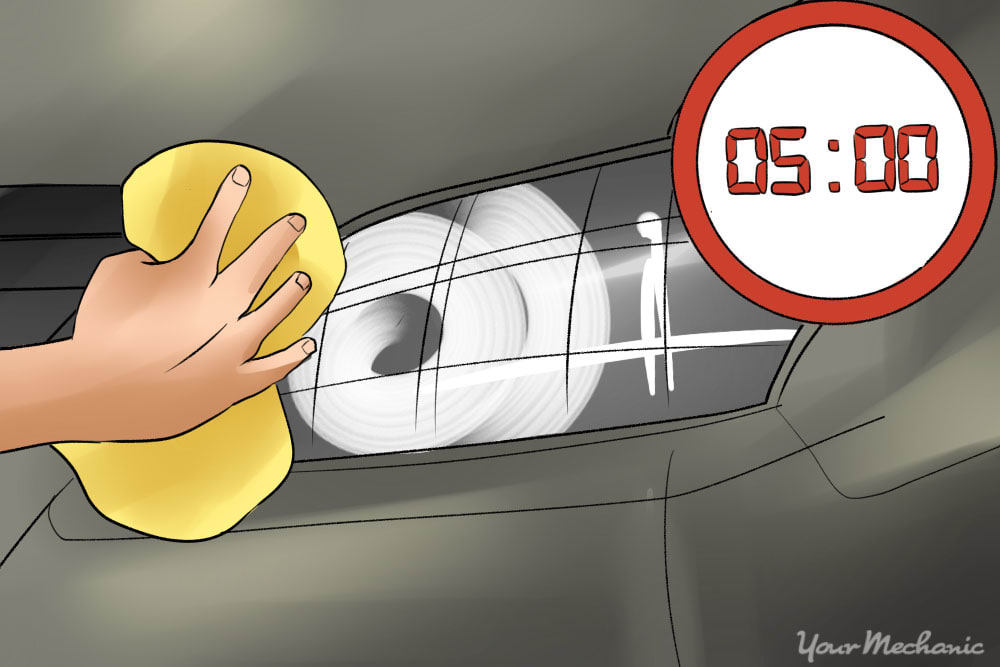
Use toothpaste-laden cloth - Firmly rub the surface of your headlights with the toothpaste-laden cloth in small circles. Add water and toothpaste as needed, and expect to spend up to five minutes cleaning each affected light.
Rinse - Next, rinse with water and allow to air dry.
Apply car wax - To help protect your headlights from future damage, you may consider applying car wax to your lights using a clean cloth in a circular motion, followed by another rinse with water.
Why it works
Just as toothpaste can remove unwanted particles from the enamel on your teeth, it can remove stains from your headlights. This is because toothpaste – even gel and whitening varieties – contains a mild abrasive that buffs out the surface for a smooth feel and look that translates into clearer headlights.
How to clean oxidized headlights using glass cleaner and automotive polish
Gather the correct materials - You will need the following materials to clean headlights with glass cleaner and automotive polish: Automotive polish, Car wax (optional), Glass cleaner, Masking tape, Plastic or vinyl gloves (optional for those with sensitive skin), Rotary buffer (optional), Soft cloth, Water
Tape off surrounding area - As with the previous method, tape off the areas surrounding your headlights to protect your trim or paint job, and wear plastic or vinyl gloves if you have skin sensitivities.
-
Spray headlights with cleaner - Generously spray your headlights with glass cleaner, then wipe the surface clean with a soft cloth.
Apply automotive polish - Apply automotive polish to another clean, soft cloth and firmly rub the surface of each headlight in a circular manner, adding more polish as needed. Plan to spend at least five minutes on each light in this manner. For a speedier repair, you can use a rotary buffer to apply the polish.
Rinse - Rinse with water, and apply car wax as a protectant against future oxidation damage as described in the previous method, if desired.
Why it works
Another simple method that is often an effective oxidation repair uses standard glass cleaner and automotive polish, which are available at auto parts and general stores. The glass cleaner prepares the surface while the polish, containing slightly more coarse abrasives than toothpaste, buffs out the surface of your headlights.
How to clean oxidized headlights using a polishing compound kit
Gather the correct materials - You will need the following to get started with cleaning headlights using a polishing compound kit: Car wax or kit-included sealant (optional), Cloth, Masking tape, Mild detergent like dish soap or kit-included cleanser, Polishing compound, Sandpaper array (between 600- and 2500-grit), Water
Cover surrounding are with masking tape - Cover the surfaces immediate around your headlights with masking tape (as in Methods 1 and 2) for protection from the abrasives in the polishing compound, and put on gloves if your skin is sensitive.
Wash and rinse - Dampen a clean cloth with water, add a mild detergent or cleanser included in your kit, then wash your headlights' surfaces. Rinse with plain water.
-
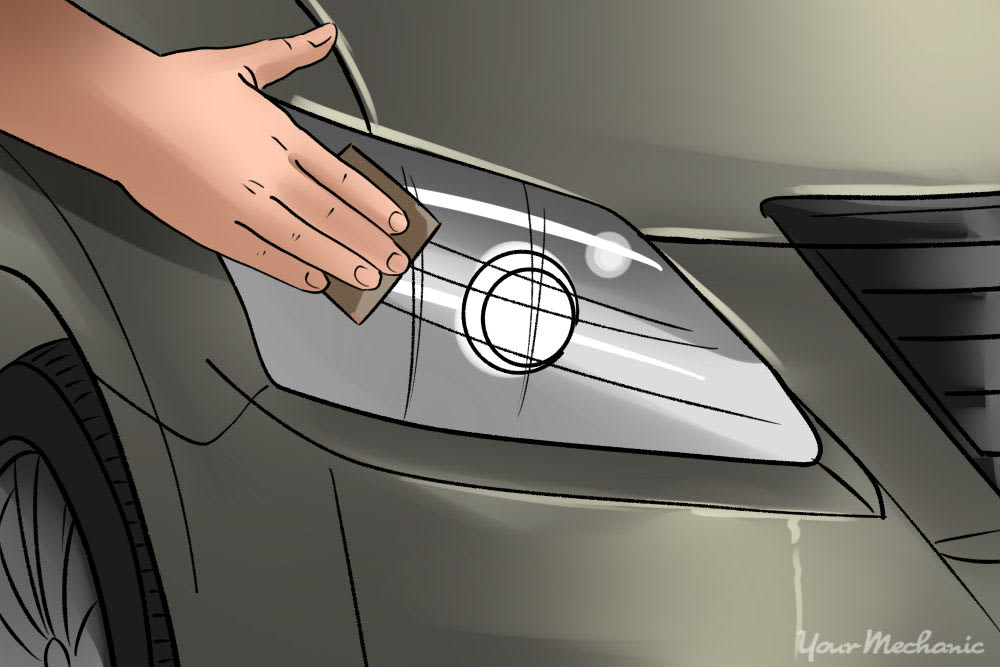
Apply polishing compound - Apply the polishing compound with another cloth, using small, circular motions. Take your time – up to five minutes per headlight – to allow the compound to work properly.
Wet sand your headlights - Wet your coarsest (smallest grit number) sandpaper in cool water, then firmly rub the surface of each headlight in a back-and-forth motion. Ensure the sandpaper is wet at all times, dipping into water as needed. Repeat with each variety of sandpaper from coarsest to smoothest grade (smallest to largest grit number).
Rinse - Rinsing the polishing compound off thoroughly with plain water.
Apply car wax - Apply car wax or sealant for future protection, using a clean cloth and circular motions, followed by another rinse, if desired.
Why it works
For more heavily oxidized headlights, and in the instance that previous methods failed, consider using a polishing compound kit for an intensive DIY repair. Such kits are often available at auto parts stores and widely found for purchase online and contain most – if not everything – you need to resurface oxidized lights and restore them to like-new clarity. Refer to your chosen kit to see which additional supplies, if any, you require from the Materials Needed list above.
Droplets of moisture on the inside of headlights
Oxidation can occur both on the outside and inside of your lights (although it most commonly manifests on the outer and easy-to-reach portions). If you notice tiny droplets of moisture on the inside of your headlights, you will need to remove them for any attempts at repair to be effective. Treat the inside in the same manner you treat the outside.
If any of these methods fail to reduce the haziness of your headlights you may need to seek professional services, such as those from YourMechanic, to fully diagnose why your headlights aren’t working.