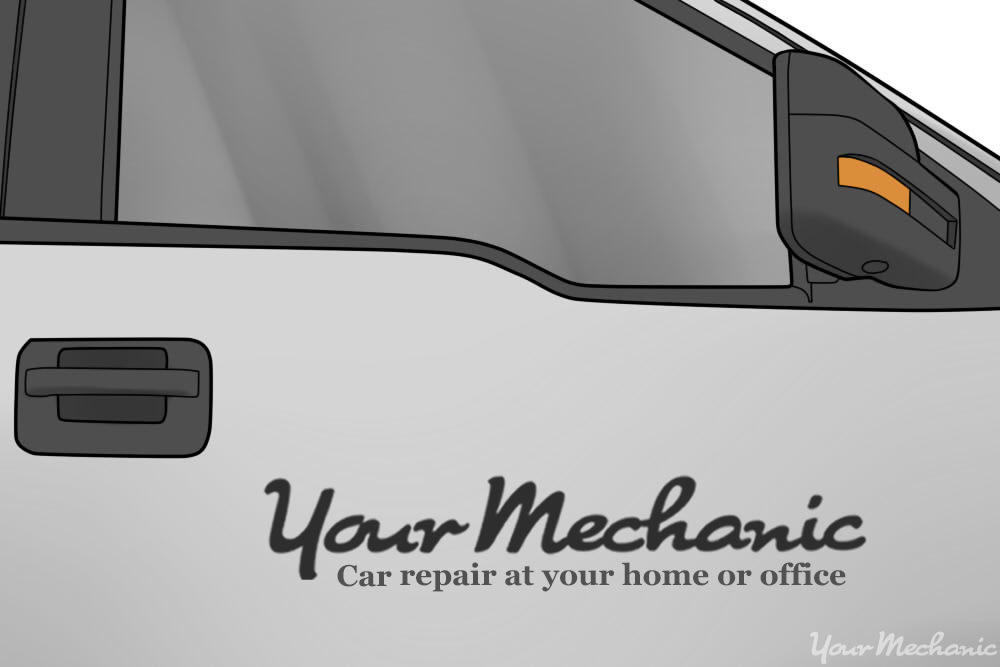
You can apply a custom decal to your vehicle to show your support for a favorite sports team, signify your interest in a local rock band, or help advertise your business, among many other causes and groups. Putting on decals yourself can help save the expense of having a professional do it for you. By following some basic steps, you can have your vehicle outfitted with your favorite decals in no time.
There are many different ways you can customize your vehicle, and a lot of methods can be expensive. But you don’t necessarily have to buy brand new sport tires with 18’’ rims, or pay for a custom paint job to get the results you want.
Applying vinyl graphics and stickers is a common way you can transform the appearance of your vehicle, and the versatility they have allows you to apply them wherever you want: on the body or on the windows (as long as they meet the legal size and placement requirements in your state). You can have vinyl graphics applied at many locations that also offer window tinting. But rather than paying for someone to apply vinyl graphics for you, with some time, meticulousness, and patience you can do it yourself.
Read the information below and learn how to apply vinyl graphics to your car to create the personal touch you desire.
Part 1 of 4: Clean the area of your car where the decal will go
Materials Needed
- Bucket full of soapy water
- Cleaning cloth designed for cars (non-abrasive)
- Chamois or other non-abrasive drying towel
- Hose or power washer
- Masking tape
- Measuring tape
- Microfiber cloth
- Window cleaner
- Vinyl graphics
Step 1: Clean your vehicle: If your vehicle is dirty, the adhesive material on your vinyl graphics will stick to the dirt on your car and not to the paint.
In this situation, all the hard work and time you spent applying the graphics perfectly will be for naught.
If you’re only applying a small vinyl graphic, thoroughly clean the entire area where the sticker will go.
Use a bucket of soapy water, a hose or a power washer, and a cleaning cloth designed for cars (so as not to scratch the paint), and clean the exterior as best you can.
When you’re finished soaping it down and spraying it off, use a chamois or some other car safe drying towel and dry the vehicle completely to allow the adhesive to stick to the car.
Clean all the windows inside and out with window cleaner and a microfiber cloth
- Tip: Let the vehicle dry in the sun as much as you can before beginning to make sure all water has either dripped off or evaporated.
Part 2 of 4: Peel and stick a custom decal to your car
Materials Needed
- Auto body squeegee
- Decal
- Microfiber cloth
- Spray bottle filled with rubbing alcohol
The peel-and-stick method of decal application works well with smaller decals on easy-to-reach areas, such as your car window. Before applying any decals, make sure to wash and clean the surface where you plan on placing the decal. Also, make sure the surface area is completely dry before applying the decal.
- Warning: When applying decals, try to do so in a clean area away from any wind. This should keep the decal free of dirt and debris, making it easier to apply.
Step 1: Prepare your decal. Make sure to go over the decal with the auto body squeegee, which should help make it easier to remove the wax paper. Also, clean the area with rubbing alcohol and the allow the area to dry.
Step 2: Carefully remove the wax paper. Slowly remove the wax paper from the back of the decal. For bigger decals, enlist the aid of a friend or family member to help with this step.
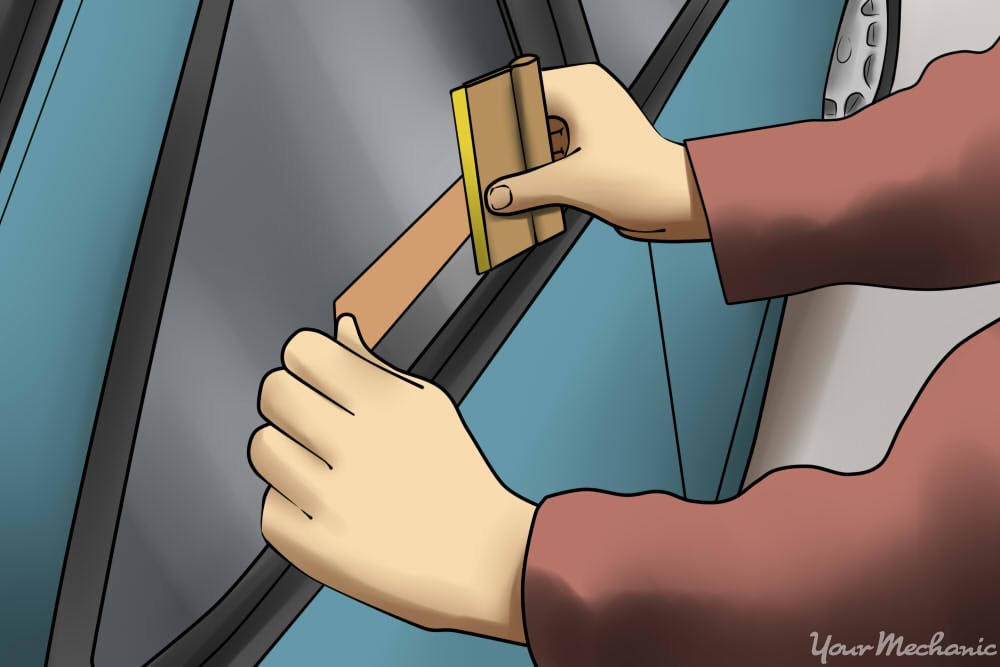
Step 3: Apply your decal smoothly. Apply the decal to the surface of the vehicle, starting from one side and working your way to the other side. Use the auto body squeegee to make sure the decal goes on smoothly. The squeegee will help push out any air trapped underneath the decal.
- Tip: When applying a decal to a bumpy or textured surface, use a hair dryer to heat up the adhesive. This can help mold the decal to the surface. But make sure not to get the decal too hot, as it can cause the decal to shrivel.
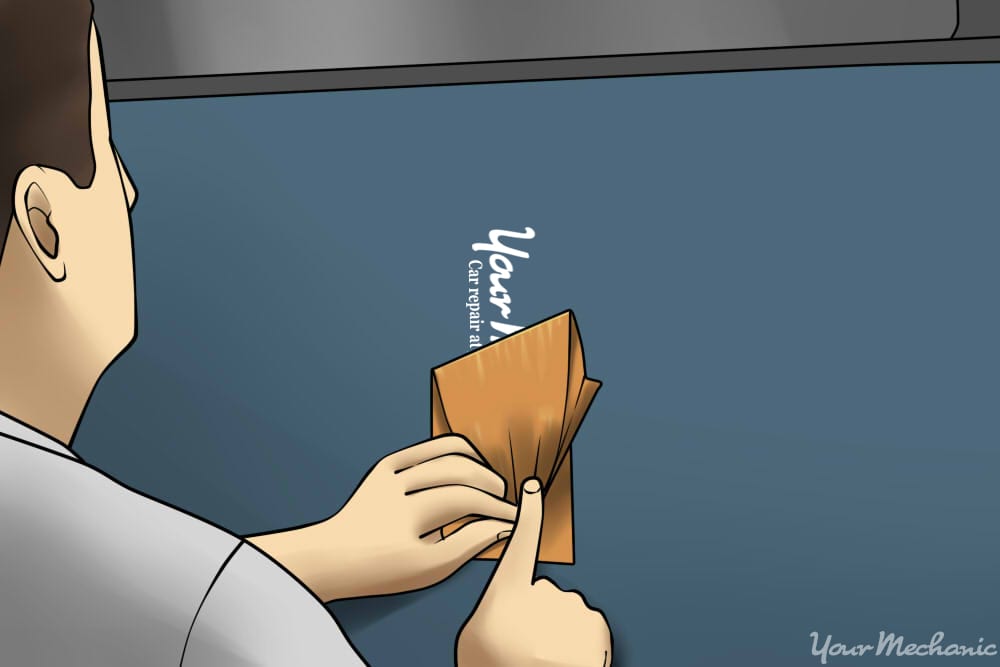
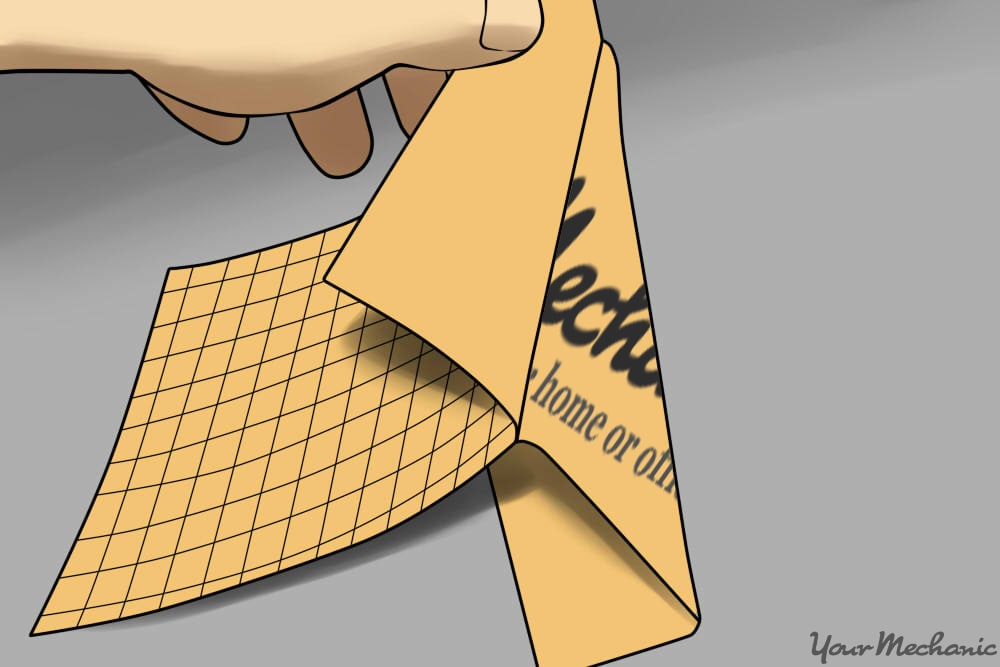
Step 4: Remove the application tape. Once you are sure the decal has been smoothed firmly into place, remove the application tape on the top of the decal. Start from a top corner and pull down on the tape to remove it without damaging the decal.
Part 3 of 4: The half-and-half method of applying a custom decal to your car
Materials Needed
- Auto body squeegee
- Decal
- Microfiber cloth
- Razor
- Scissors
- Spray bottle filled with rubbing alcohol
- Squeegee
The half-and-half method of decal application allows you to position the decal into place. By affixing half of the decal first, you can ensure that the decal remains stable throughout the application process. As always, wash and clean area first, and make sure the area is completely dry when preparing it for application.
Step 1: Go over the decal with a squeegee. Start by going over the surface of the decal with the auto body squeegee. This helps the decal separate from the wax paper easier when it comes time to remove the wax paper backing.
Step 2: Clean the area throughly. Clean the area with rubbing alcohol from a spray bottle to remove any oils, dirt, or other debris that might remain on the window. Allow the surface to dry.
Step 3: Start applying the graphic: With one hand peeling away the graphic liner and the other hand using the squeegee, start applying the graphic. If you are using the wet method, start by spraying the area with water or some other wetting agent in a thin, even layer.
Start by removing a small amount of liner at a time to avoid the graphic from sticking to the vehicle at an unwanted time or place
As you remove the liner, squeegee the graphic thoroughly, and in a manner that will remove potential air bubbles and excess liquid from behind the graphic. Make sure you keep tension on the film and liner as squeegee to make sure the graphic is adhering to the vehicle exactly when you want it to and with little or no opportunity for air bubbles to form
Squeegee the graphic again to make sure it’s on tightly and proceed with the application process above until the entire graphic has been applied.
Step 4: Peel off the wax paper. Slowly peel the remaining wax paper from the back of the decal. Use the squeegee to smooth the rest of the decal into place, starting from the end already attached and working your way down to the other end.
Step 5: Carefully remove the application tape. Remove the application tape slowly, starting from the top corner of the decal. This ensures that the decal is not damaged when removing the application tape.
After you’re done removing the application tape, inspect your work and squeegee the graphic one last time to ensure all corners and perfectly adhered to the body or the window of the vehicle. If you used the wet method of application, clean off any excess wetness carefully and thoroughly.
If you need to remove any pieces of the graphic, for example, to fit around a key hole, use the razor very carefully to cut around the key hole.
- Warning: Be very careful with the razor so you don’t scratch the vehicle or cut yourself.
Part 4 of 4: Wet a custom decal to stick it your car
Materials Needed
- Auto body squeegee
- Decal
- Heat gun
- Microfiber cloth
- Razor blade
- Rubbing alcohol
- Spray bottle of water
Spraying the adhesive surface of the decal before application is another way to affix it to your vehicle. The moisture acts as a barrier, allowing you to slide the decal into place. Once the decal is where you want it, remove any excess water with a squeegee to allow the decal to bond to the vehicle's surface.
Step 1: Clean off the surface. Make sure the surface you want to apply the decal to is clean. Apply rubbing alcohol to remove any remaining oils or waxes from the vehicle's surface.
Step 2: Remove the wax paper. Peel off the wax paper, using a friend to help with bigger decals. Only remove the wax paper when you are ready to apply the decal to prevent dirt from getting on the adhesive surface.
Step 3: Apply water to the back side of the decal. This should help the decal adhere to the surface of the vehicle better, and it also allows you to slide the decal into its final position.
Step 4: Firmly place the decal. Pulling the decal nice and tight, apply it to the surface, using a helper for larger decals. Once the decal is where you want it, gently push down to make sure the decal remains in place.
Step 5: Smooth out the decal. Using an auto body squeegee, smooth out the decal against the body of the car. Make sure to get out as much water as possible.

Step 6: Peel off the transfer tape. Once applied firmly to the vehicle surface, peel back the transfer tape on the top of the decal. Start from one end of the decal and slowly peel the tape off while making sure to hold the decal in place if it wants to come up with the tape.
- Tip: If the transfer tape does not seem to want to come off like it should, leave the tape on for another hour and come back. This allows the decal to bond more firmly to the surface and make it easier to remove the transfer tape.
Step 7: Squeeze out the excess water. Using your thumb, squeeze out any excess water from under the decal's surface. Do not use the auto body squeegee, as this can scratch the decal.
Step 8: Trim decal if necessary. Cut any area of the decal that crosses a door opening with a razor blade. Also, dry the decal's surface with a heat gun, making sure to not stay in one spot for too long. Then allow it to air dry completely.
Custom decals allow you to customize the look of your vehicle. Whether supporting a favorite politician, cheering on your favorite sports team, or promoting your business, knowing how to correctly apply decals yourself can save you money in the end. If an area where you want to place a decal is damaged, seek the help of an auto body professional to repair the damaged area before continuing with the placement of any decals.
If you’re a certified mechanic and are interested in working with YourMechanic, submit an online application for an opportunity to become a mobile mechanic.
